
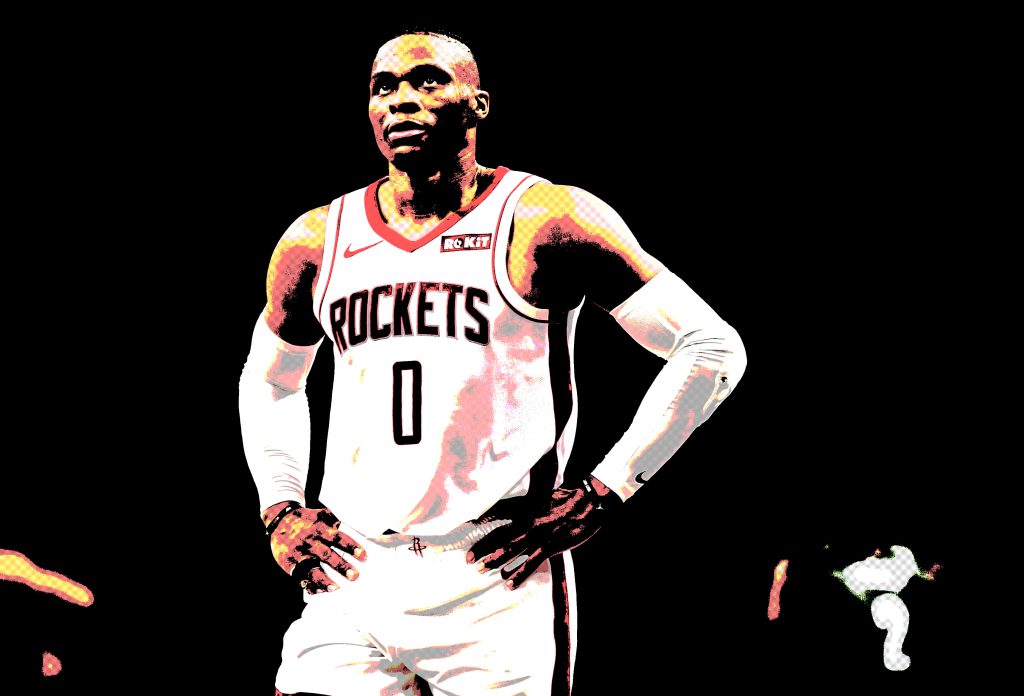
Yep, in this project I want you to turn yourself into a cartoon character!
We all have cameras in our pockets, most people don’t know how to draw that well… but the idea of drawing a cartoon is fun… Let us Play in order to get a deep understanding of how the Filters in Photoshop work.
There are MANY different Filters in Photoshop and you will need Time and Practice to see what they do and How they can work together to give you the effect you are after.
In this Photoshop Primer project, I am going to have you Take 3 image: Two from the internet and one of yourself (full body in dynamic poses is the best) and then use the filters to Flatten, Reduce detail and colour, and then build up different looks/styles that you like. For each image, I want you’re to produce 3 different Toon’d versions of each!
I will have you submit the 3 original photos, plus 9 toon versions of the photos. In the caption area of each photo, I want you to write what filters you used to make it.
Please know that Using multiple filters is the only way to get great marks in this project. Just using one filter may be fine for a G8-9 project, but if you’re in 10-12 you will need to do more. And for even MORE marks use the selection tool to isolate areas within your subject and play within! Also please know that adding different backgrounds is also adds complexity and marks.
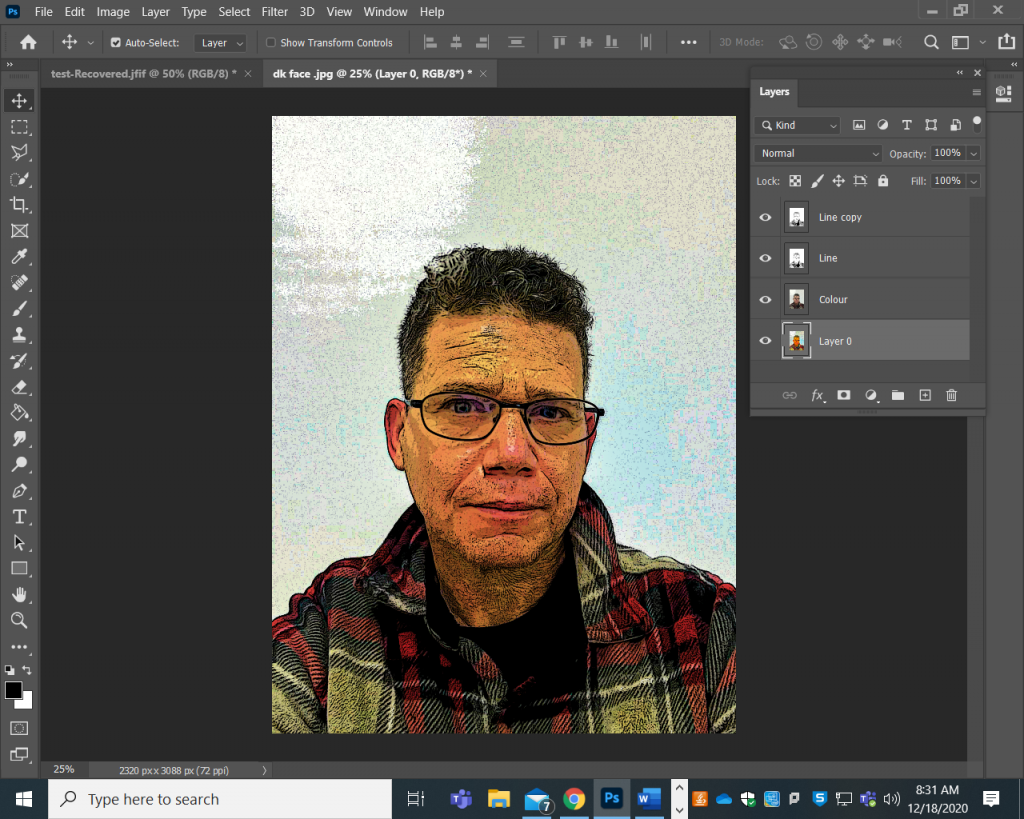
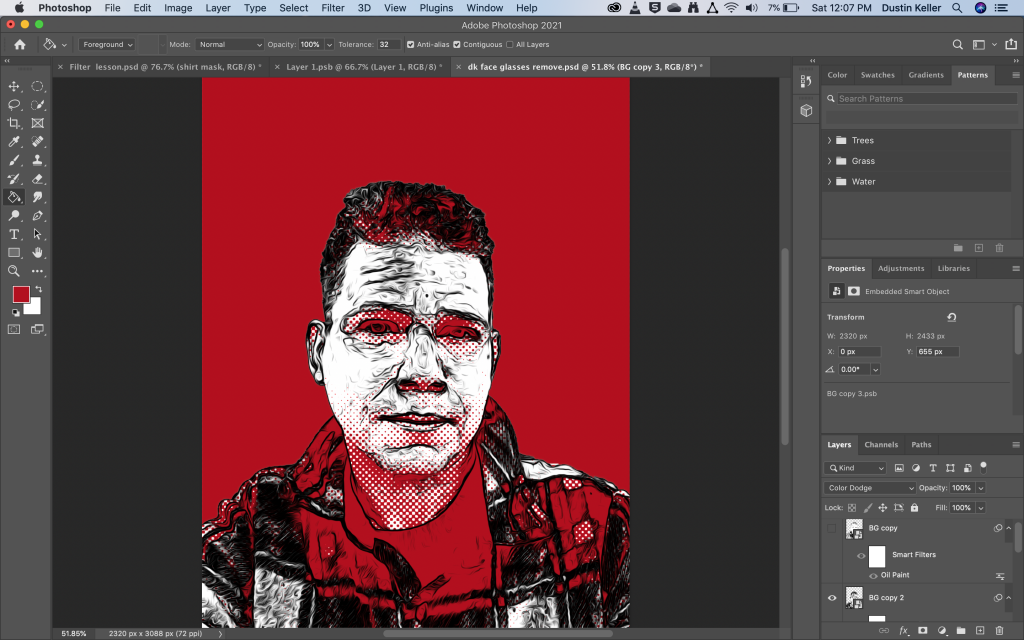
Basic Workflow to create a toon
In class, I will focus on showing you a simple technique of:
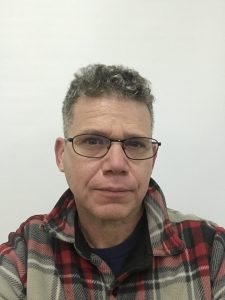
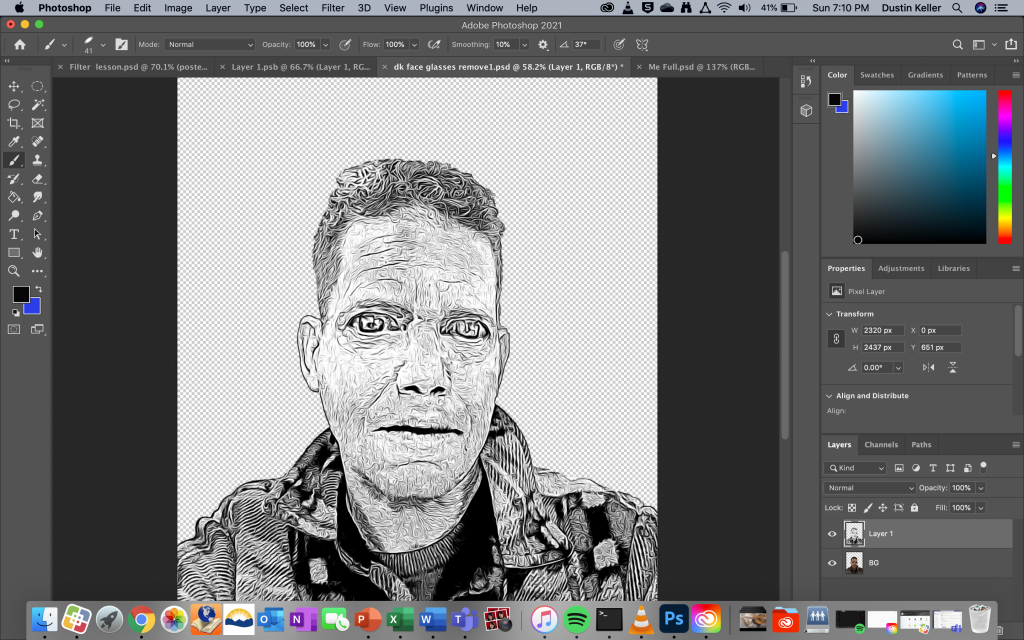
Original image
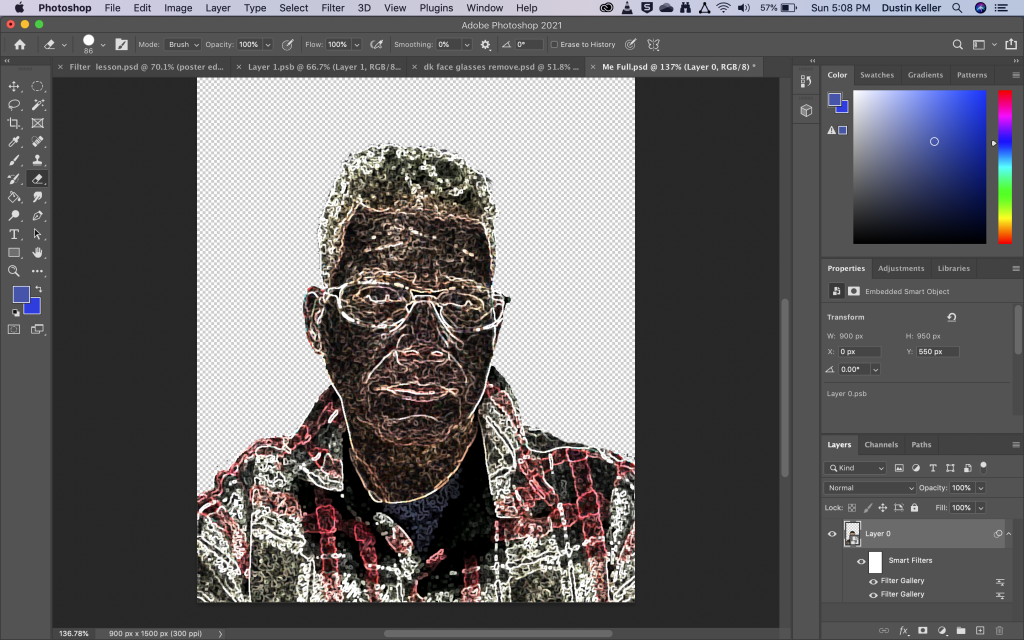
- Poster filter to reduce colours.
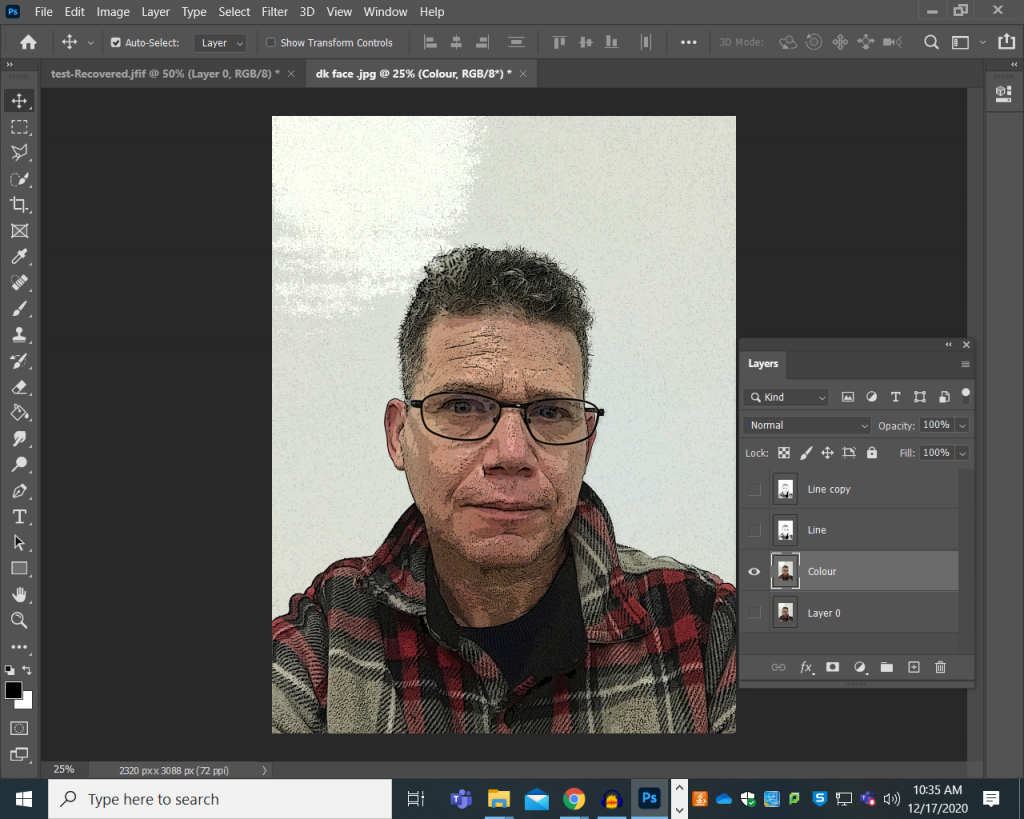
- Then Duplicate that layer, calling one colour, the other line.
- Take the line layer- Image/Adjust/Threshold. Find the line value you like.
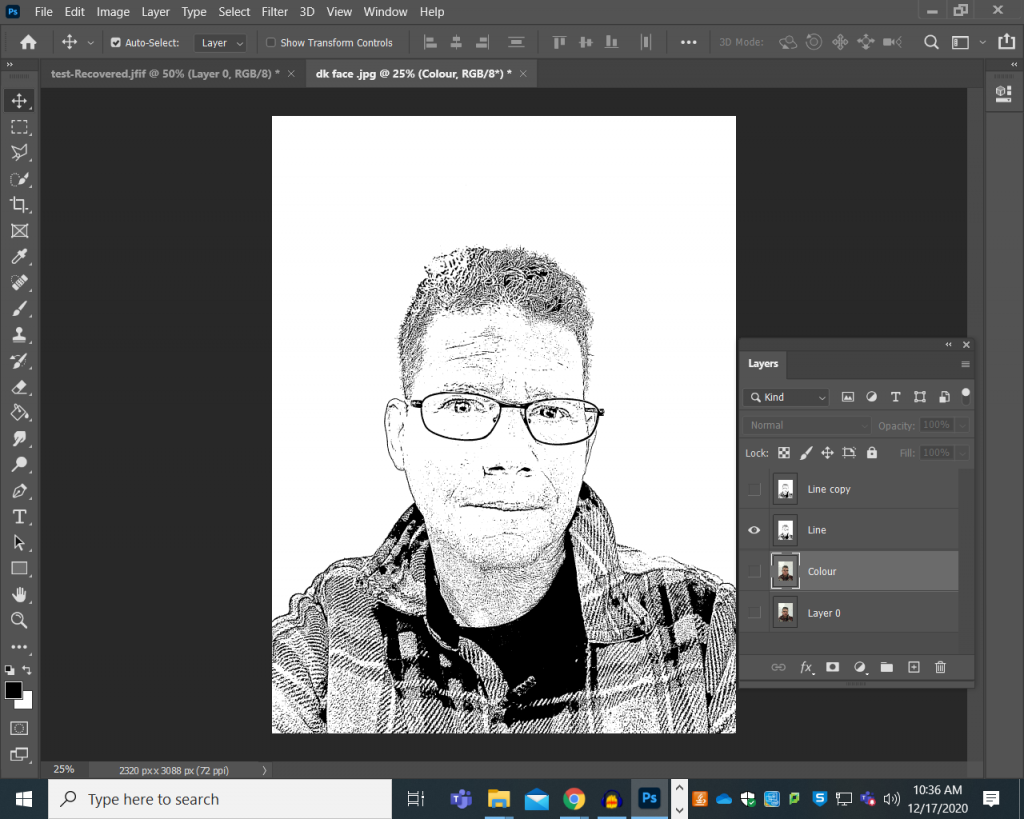
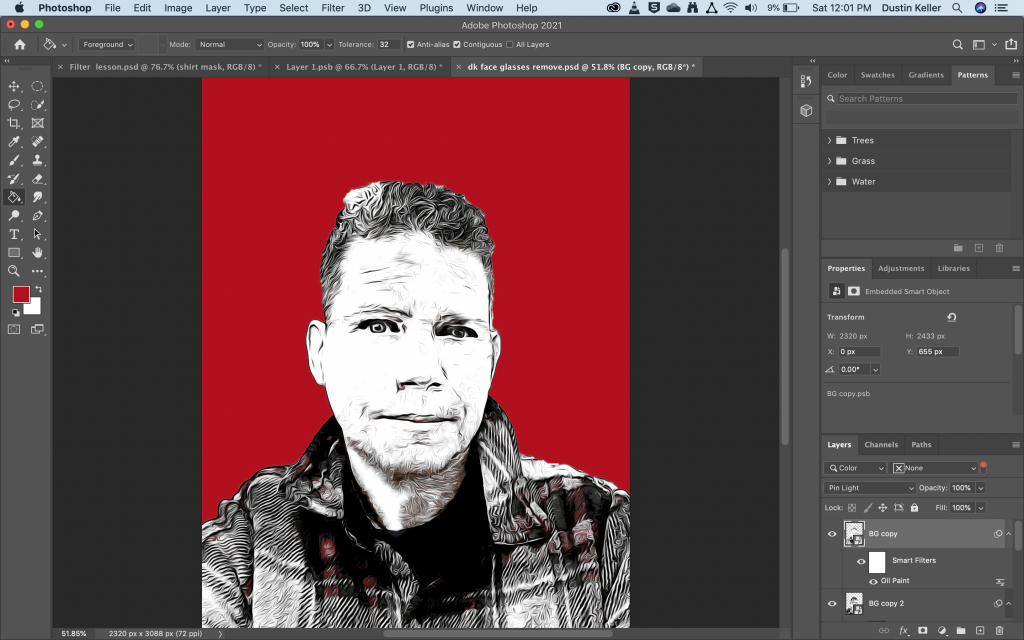
- Then use the Filter/Stylize/Oil Paint filter to lengthen the line to where you want.
- Set the light blend to Multiply on the line layers.
- Goto the colour layer and play with the Opacity to heighten the toon look
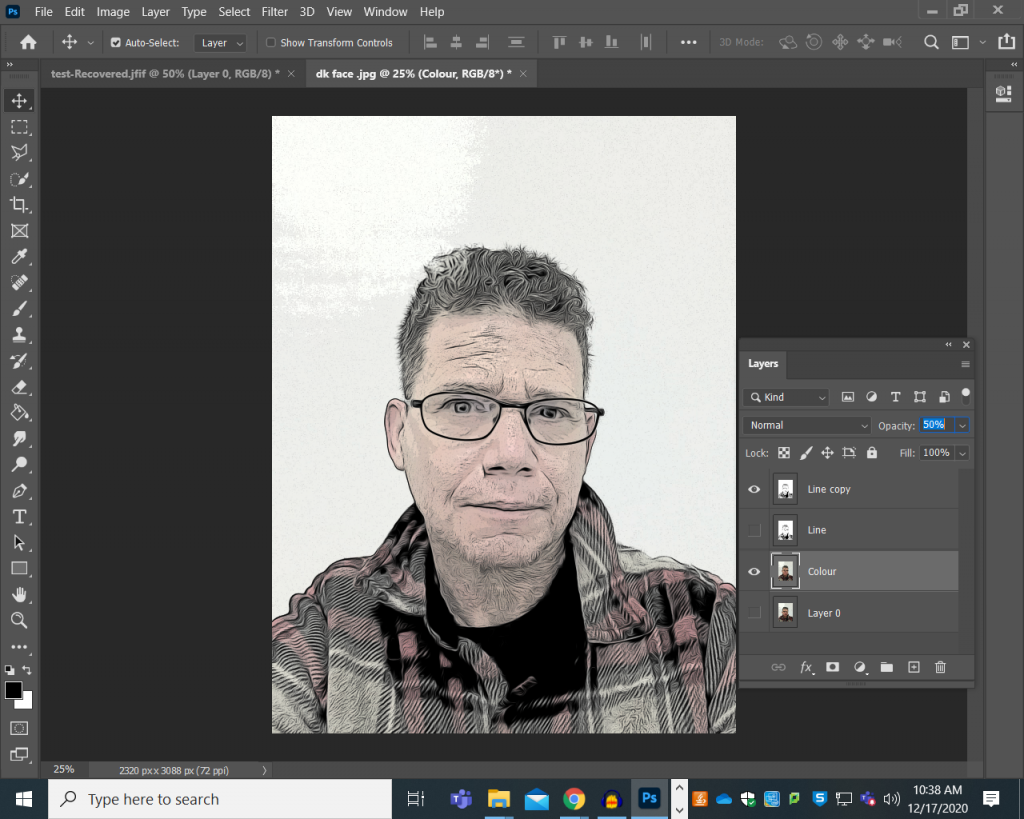
- Adding a Filter/Raw Camera layer below the other layers will add a colour vibrancy as more texture that will ultimately put place it into a real toon look
*Please note this can be done to backgrounds as well!
OK Time for filters.
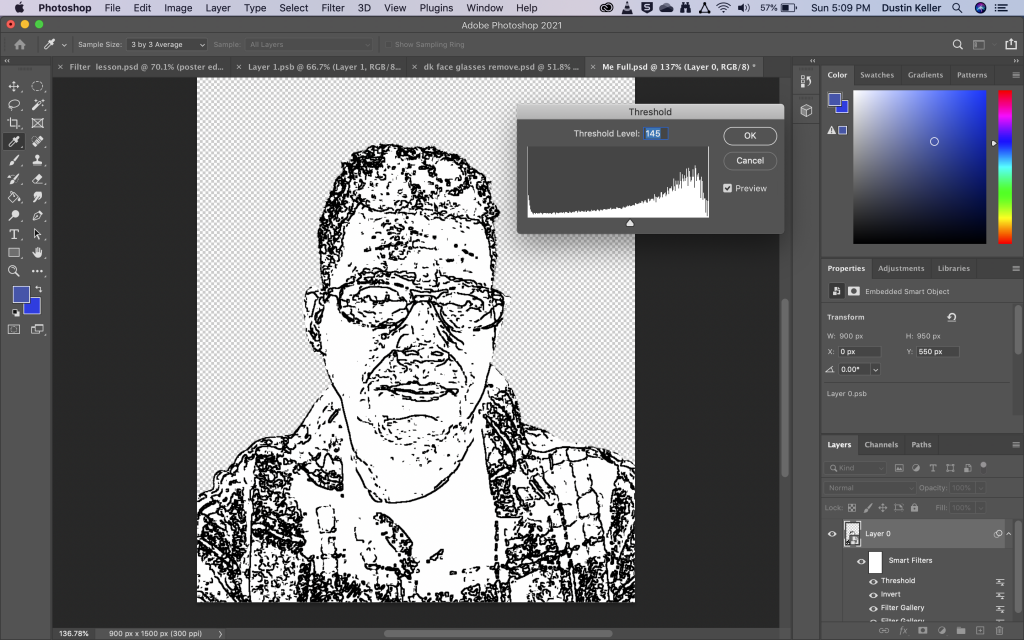
- Image/Adjust/Threshold: this will let you strip out all the colour from whatever filter you have just worked with. This is the bases of MANY cartooning workflows
- Filter/ Sharpen/ Poster edge: This is great for reducing the tone/colours you see.
- Filter/ Filter Gallery/ Unsharpen mask: This is kinda like the above but even more flattening occurs
- Filter/ Filter Gallery/ Watercolour: This reduces and flattens out the colour. It also reduces detail.
- Filter/ Raw Camera Filter: Here you can really play with the intensity and colour schemes.
- Filter/ Stylize/ Oil filter: This will reduce the detail, flatten and smooth out everything! I usually do this after I use the Threshold tool.
- Filter Gallery/ Sketch/ Halftone: This gives you an old fashioned screen printing effect to build up tonal gradation by little dots
- Image/adjust/Threshold will let you convert your image to B&W and play with the amounts! VERY HELPFUL when creating a line drawing!
Light Blending tools:
Another important toolset to understand in Adobe
Let us look at the Adobe info on this CLICK HERE
For more info Click here
Other filters:
One of the seldom-used filters is the Photocopy filter.
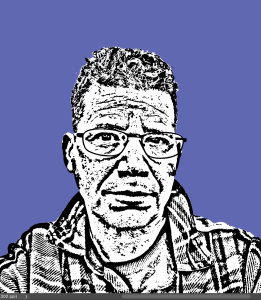
Masking out the body, adding blue BG, Photocopy filter
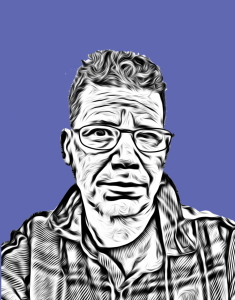
Masking out the body, adding blue BG, Photocopy filter. Then using the Oil paint filter
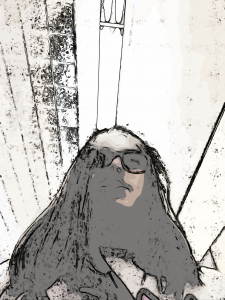
This image started out with the Plaster filter set to the Blend effect Lighter colour, then a coloured background layer.
Invert the colours (Cnt & I)
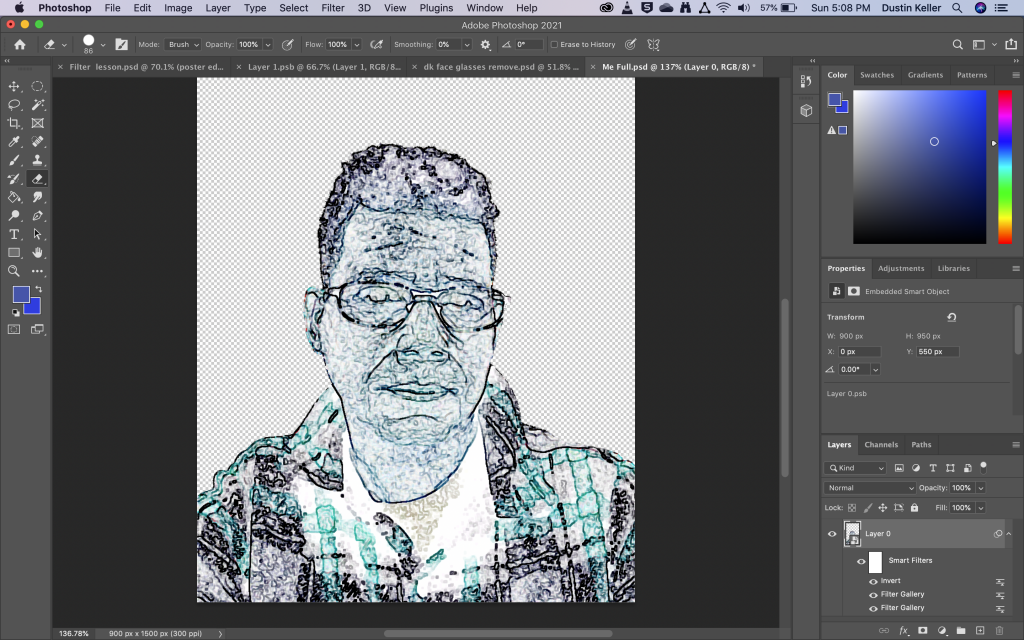
Add the Threshold filter to back it B&W
And then you can play from here.
TIP!
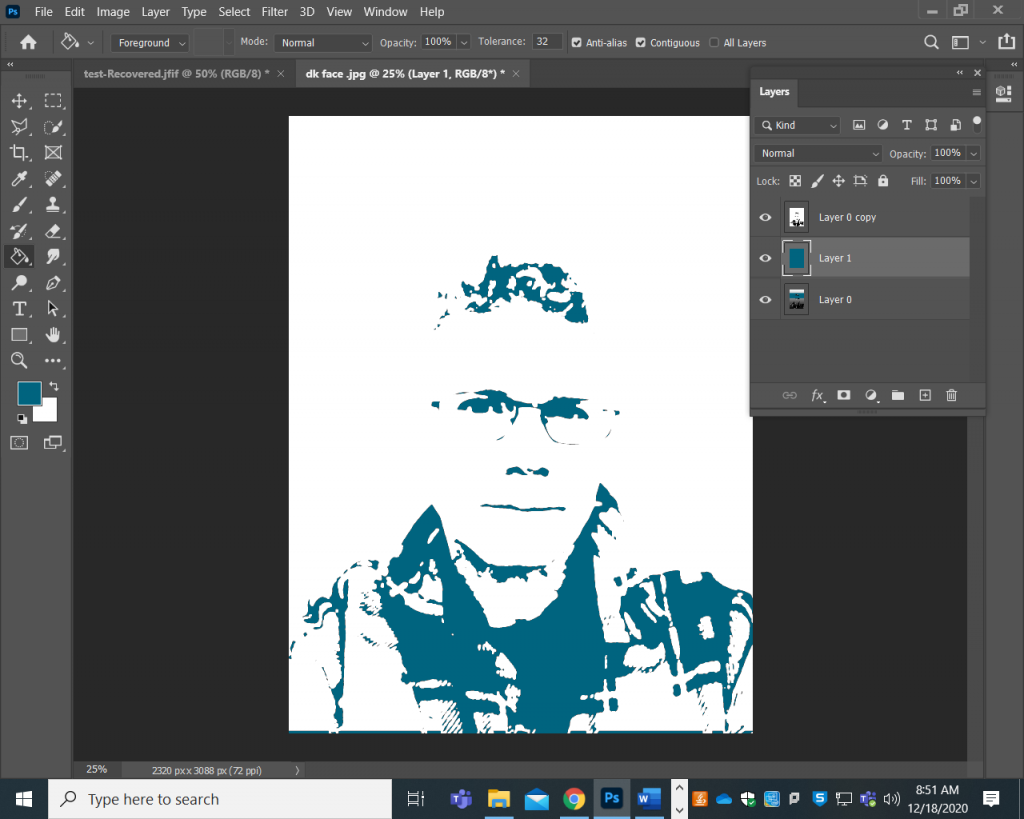
If you want to really do this well you will need to invest time and energy, learn how to mask and use multiple layers!
The next couple of images use multiple layers. I usually get a posterized colour layer to put under a Line drawing layer.
This one uses the Halftone filter- A very cool filter, great when you want to give your work a retro screen printed look
Some more examples:
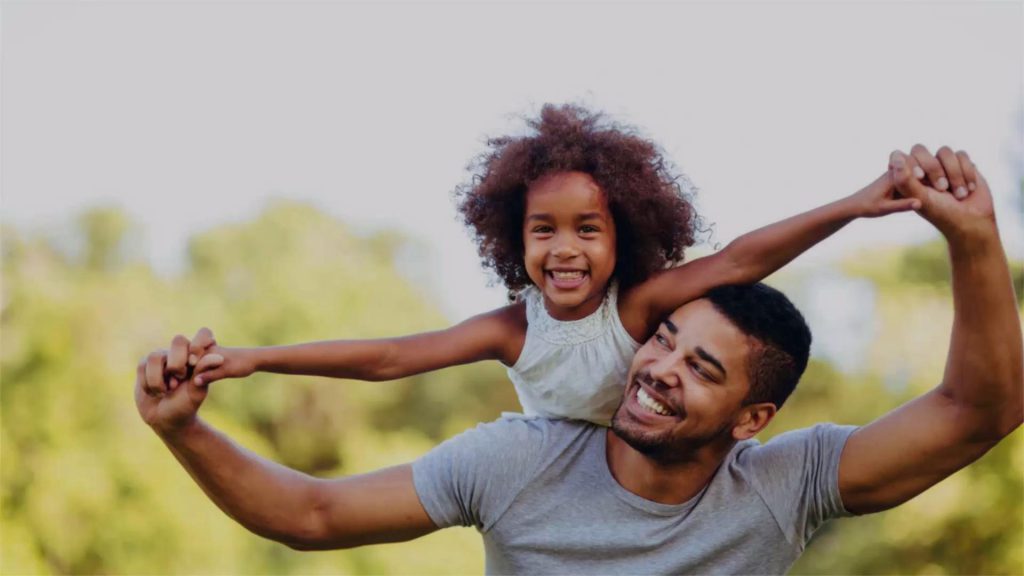
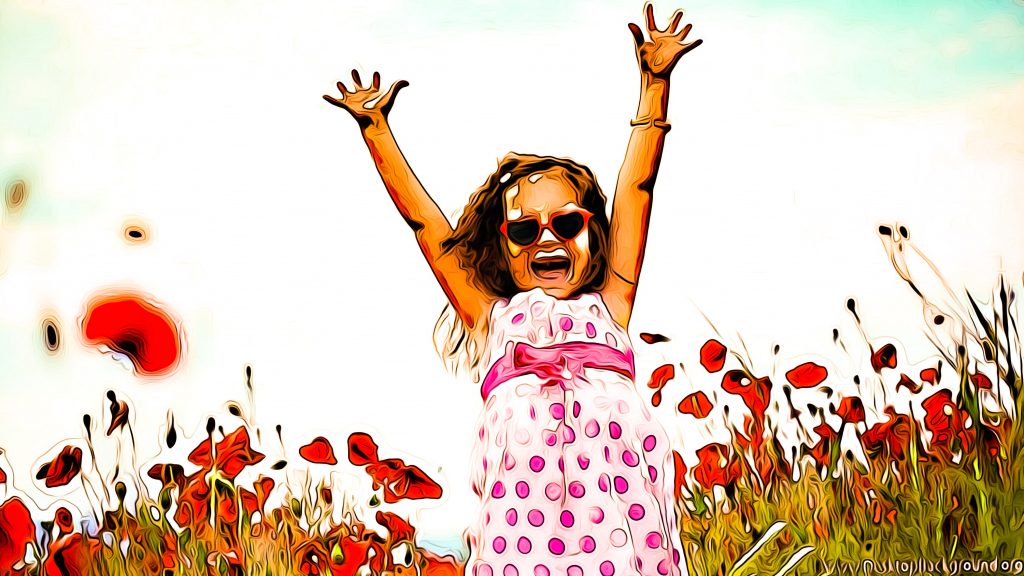
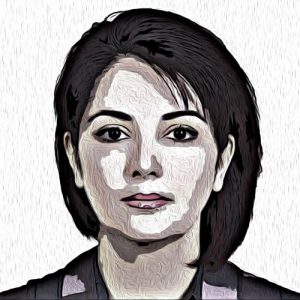
Original. Image source Google HD image
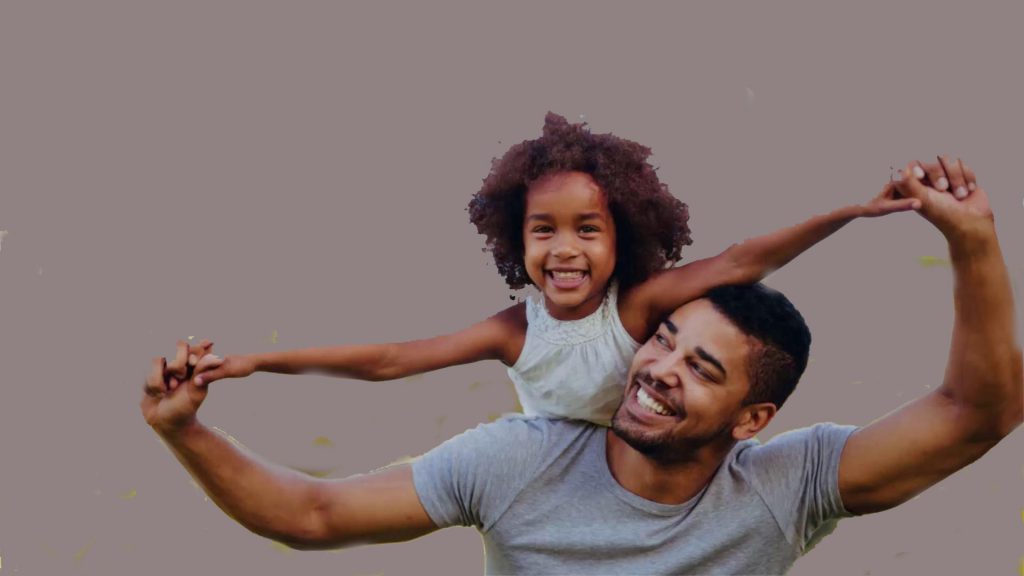
Background cutout and flattened through filter gallery poster edge
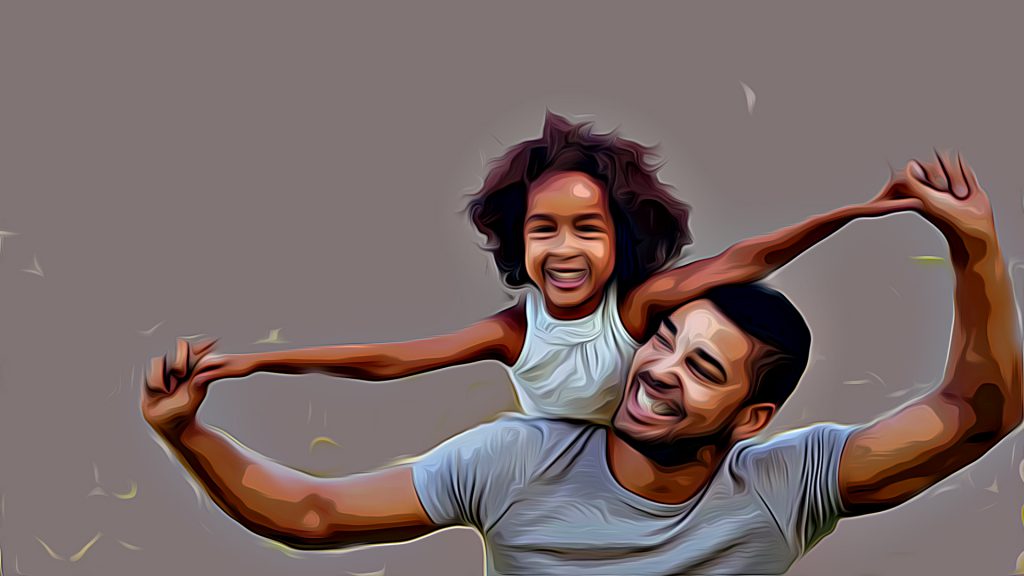
Flattened through Watercolour filter
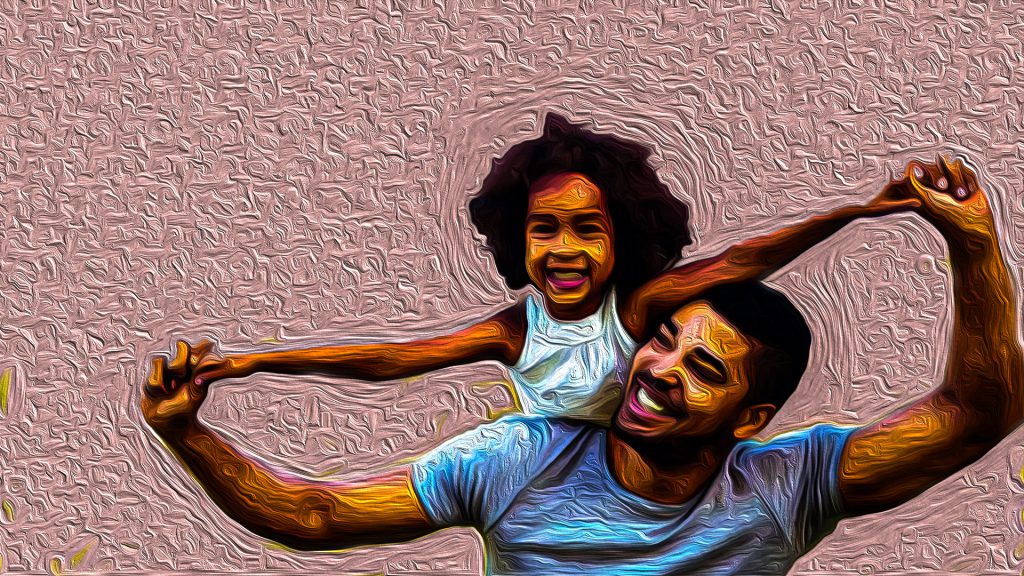
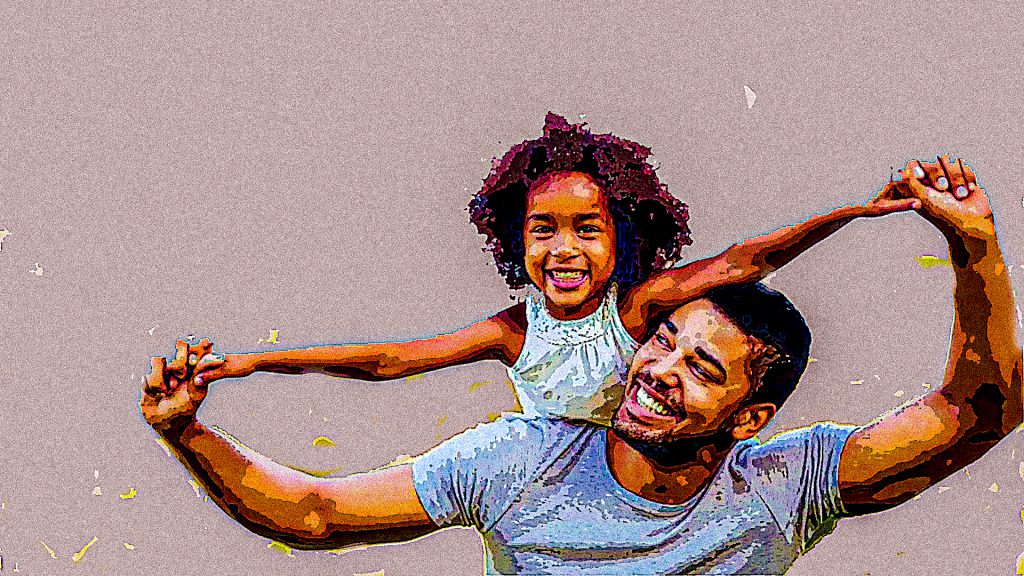
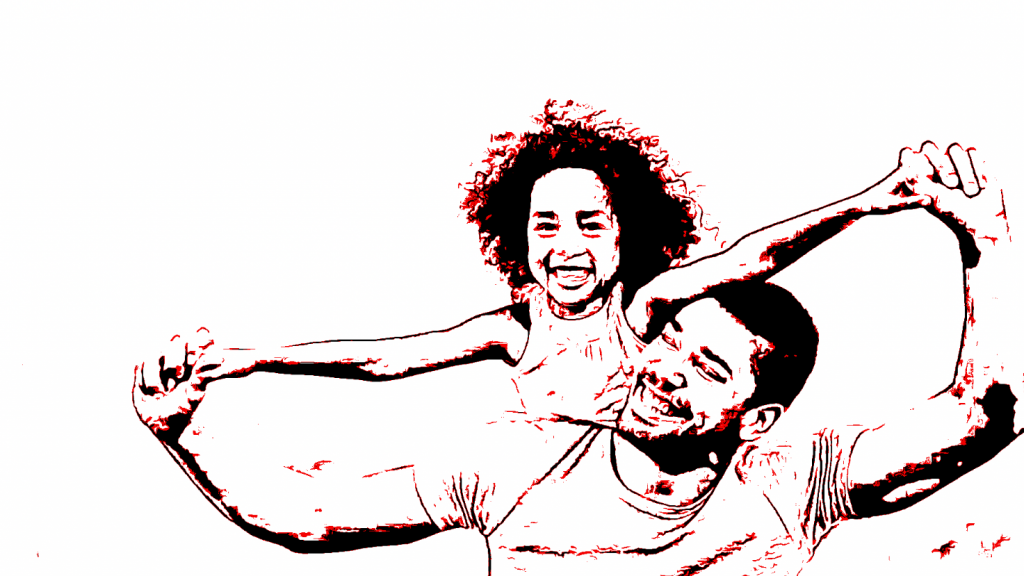
Flattening and then Oil painting filter with Liting ON
Flattening and then Oil painting filter with lighting OFF
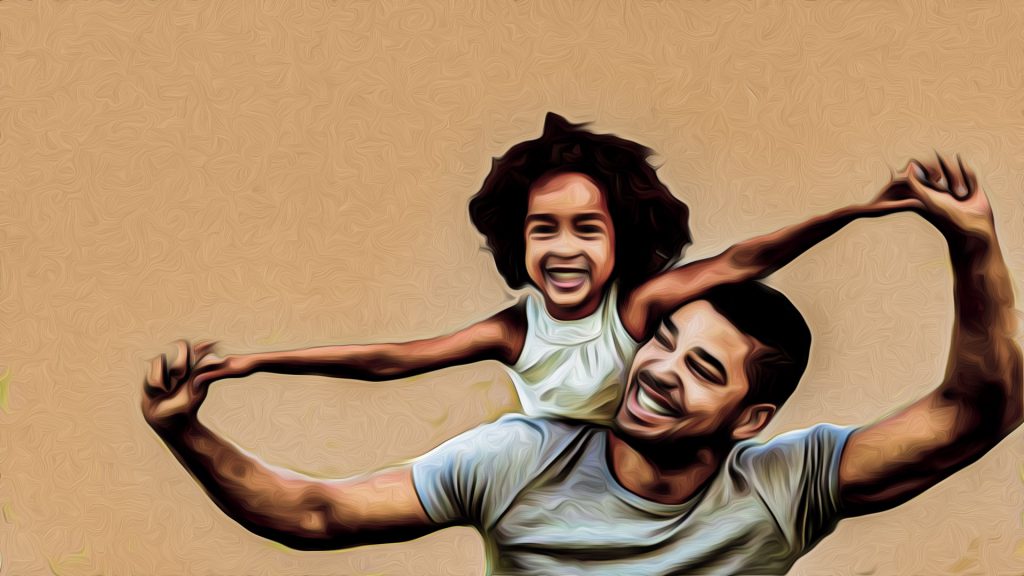
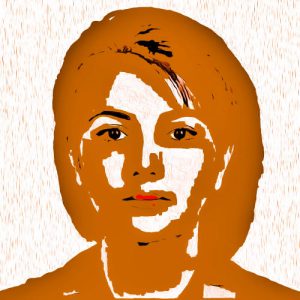
Intensity via Raw camera filter
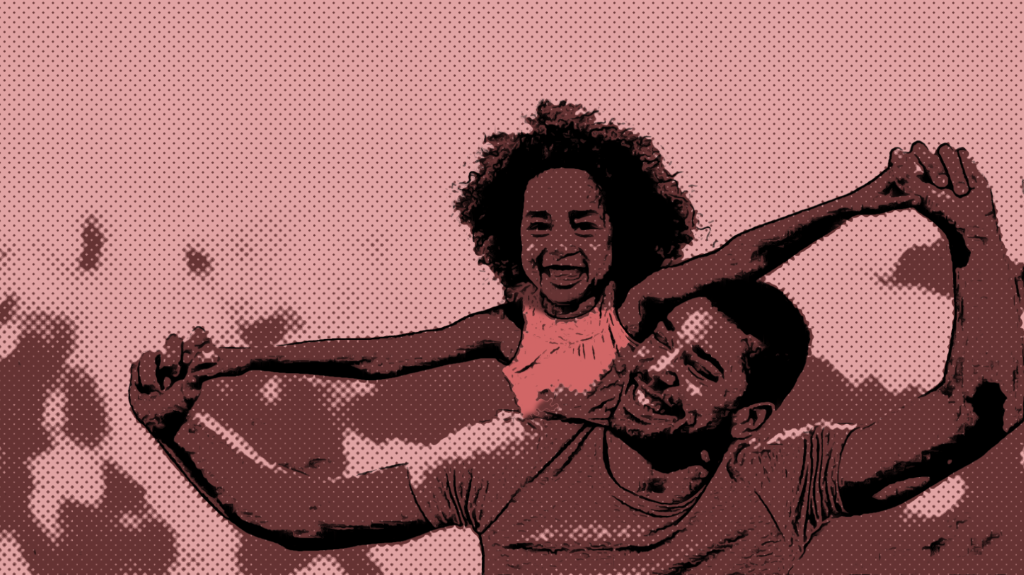
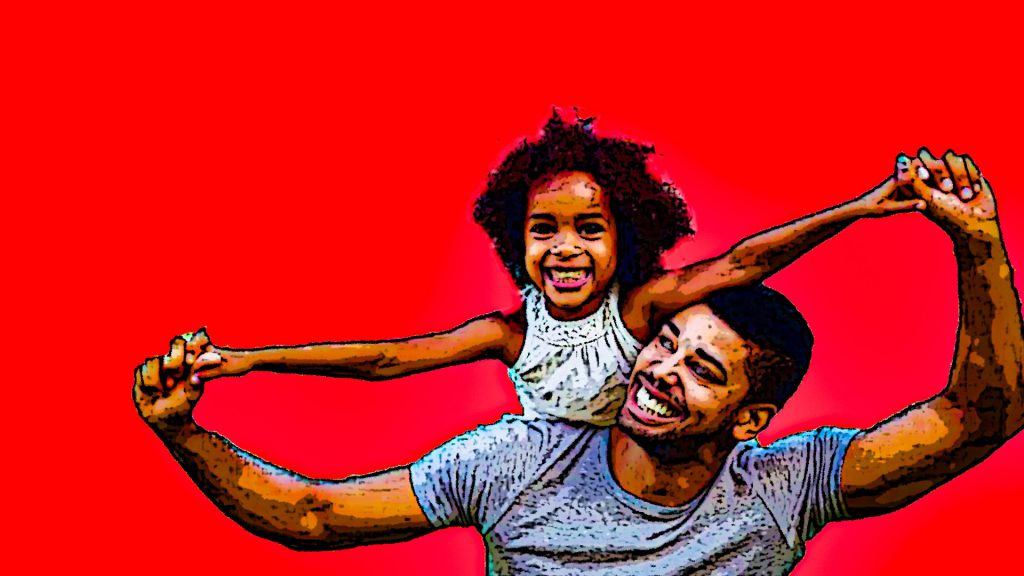
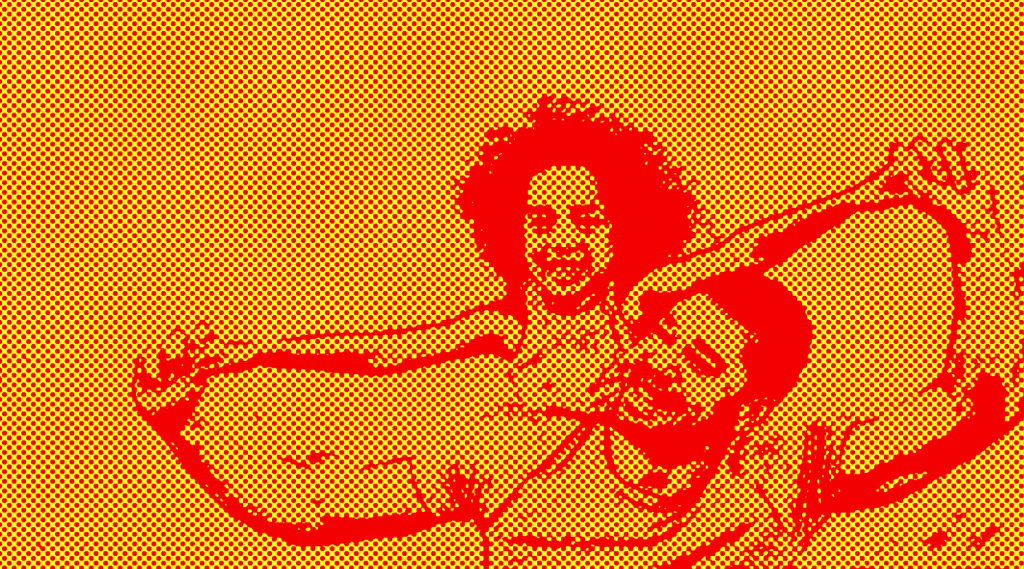
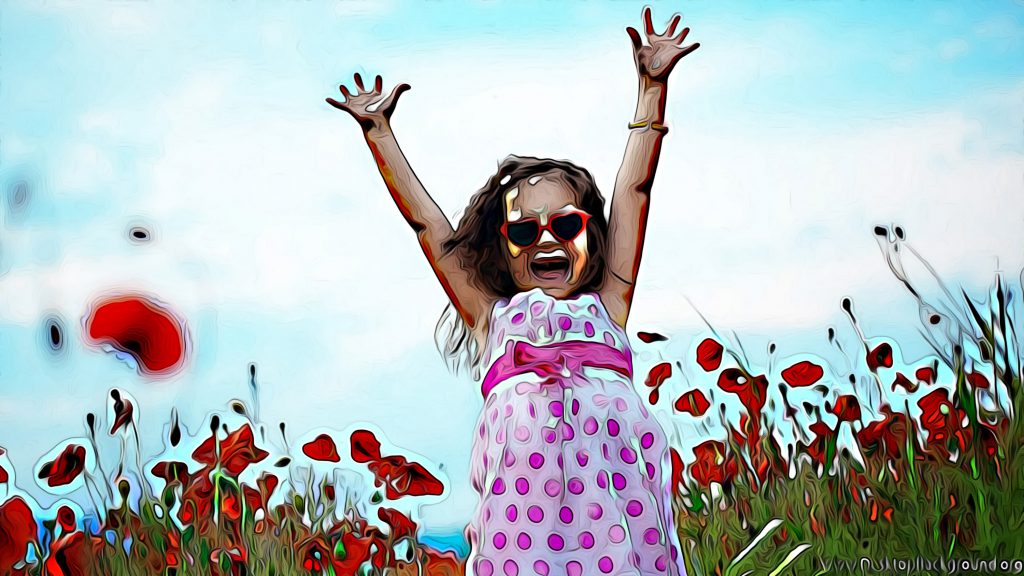
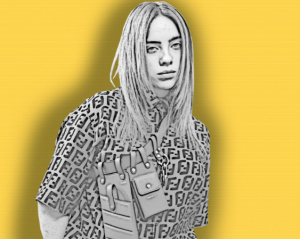
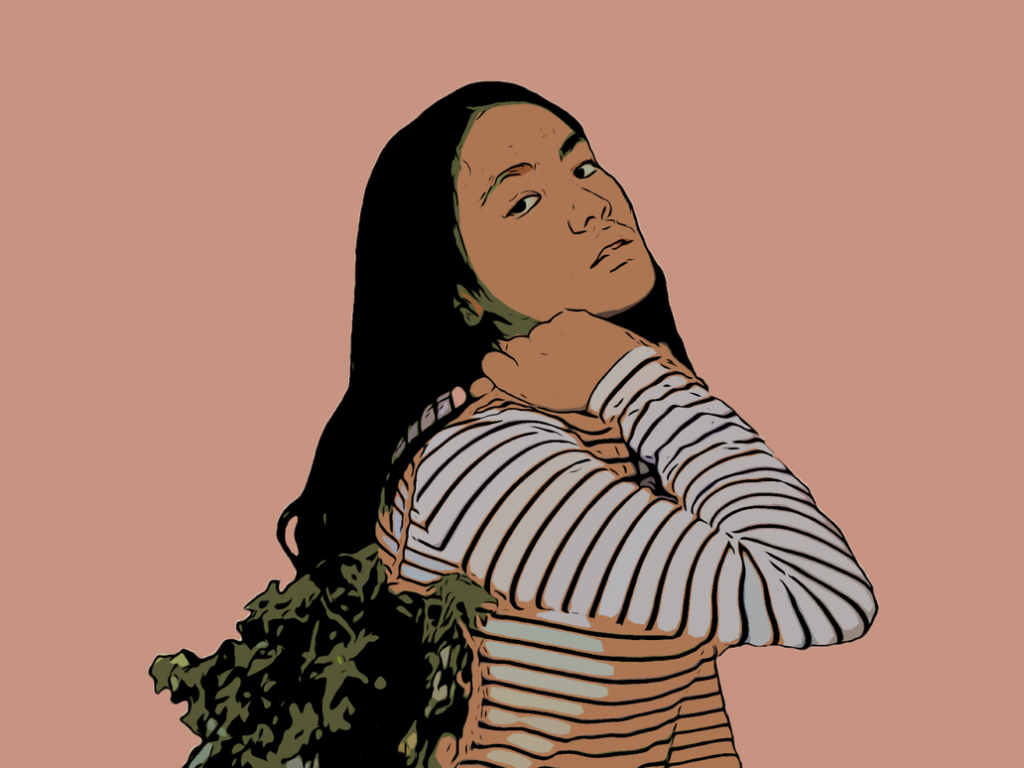
Poster edge, Oil paint, Halftone (red and black), Masking out the girl’s shirt red BG colour layer
From the above added a Hard lighting layer
From the above, striped out everything back to the Oil paint then added a hard light effect utilizing the BG colour.
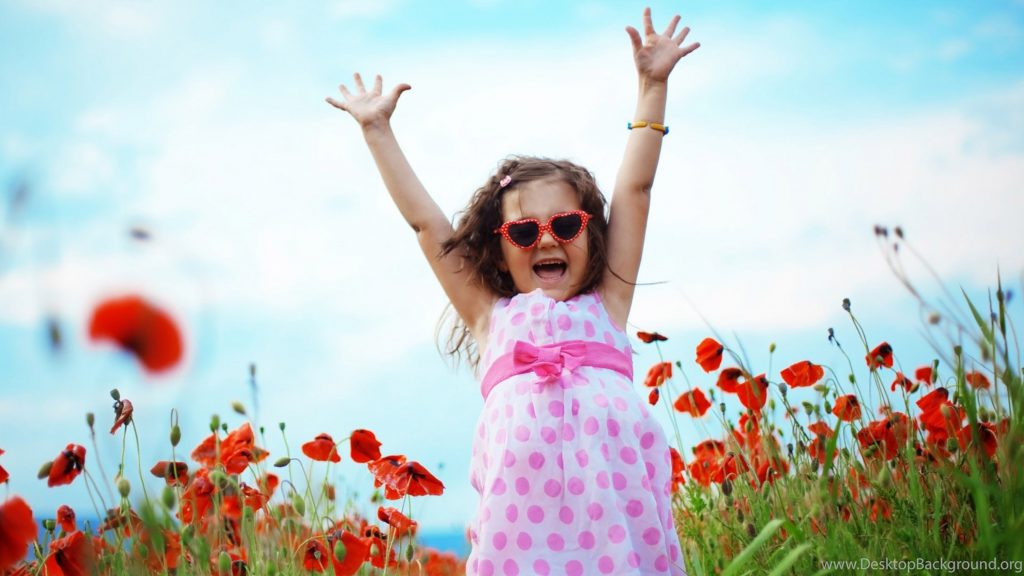
Original Image source Google HD image
Flattened through Poster edge
Flattening and then playing with the Raw Camera filter
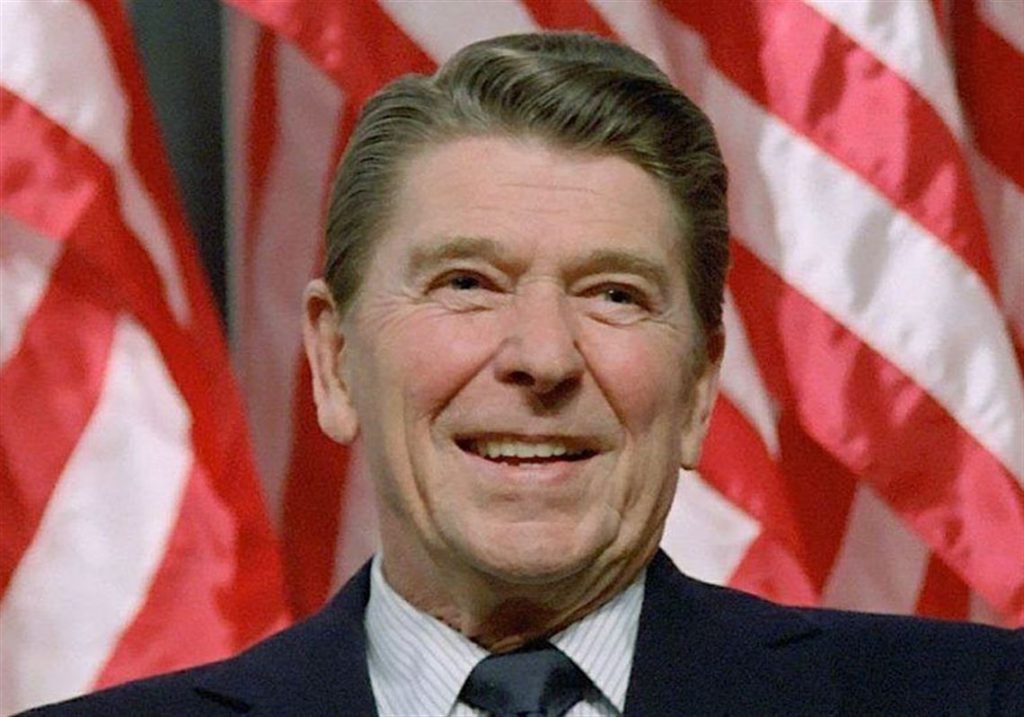
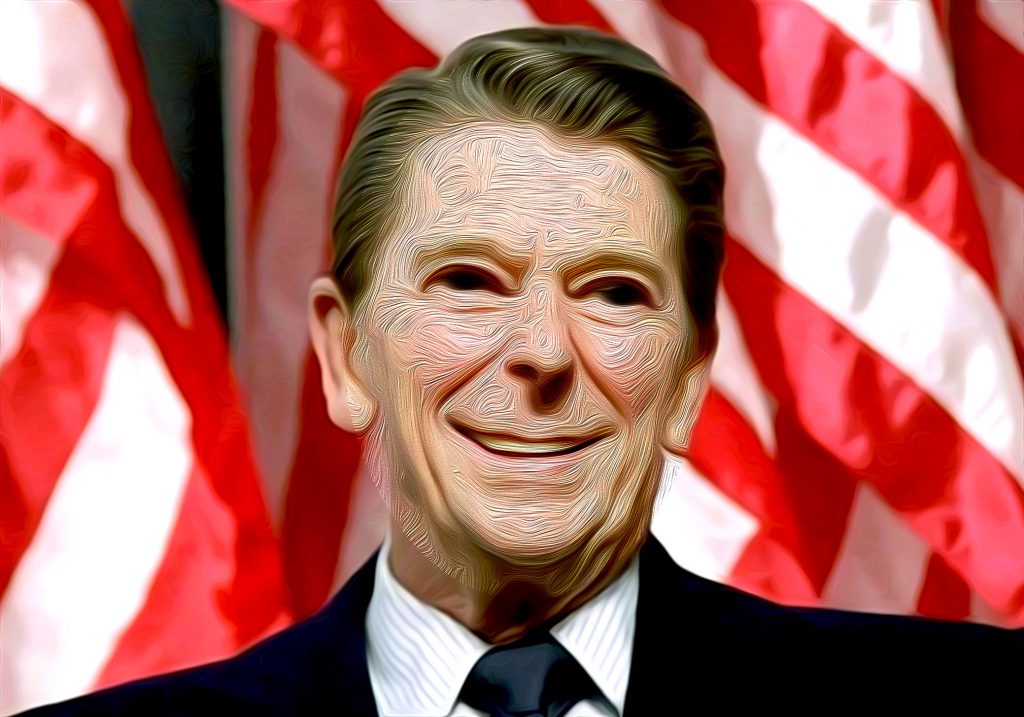
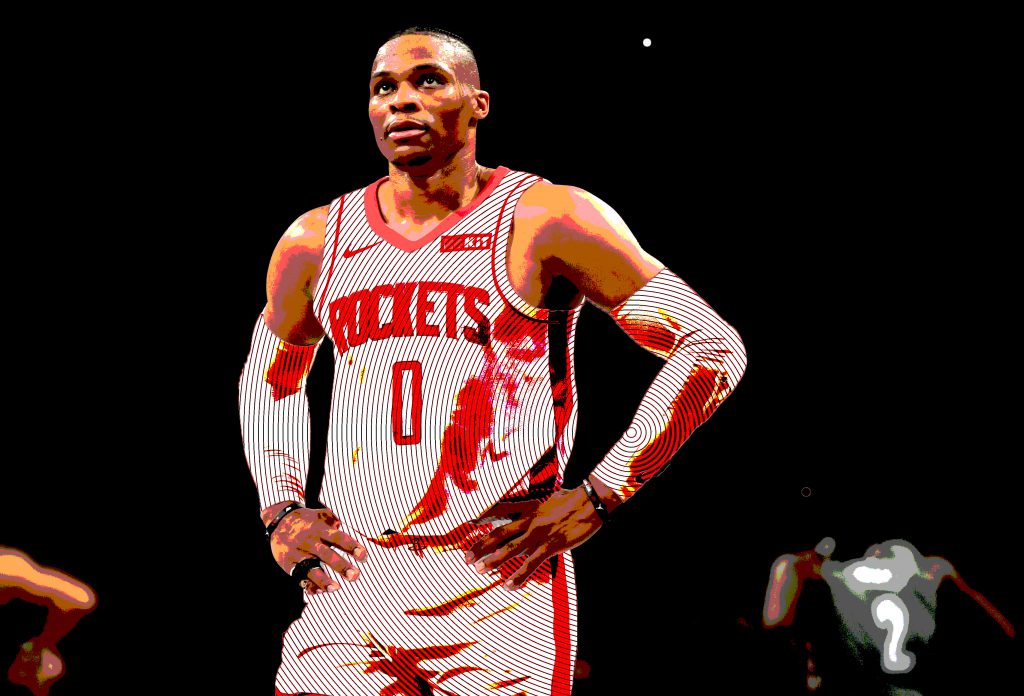
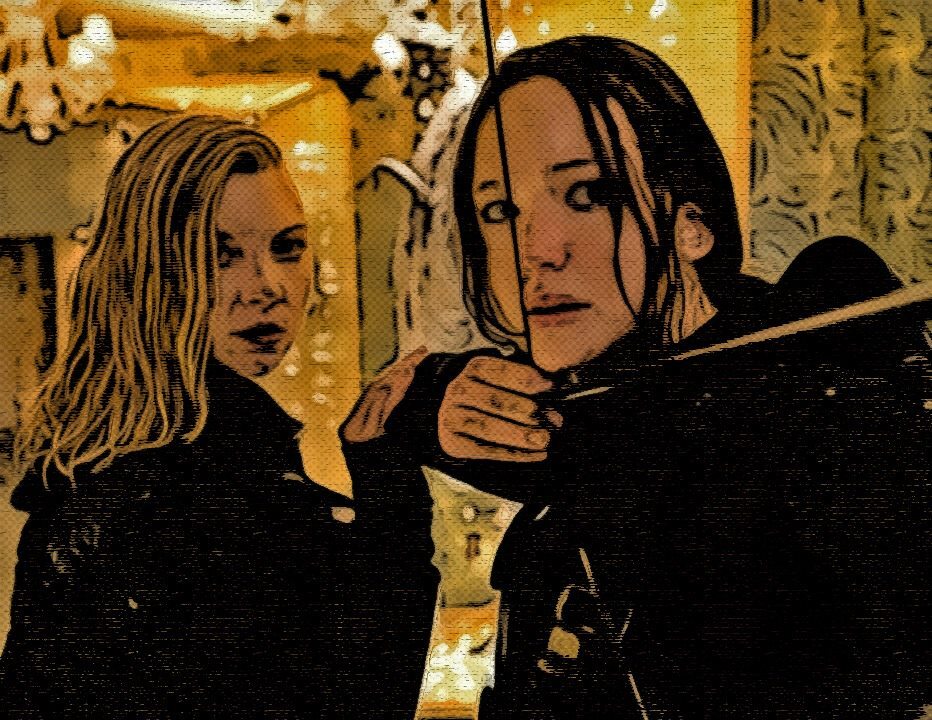
Original. Image source Pittsburg Post-Gazette
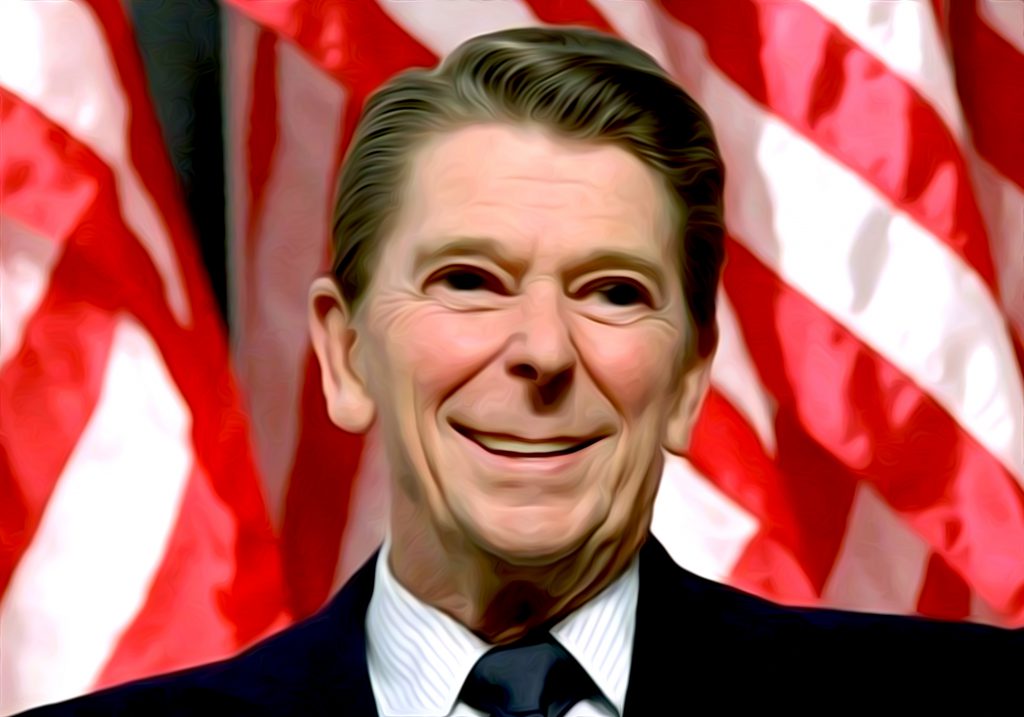
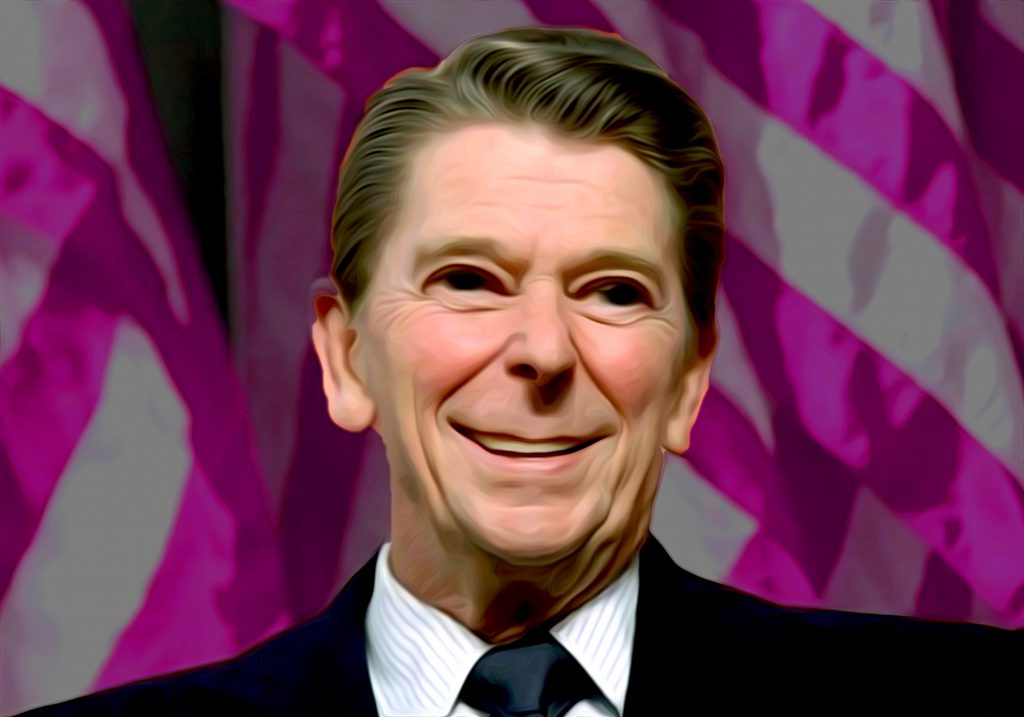
Playing with BG colour saturation
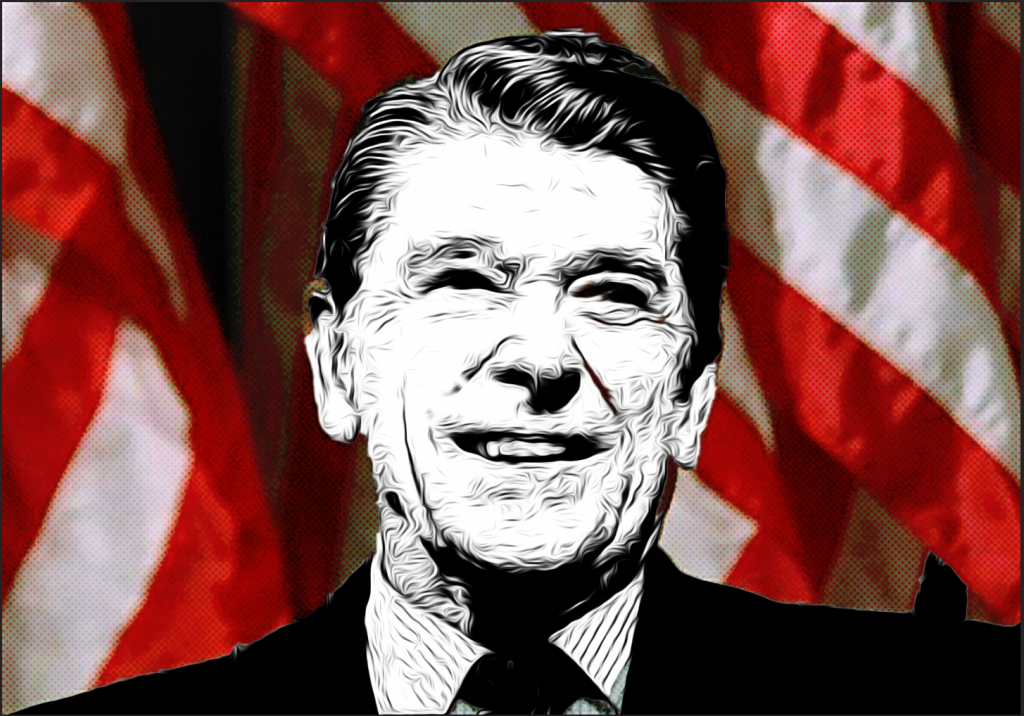
Retro look. Poster edge, oil paint, threshold. mask out BG
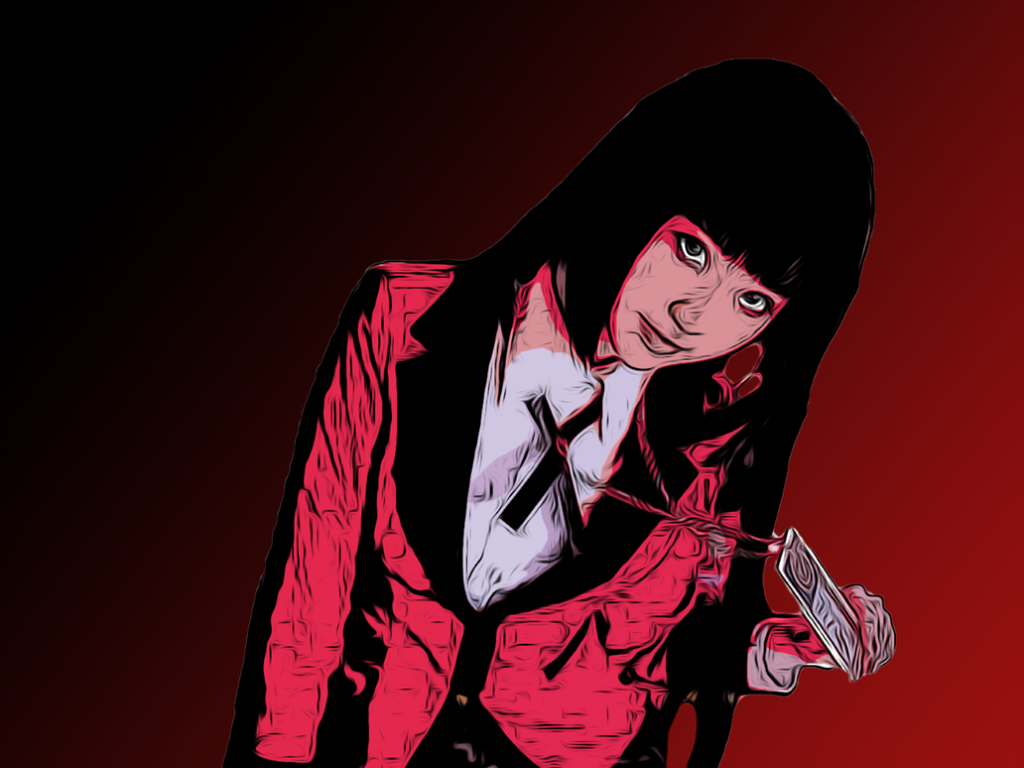
Here is another group in which I was just playing around with using flat colour and a textured background to make the image pop.


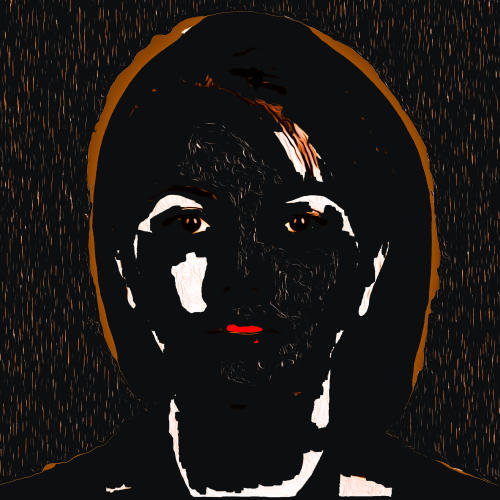
I love this one- Dark yes, but it reminds me of an old Russian Icon painting.

Standard workflow with blurred background
Do you see how the uniform has been selected and workin?
Do you see how the skin has been selected and worked?
OK, let’s move on to, Below are different ways which you can use to achieve the Toon effect! …pleases know, that there are SO many and only through playing around with the filters, using them in combination and only through experience (practice and play) will you develop your own style!
DETOUR:
Using the Liquify tool to animate your face.
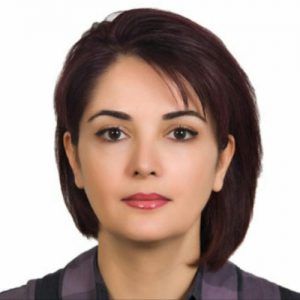
Step1:get a picture of yourself. A whole-body posse is great, but ahead and shoulders pic is great as well. Now adjust the image size so that either the width or height is around 2000 pixels.
Step 2: Use the Liquify tool to play with your facial features- remember to link the eyes together before you start to play.
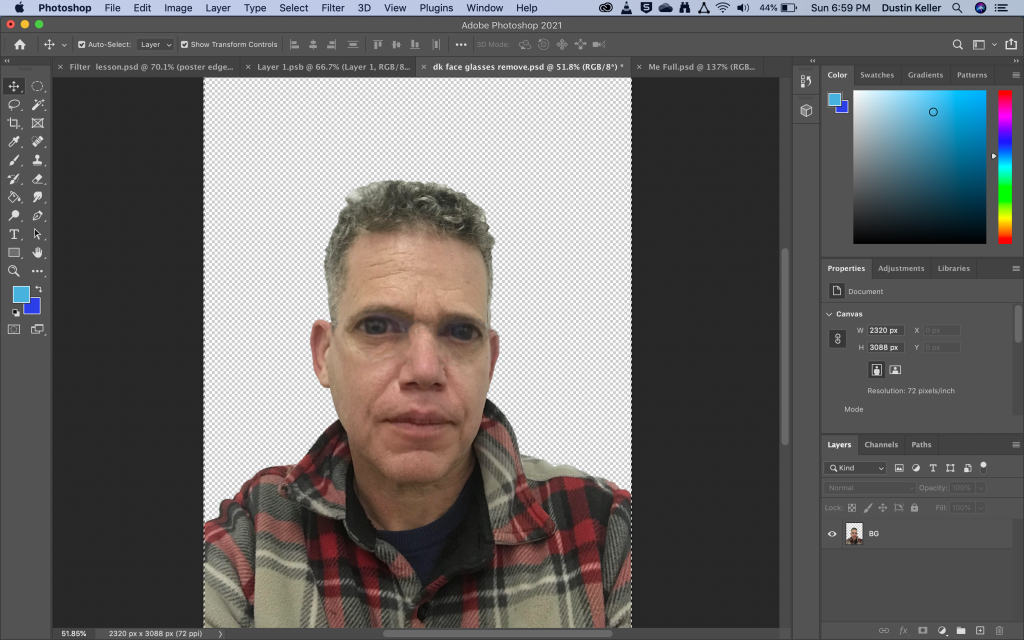
Using the posterize to reduce the colours
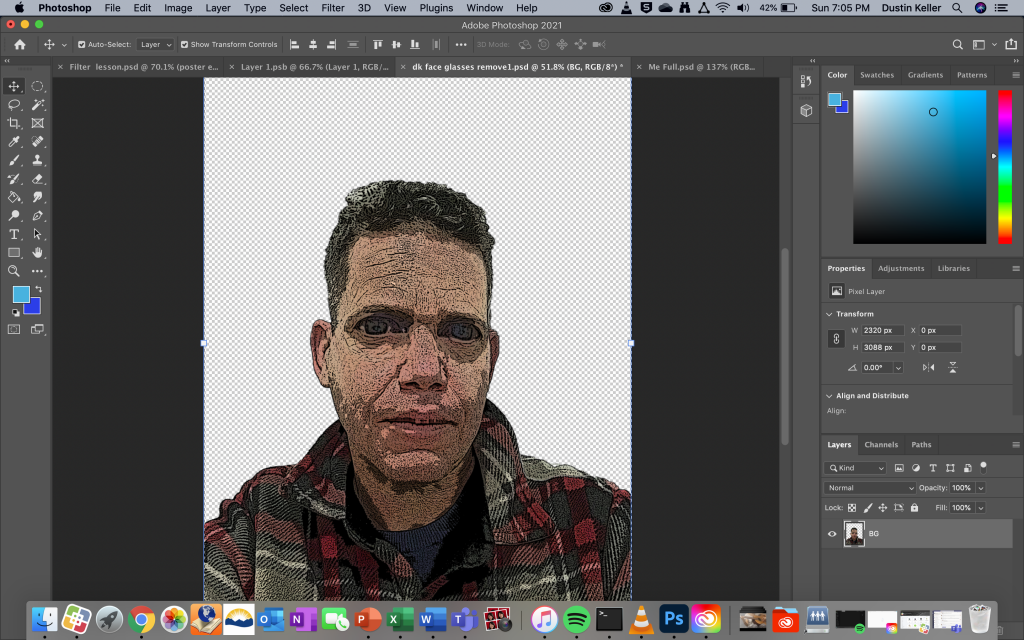
Then use the threshold tool to take the colour out
Then use the Oil Painting feature to elongate the mask into lines
Step 3: Now you can play with various filters and adjusts tools to build up more flatness, contrast, and lessen the details.
Video Tutorials:
I really like this tutorial as it uses halftones to give a comic book effect which takes me back to my childhood. It also lets you know that changing a layer to a ‘Smart Objects’ make that layer have the ability to fluidly change the filter levels if you need to.
And this is REALLY worth watching!
Here’s another good tutorial.
More on Smart Objects and how to use them. (This is important).
Please heed Jesus’s advise: the filter levels depend on the image- so use your own judgement.
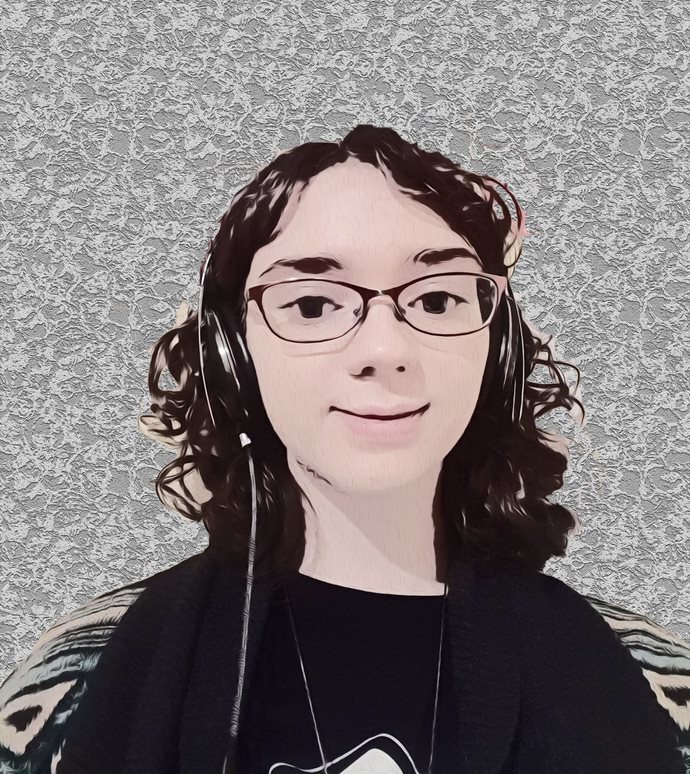
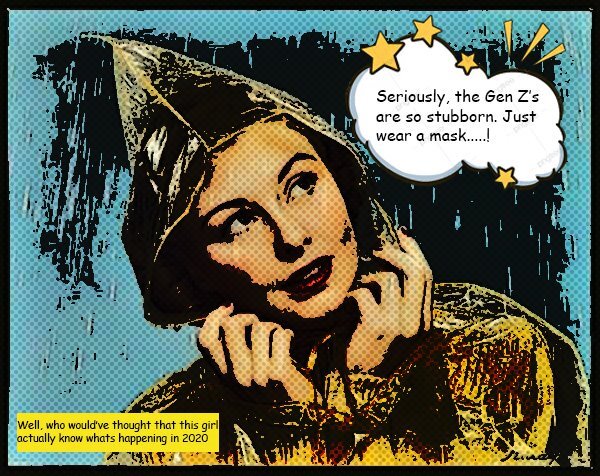
Student Gallery
By O.F.
By G.G.
By J.M.
By J.M.
By M.F.
by R.T
By R.T.
By K.M.