
Photoshop Doughnuts
THIS PROJECT IS FOR STUDENTS WHO ALREADY HAVE EXPERIENCE WITH PHOTOSHOP & WHO ARE NOT DOING THE INTRO TO PHOTOSHOP PROJECTS!
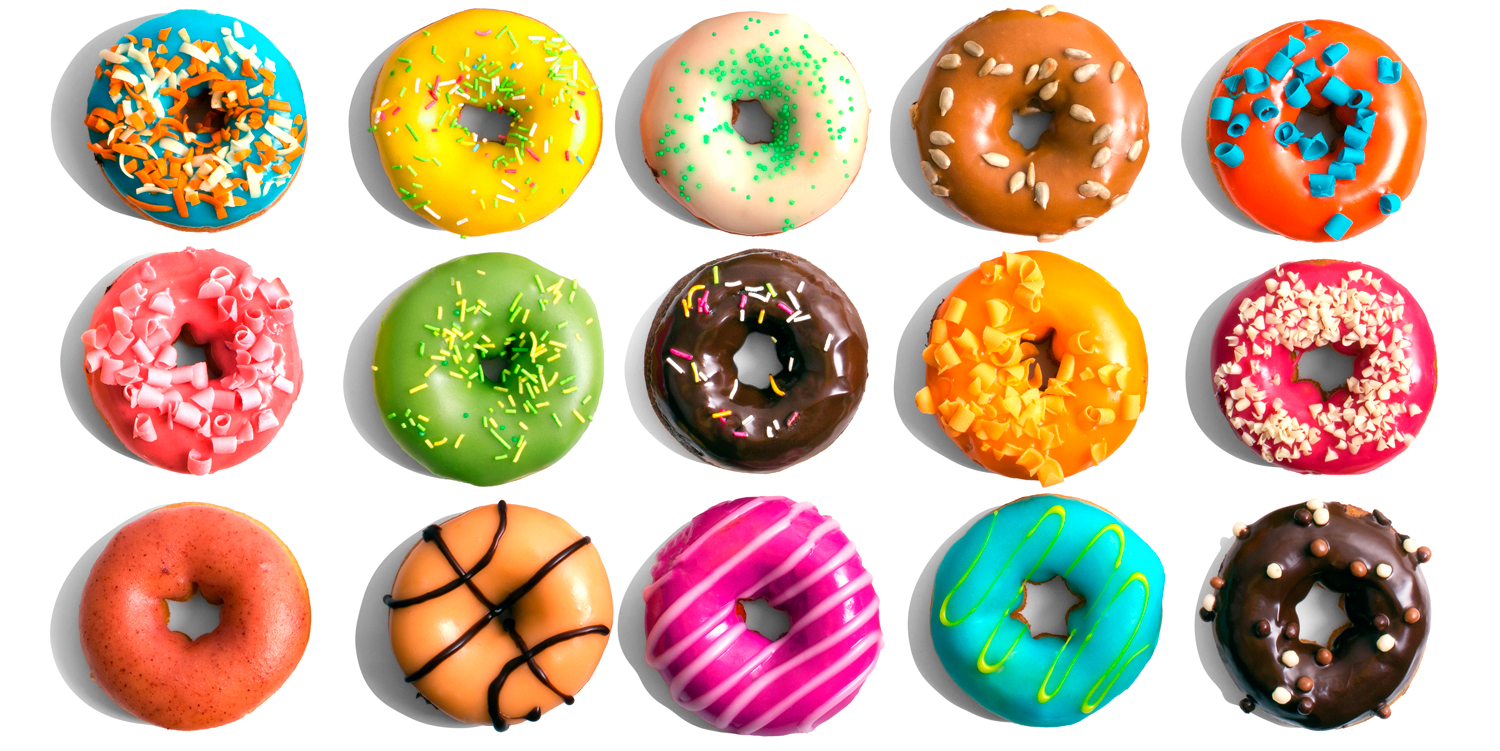
I will be spending a lot of time with the students that are being introduced to this program, please ask questions if you have them. If you had me for Photo last year, I’m sure you can do this project and have some fun. I want 6 Doughnuts of different topping, but relatively the same size. I do not care what you put on your Doughnuts!
fbcoverstreet.com
(project Credit: http://student.phs.net/lbelford/belford_web/files/multimedia_design/ps_fun.pdf)
01. create a document with the correct size, resolution and color mode
02. use the selection tools plus options to create a basic donut shape
03. use the brush tool plus options to create a lighted form from the selection shape
04. use the brush tool plus options to create topping layers
05. create a design appropriate background
06. create design appropriate, imaginative text using the text tool plus options
07. balance all objects within the canvas border 08. organize and named all layers 09. fill out the file information
10. save as: Doughnuts YOURLASTNAME.psd
11. sign your name in black Helvetica size 10 in the lower right corner 12. use your vivid imagination
www.dough-nutty-slp.com
Photoshop Doughnuts Instructions:
00. Go to the main menu File > New. Create a document that is 8 by 10 inches, RGB, 150 pixels per inch resolution.
01. After your PS document opens go to the main menu View > Fit on Screen and (show) >Rulers. In your Document Window Click on the white of the ruler and pull “Guides” to the top 3,4,5, and side 4,5,6, inch marks. Go to the Tool Panel (on the left) and click on the Marquee Selection Tool and hold until the Elliptical Tool appears. Look at the top Options Menu to make sure the first (New Selection) Option is selected. Hold your mouse curser on the center cross hairs and holding down the option key on your keyboard click and drag to make a donut outer shape. (holding down the option key causes the circle to open from the center/ normally it opens from the edge) Next, look at the options menu again to make sure the third (Subtract from a Selection) option is selected and this time hold your cursor on the outer most upper left cross hairs, click, hold and drag to the outer most lower right crosshairs. You should see “marching ants” in the shape of a donut. Go to the Main Menu > file SAVE.
02. Go to the Tool Panel and click on the Brush Tool. Go to the brush options and select a 200 pixel feathered (soft edge) brush. At the top of the page in the Options Menu, change the opacity to 25% (this will create an “air-brush” effect) (change opacity as needed) Look at your Layers Palette (on the left) and select Swatches. (If your Palette is not showing go to the Main Menu > Window > and check on: Layers, Swatches, Styles and History) (You can arrange & move palettes) Pick a “donut” dark color in the Swatches Palette. Paint your donut shape to create a 3-D form. (The top of the donut is lighter because it gets the most light. As you go towards the hole, light is blocked, so you must use darker colors. Use darker colors around the edge to show form)
03. Create a New Layer (icon next to the trash can at the bottom of your Layers Palette) Click on your Brush Tool and go to your Brush Options to select a hard edge #13 brush. Make an “icing mark” around the top of your donut. (check to see that you still have your marching ants and that you are in a new layer) (use the brush options to create toppings on 3 layers)
04. Go to the bottom of your Palette and click on the “add a layer style icon” (2nd from the left) Select Bevel & Emboss (size 3)
05. Make a total of 3 different topping layers, as described above. If your “marching ant” selection goes away, use the Magic Wand Tool to select the background (transparent pixels), Shift Click on the center hole to add it to the selection. Go to the Main menu > Select Inverse 1. SELECT FORM 2. PAINT FORM 3. ADD TOPPING LAYERS 4. ADD STYLES 5. MAKE 3 TOPPING LAYERS P. Kougar-Melton kougarp@earthlink.net Strategies for Digital Media Photoshop Fun TCEA Photoshop Donut Instructions Continued page 2: Make sure that your have selected the correct layer before you tell Photoshop make a change. This is the number one trouble shooting suggestion when something will not work. SAVE OFTEN
06. Next you need to move the donut and toppings to the top of the page to make room for text. Shift click on each of your layers. Go to the bottom of your palette and click on the Lock (chain on the left). Select the Move Tool (top tool)(keyboard short cut letter V) from the Tool Panel. Move the donut with toppings to the upper canvas.
07. Add a new Layer by clicking on the New Layer Button at the bottom of the Layers Palette. Go to the Tool Panel and select the Gradient Tool (if it is not showing, click and hold on the paint bucket as the gradient tool is a “hidden” tool) Select a Gradient from the Options Menu at the top of your document. (gradient colors should “show off” your donut)
08. Add Text by selecting the Text Tool from the Tool Panel on the left. Use the default horizontal type tool setting and select text options such as formatting, color and alignment. Type your title.
09 For added interest you can add the Warp Text Option to your title. Go to the Text Options Menu and click on the Warped Text Tool Icon (T on an arc) and select from the available options. To add even more interest to your composition; go to your Layers Palette > Styles and select from the options available. Pick a style that complements your donut and background.
10. Add a Drop Shadow to give your donut a 3-D look. Select the donut layer > go to the Main Menu > Layer > Layer Style > Drop Shadow (or go to the bottom of the layers palette to use the icon) Organize your Layers by using the New Groups from Layers options in the Layers Palette. Click on the triangle button at the top right side of the Palette to show this option. First you need to tell Photoshop what layers you want to group. Shift click on the donut and topping layers and then go to New Group form Layers. Name this group Donut & Toppings. Continue to group layer as needed.
6. LOCK LAYERS TO MOVE FORM
7. ADD BACKROUND LAYER
8. ADD TEXT
9. TEXT OPTIONS
10. ADD DROP SHADOW
11. GROUP LAYERS Always check your options when Photoshop does not respond as you expect. For example the brush opacity might be very low and that is the reason your brush does not leave a strong paint mark! P. Kougar-Melton kougarp@earthlink.net Strategies for Digital Media Photoshop Fun TCEA Photoshop Donut Instructions
12. Next you need to clear your guides. Go to the Main Menu > View > Clear Guides Although the “guides” do not print, it is good to look at your final composition to make sure it is balanced and has an excellent overall appearance
13. Go to the Main Menu > File Info and fill out the information. You may “copyright” this document. It is an original work! You should now save in a: .PSD file format to preserve all aspects of your work. CHECK to make sure: • donut created with airbrush shading (form in space) • three different topping layers • one gradient layer background • text with effects • balanced composition • organized layers with names • file information completed • saved as: donutYOURLASTNAME.psd file. Post to your blog with a paragraph of reflective writing.
allthe2048.com
Post to your blo