
Take a picture of a friend.
OK, sounds simple enough. Well, no tan rápido, hombre!
Media is media and there are many skills you need to learn in order to make your projects AMAZING!
In this project, I will be showing you how to;
- ‘In situ’, or ‘In Studio’. Let’s talk about lighting lighting.
- How to use negative space in order to make your positive space or subject stand out.
- Giving you an opportunity to play with what you have learned so far in this course and then use it any way you want.
- We can use the lighting studio and Hot lights to get an amazing picture!
Take a look at one of my photo projects to gain some understanding how to use the schools ‘Hot Lights’.
*** Please note that I am not assigning the ‘Studio Light Portrait Project’ we are going to look at it to learn.***
2. Negative space is Not empty space! It is the space around your subject/object/figure that helps lead tell the viewer where to look and what to feel. I often say that it is more important than the subject/object/figure itself. You can improve or kill your work by its usage in a matter of mm! Here is an article for you:
3. Then I want you to use what you have learned in the previous assignments to make a stunning artwork!!!
- text
- cropping
- placement
- modifying
- blending
- adding in other objects
- filters
- shadows
- ????
Taking your image:
OK, first thing first- chose a model that will work with you. If they are camera shy it makes things very difficult- it can be done but it will take a lot of time. Think through what you see in your friend and what you want to accentuate or bring out. Costume? Props?
Once you have an idea of what you want to say through the facial expression, props, dress, you have to think about how the lights can add to your idea!
Then what camera angle are you going to shoot from? Eye level, birds eye level, worms eye level- and what will each of those different perspectives say about your model/idea?
Ya! There are many things to think about as you start conceiving your idea and final product!
To start open a new file in Photoshop:
- 5×7″
- 150 resolution
- Mode CMYK
Post both original photo and the manipulated photo to your blog.
Please post your project on your blog when done. Remember to have two images- the one you took before photoshopping and then the finished product.
Gallery of images that would fit this project:
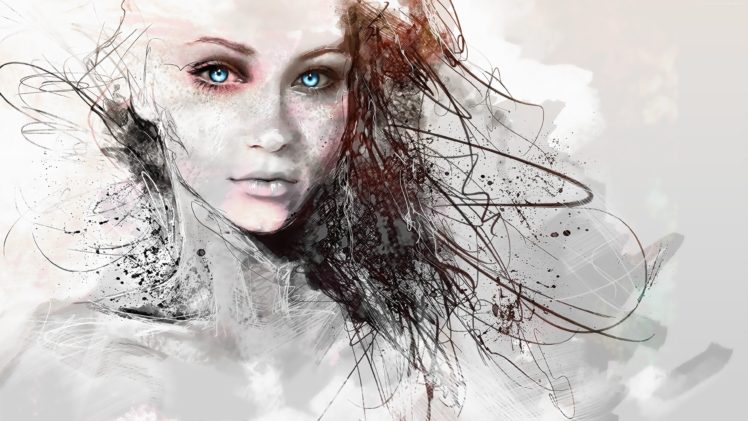
Image source wallup.net
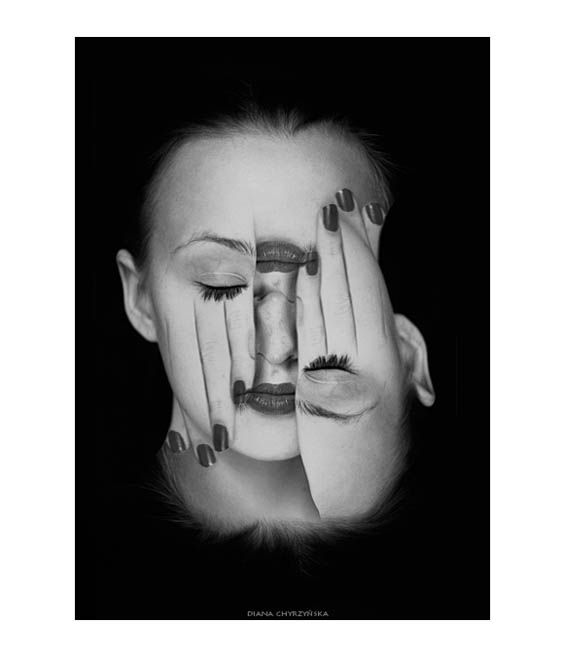
Image source TrendHunter.com
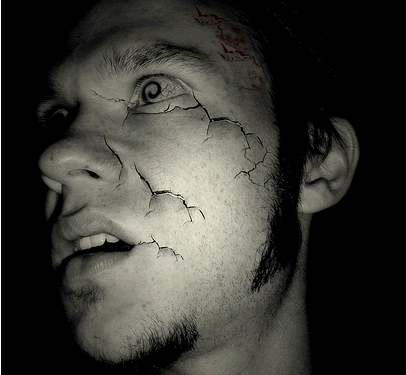
Image source Speckyboy.com
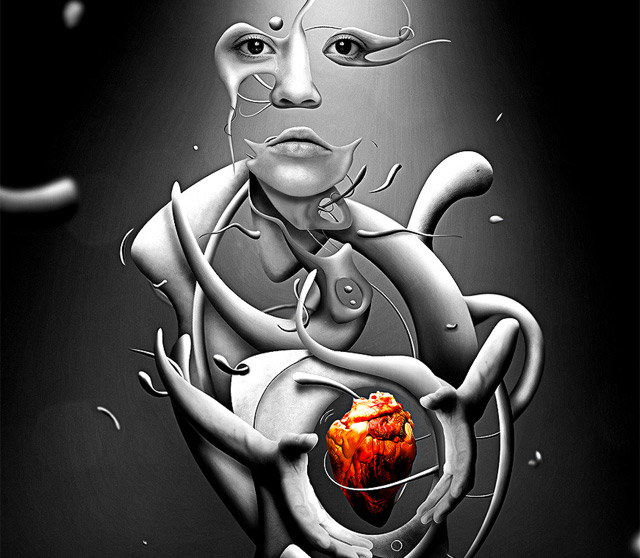
Image source Speckyboy.com
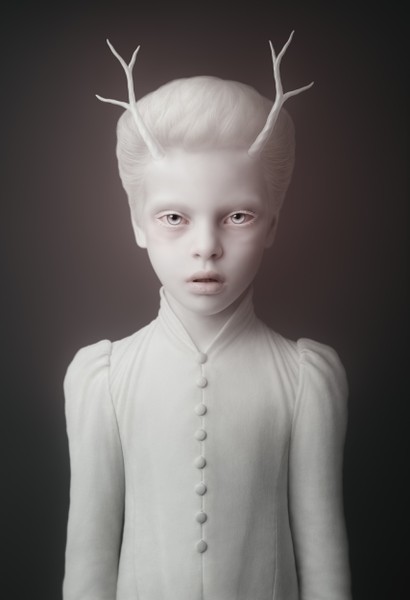
Image source lisahannett.files.wordpress.com
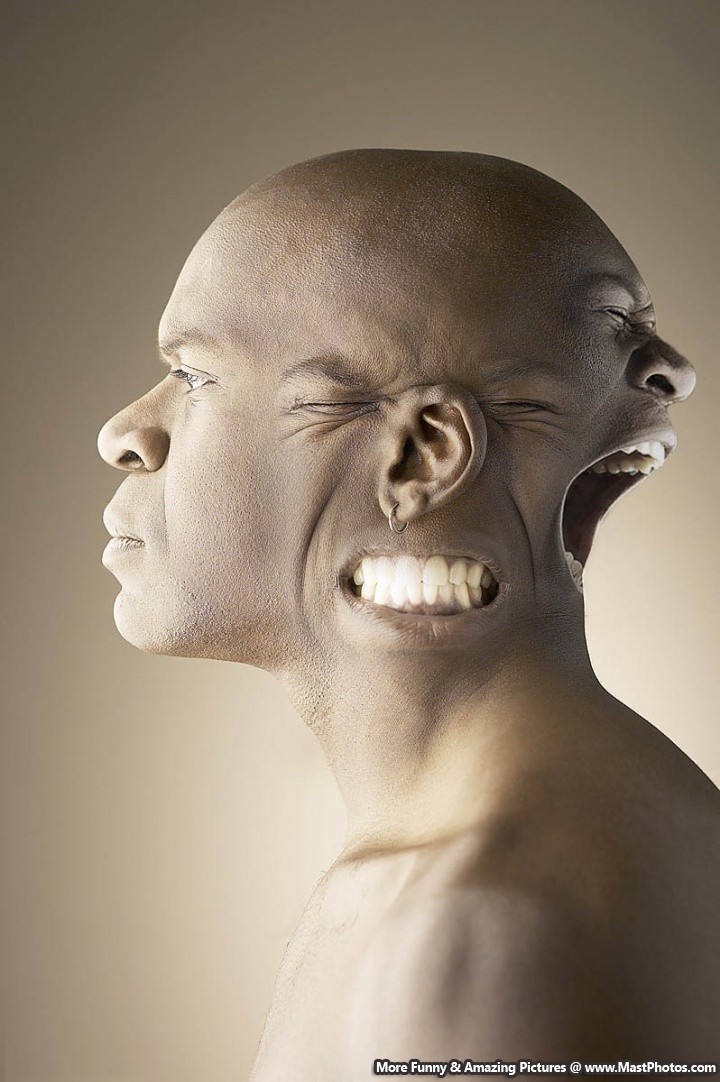
Image source mastphotos.com
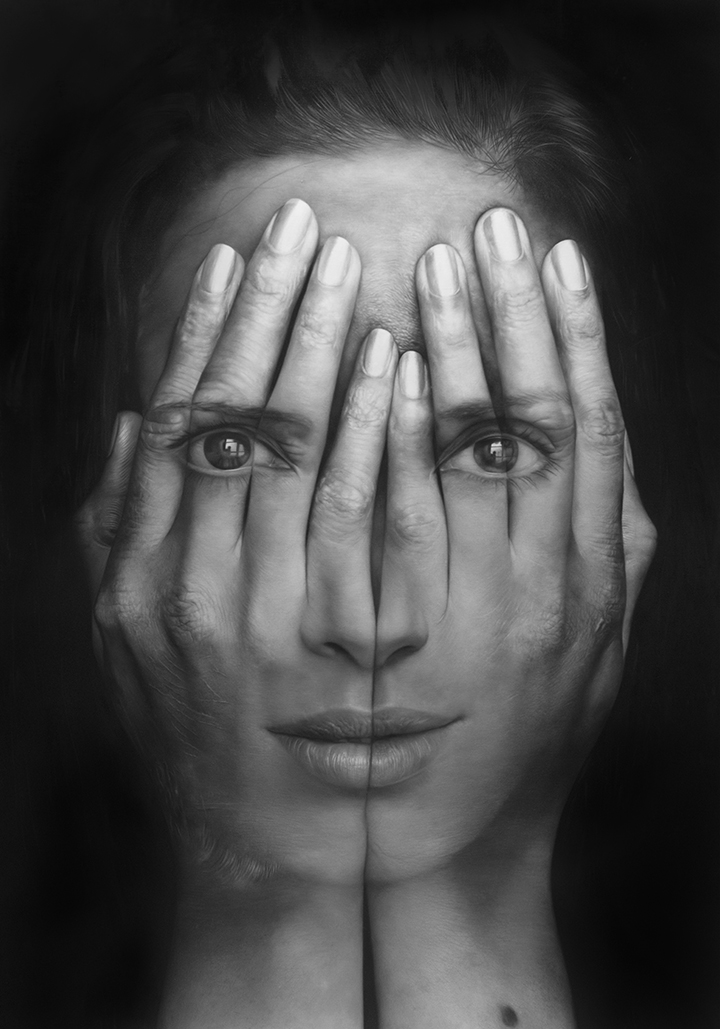
Image source holly.com
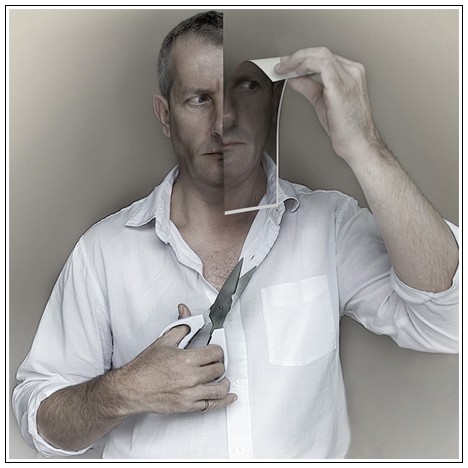
Image source fotografie.blog.nl
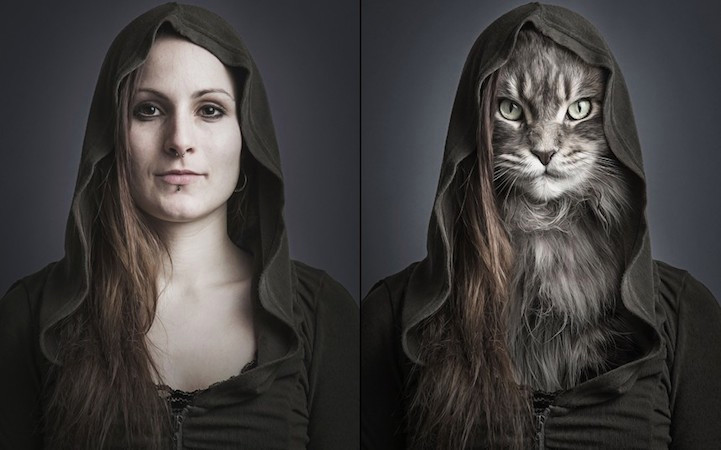
Image source Flavorwire.com
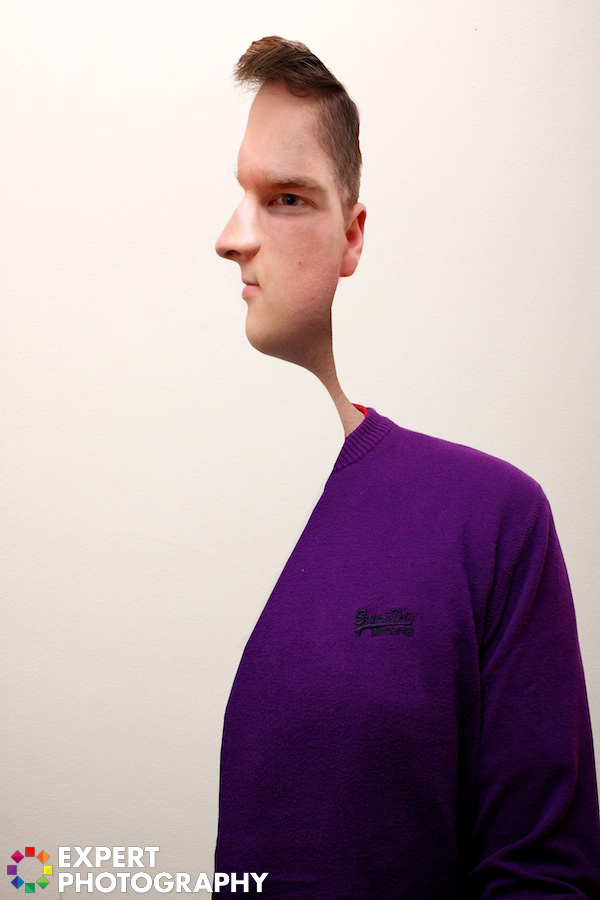
Image source ExpertPhotography.com

Image source designyourway.net
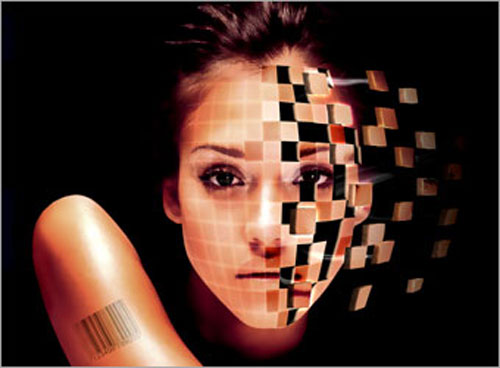
Image source DesignDazzling.com
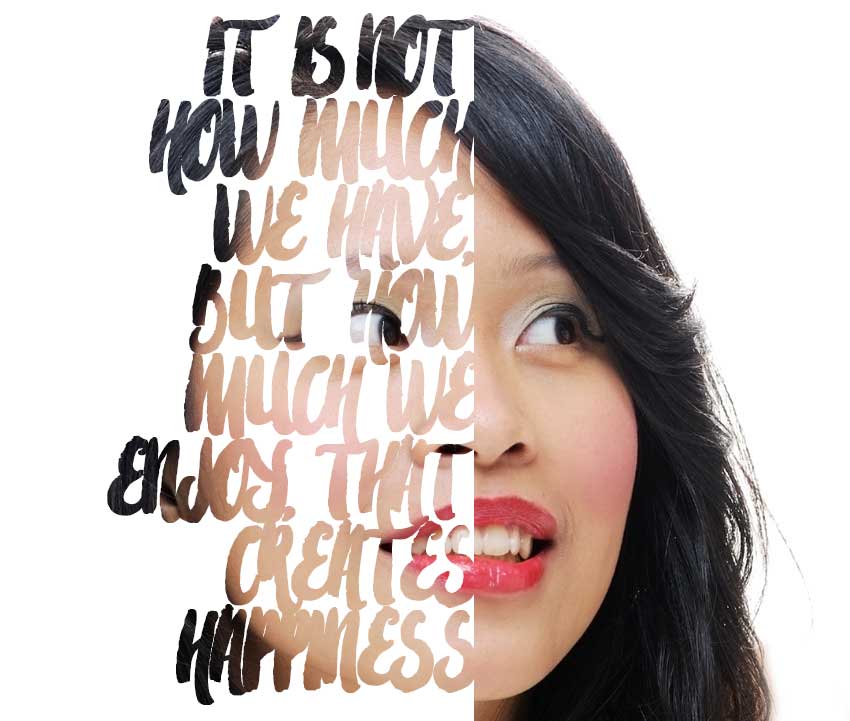
Image source cms-assets.tutsplus.com

Image source advicedada.com
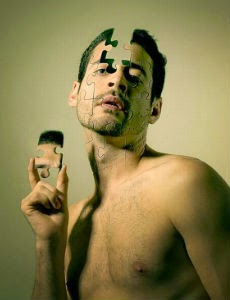
Image source 4.bp.blogspot.com
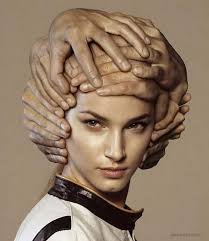
Image source inspirefirst.com
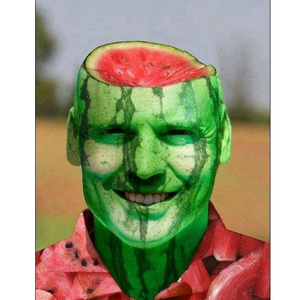
Image source img.memecdn.com
Questions for your Blog
- Who are you going to use as your model for this picture?
- Why? (3 sentences or list 10 reasons)
- What do you want the people who look at your finished project to understand about your friend?
- How will you set up , or position your model?
- why?
- How will you set up the lights?
- Why?
- What will you do to the image through Photoshop?
- How will it enhance what you want your viewers to understand about your friend?