
What’s a Sketch?
A sketch (ultimately from Greek σχέδιος – schedios, “done extempore”[1][2][3]) is a rapidly executed freehand drawing that is not usually intended as a finished work.[4] A sketch may serve a number of purposes: it might record something that the artist sees, it might record or develop an idea for later use or it might be used as a quick way of graphically demonstrating an image, idea or principle.
Sketches can be made in any drawing medium. The term is most often applied to graphic work executed in a dry medium such as silverpoint, graphite, pencil, charcoal or pastel. But it may also apply to drawings executed in pen and ink, ballpoint pen, water colour and oil paint. The latter two are generally referred to as “water colour sketches” and “oil sketches“. A sculptor might model three-dimensional sketches in clay, plasticine or wax. (Text source https://en.wikipedia.org/wiki/Sketch_(drawing))
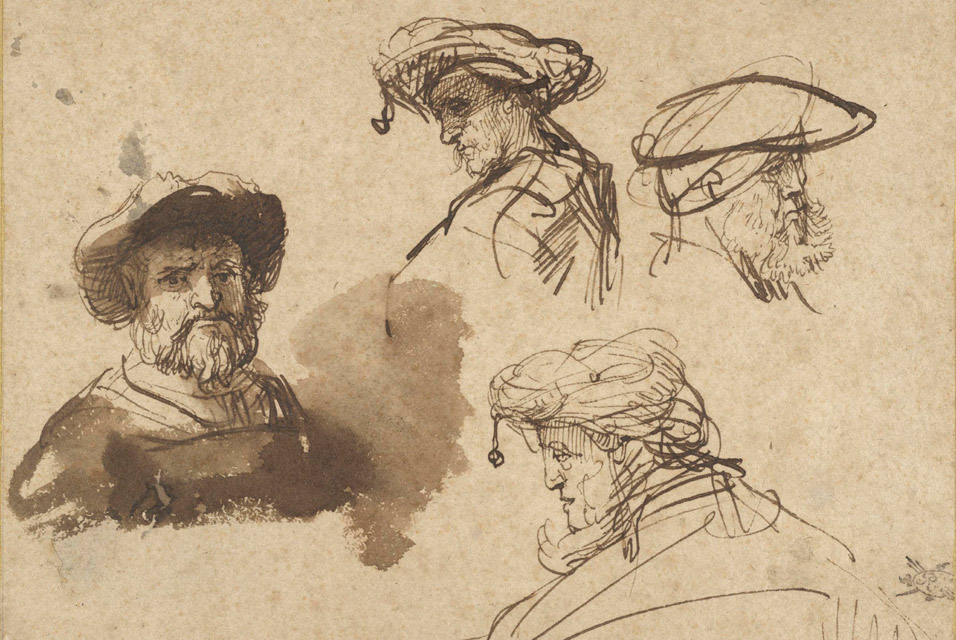
Image source https://commons.wikimedia.org/wiki/File:Rembrandt_van_Rijn_-_Four_Studies_of_Male_Heads,_c._1636.jpg
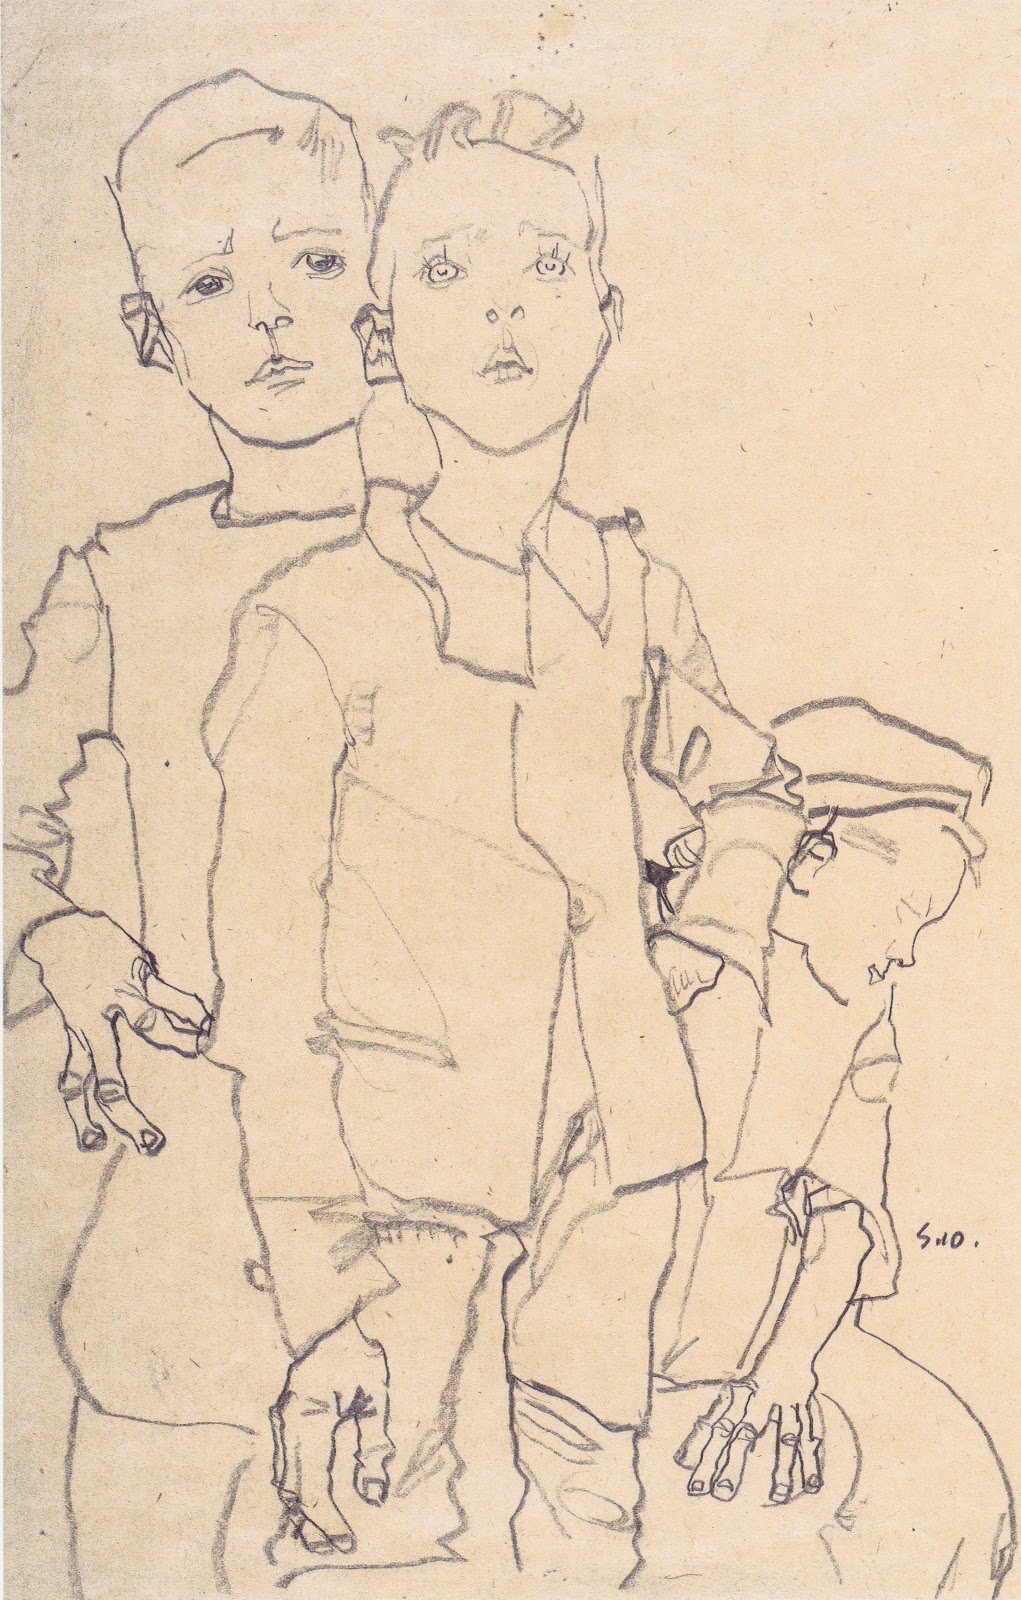
Image source drawingseeing.blogspot.ca201210-1910-egon-schiele-expressive-line.jpeg
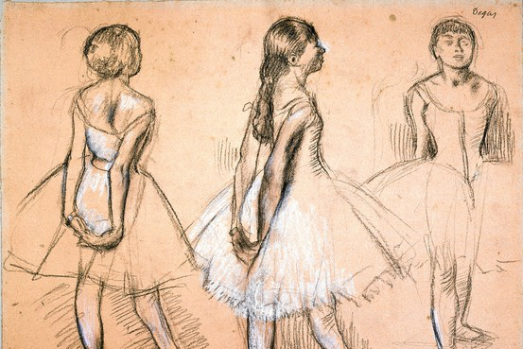
Image source Image source atelier.cn.com
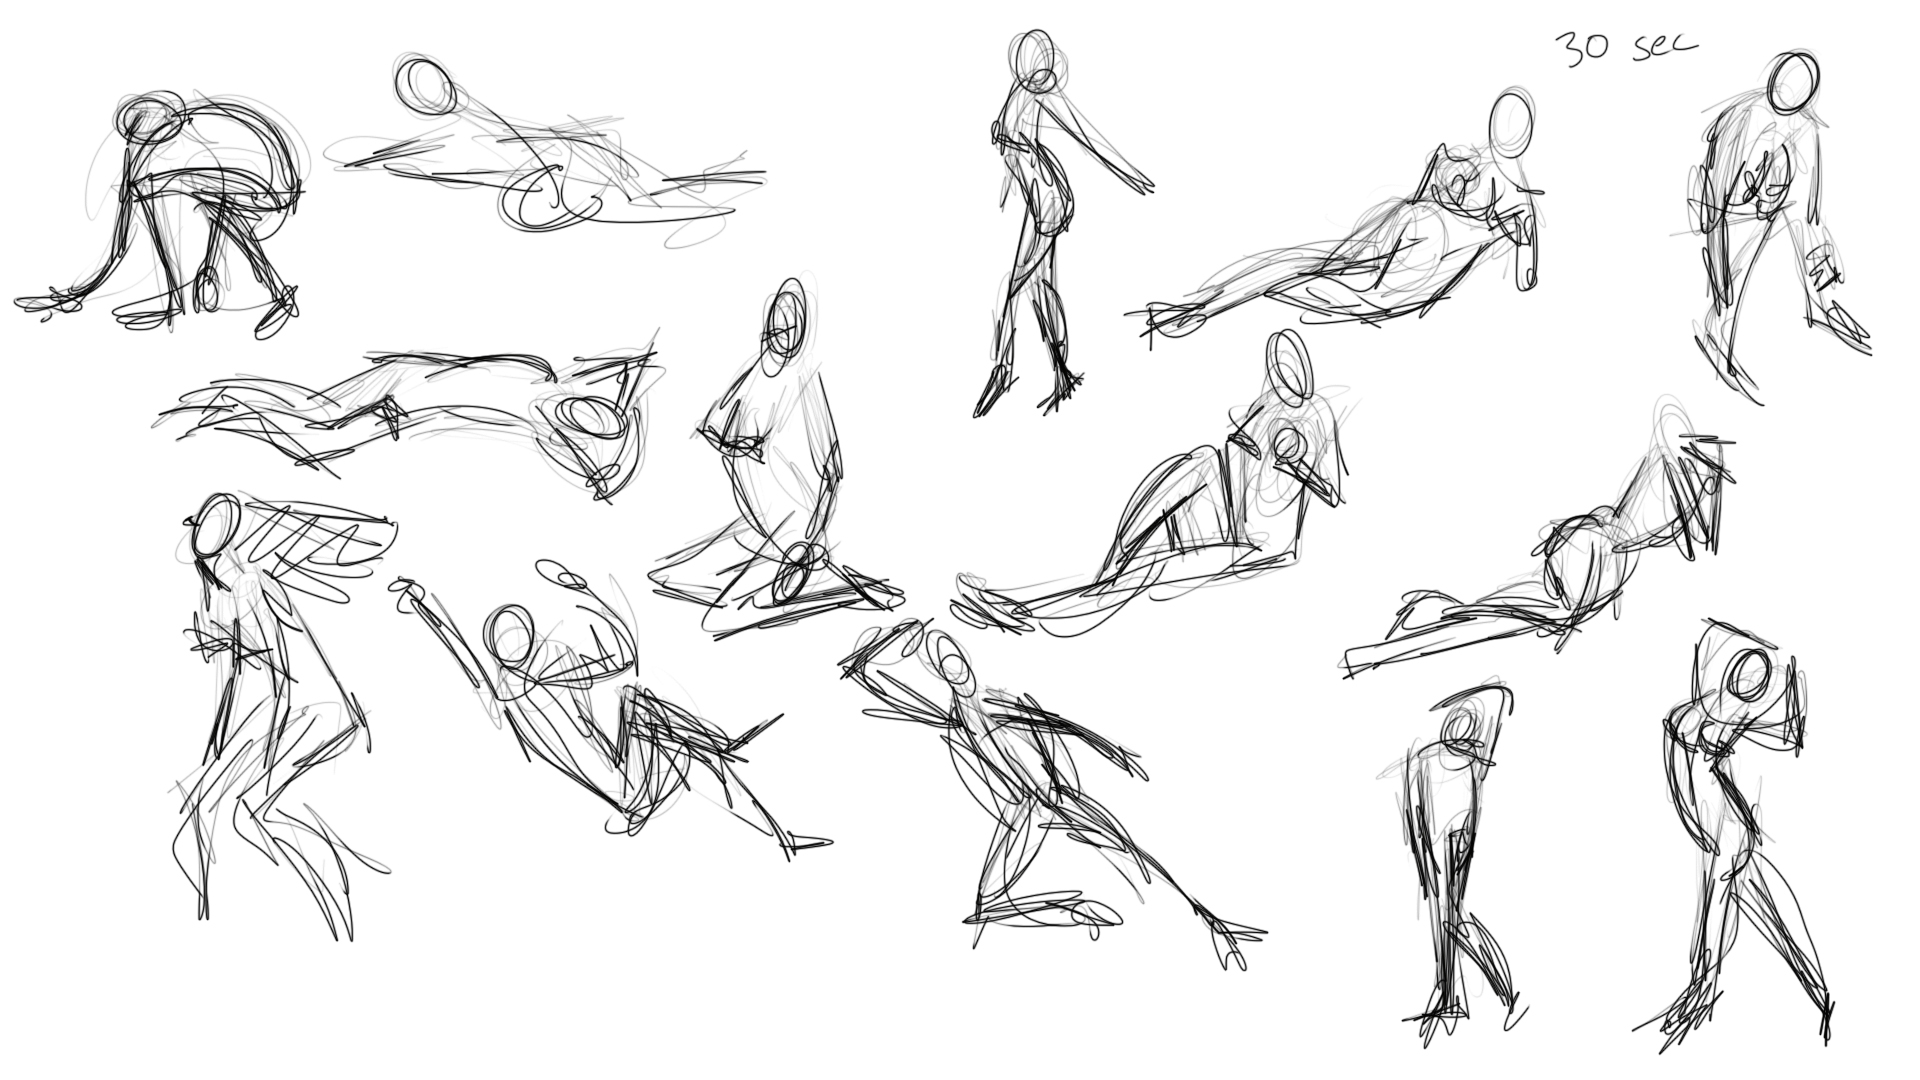
Image source ohjin.deviantart.com
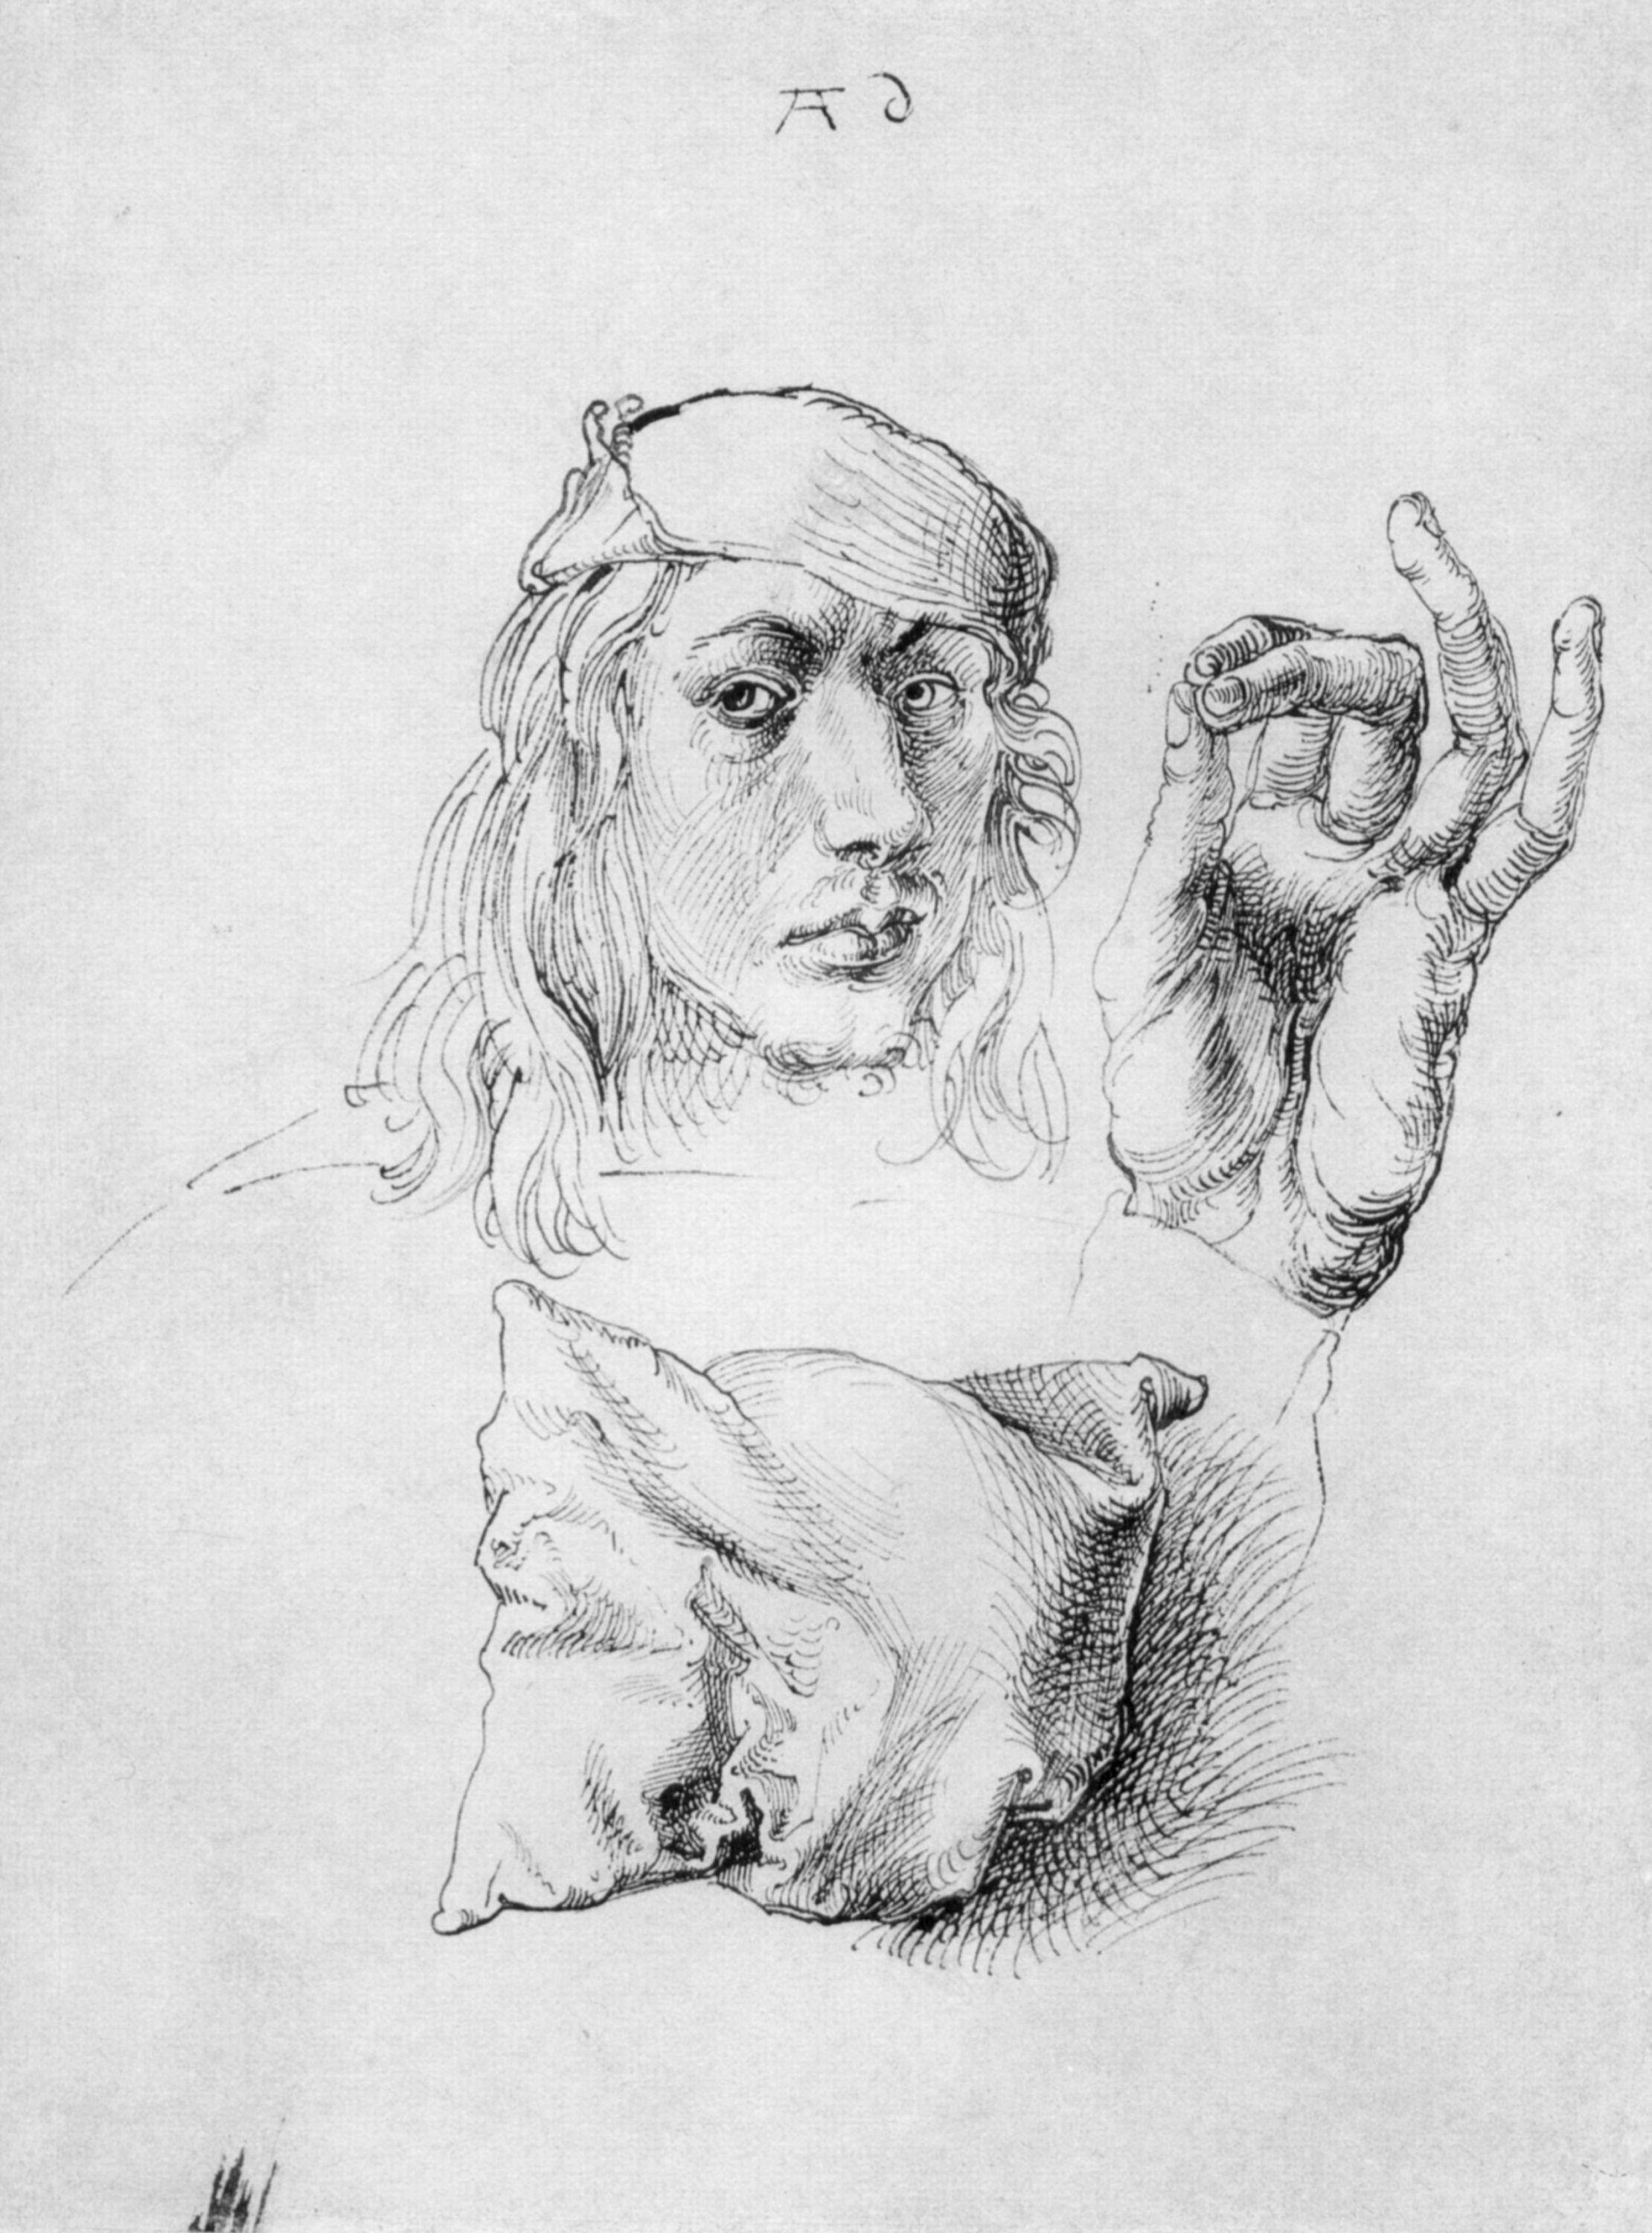
Image source StudyBlue
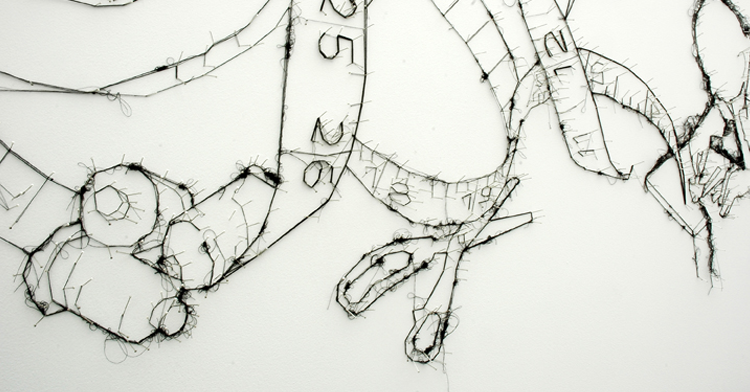
Image source Textile Artist.org
So a sketch is simply just trying to get your pencil, or whatever drawing media you are using, to convey an idea of likeness or a feeling to the audience. If you don’t like your first attempted you can start over on the same piece of paper. Actually, you can use your paper any way you want. It can also be something used to convey instructions to someone else- think of your bedroom and sketching out a new furniture arrangement.
Some of my favourite works of art are sketches that the artist just whipped off or was a part of a study for something else.

Image source Morgan Library
But Why wouldn’t an Artist just do the good copy and be done?
Well, sometimes they do. Most of the time though, an artist will sketch to warm up their mind and body. As well as a way to start conceptualising the structure, theme, and composition of an artwork they want to produce. I have often found myself in the middle of a painting and needed to step back to figure out a problem I found myself within. When this happens I get my sketchbook out and start sketching alternatives pictorial arrangements or compositions until I am satisfied. The sketches are not detailed! They are usually scribbled to tell you the truth. In my mind’s eye, I know what the finished painting will look like what I am after is the structure!
Here is Vincent Van Gogh ‘The Sower’
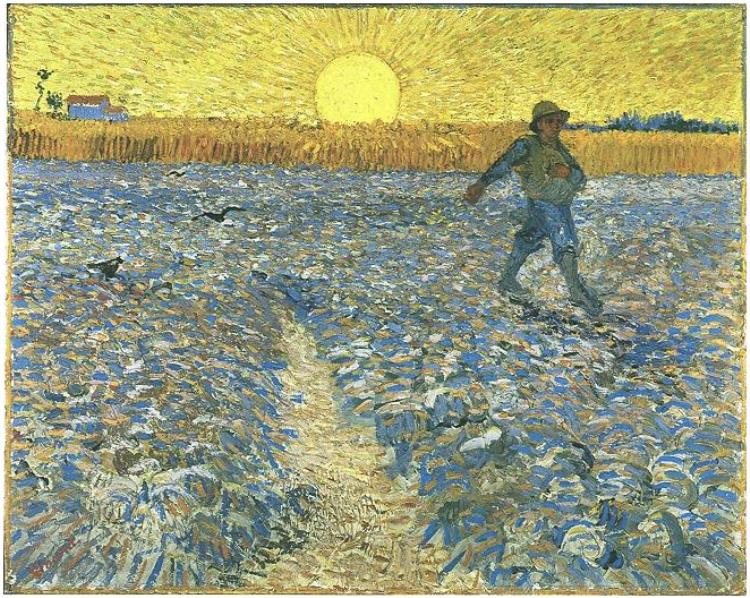
Image source http-::www.vangoghgallery.com:painting:drawings-and-paintings-compared
And Some of its Sketches.
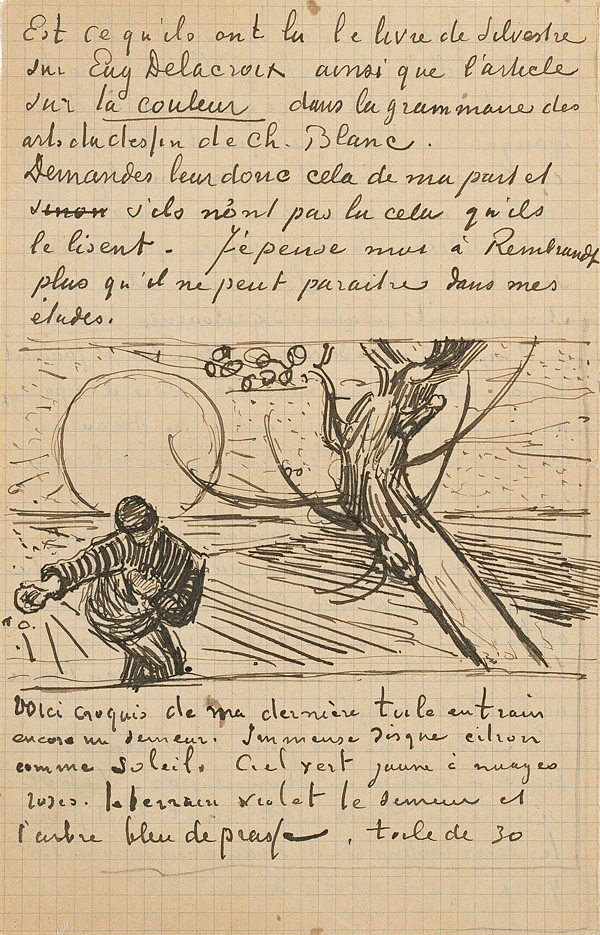
Image source blog.naver.com
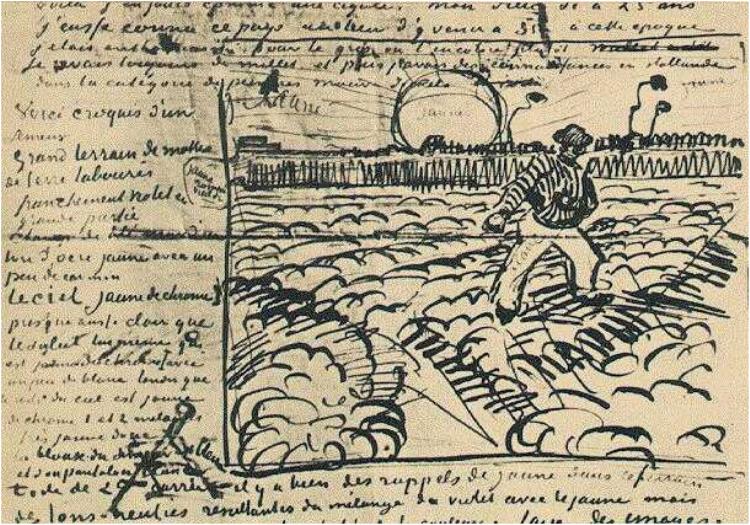
Image source vangoghgallery.com
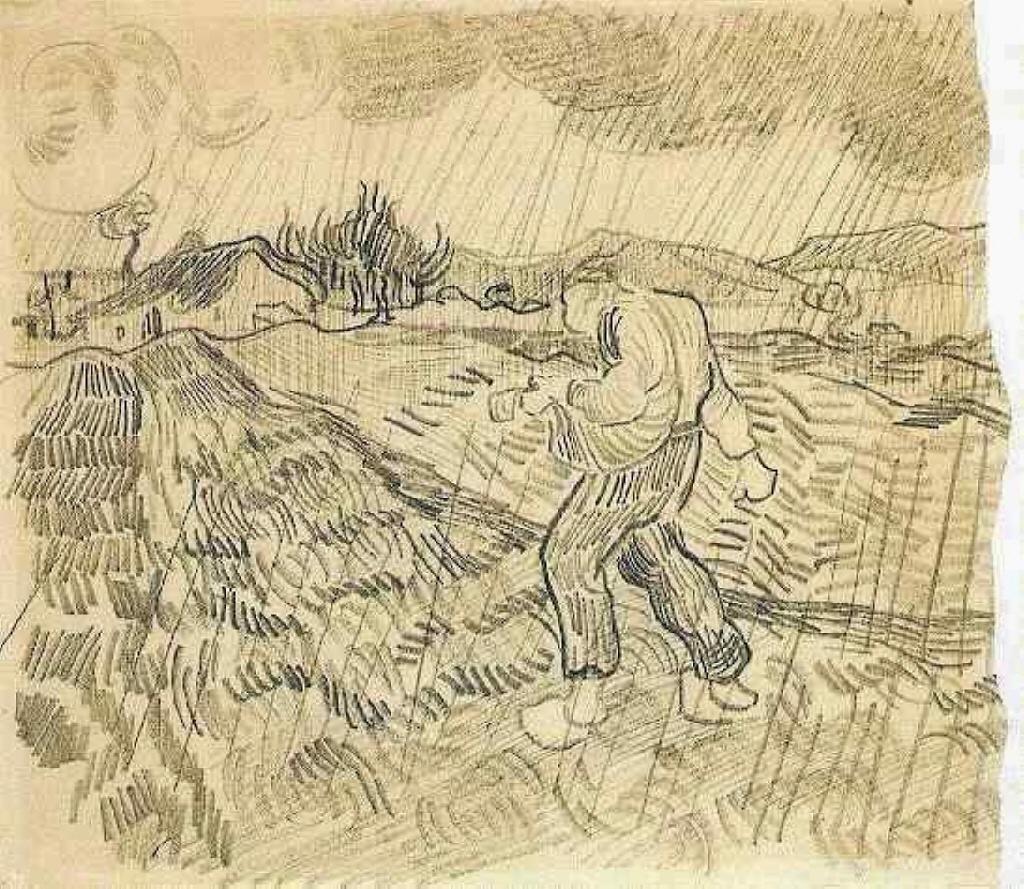
Image source wikiart.org
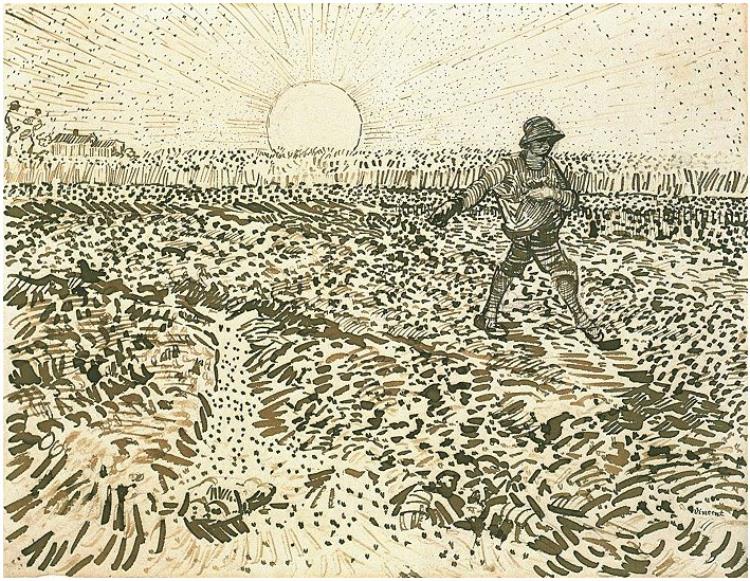
Image source Vincent van Gogh Gallery
But why so many sketches for one painting?
Tobe honest I’m not sure how many there are or if these are all for the painting I just showed you!. But my point that Artists use sketching as a means to an end- to figure out what they want their final piece to look like in the end. I would go so far as to say Sketches the best way for an artist to solve visual problems. I am trying to pass on is that pictorial space is
After all, a work of art is all about the artist composing and image. From the overall structure of the work to the medium, and the marks he or she uses. Everything is a choice! And given that there millions of different ways to do anything visual it becomes a PROBLEM!!! HA!
How do I begin a Sketch?
Ok, let us get on with it.
- Sharpen your pencil or get out whatever medium you are going to use. (From now on I will be using pencil as I talk/write ) and get out your sketchbook.
- Think about WHY you are wanting to sketch something at all?
- Is it to develop your drawing skills
- learn to observe objects close
- Capture a mood or feeling
- Convey information
- Start to conceive a larger work
- For us in this class right now let’s assume we are simply wanting to develop our drawing skills so that we can capture a 2d likeness of a 3d object. So, Find something small, something with detail, but not too much! No cell phones!!! How about a finger, an acorn, a hat, etc
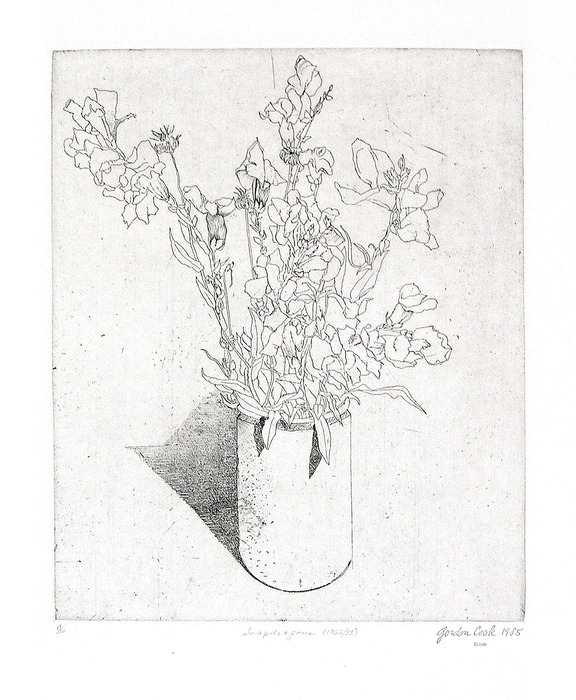
Image source ArtSlant
- Here is a nice little drawing (it’s actually an Etching!) by the American artist Gordon Cook. It’s some flowers in a cylinder vase thing. The flowers are on branches of different lengths, each branch veering off at a different angle. There are a few shadows which the artist has used lines and stipples (dots) to build up varying amounts of Value (lights and darks).
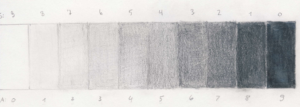
Image source http://heartlessartist.com/
If we look at the overall composition, how the artist has arranged all the different elements on the page, we notice that the vase is basically in the middle, near the bottom, and the branches fan out to the top on both sides. Some even ‘Kiss’ the edge.
- Ask yourself “How does it feel?” yes, yes, I know you can’t touch it, I’m asking you to ‘feel’ with your eyes and brain! Is the arrangement easy to look at? Does it seem odd? Does it appear or feel like its going to fall off the page or lopsided? Is there enough space around it? Or too much space? How much detail is in it? What kind of lines is he using? Is it realistic or abstracted? What is the light like?
- Hey, I don’t want to talk about Gordon’s sketch I want to talk about mine!!! The questions I am asking you to think about in Gordon’s work are precisely those I need you to ask about your own sketch as you start off. ok? What is your intent? but, I hear you and let’s move onwards.
- Grab a simple object like an acorn, or a leaf, shoe, even a flower- No put away your cell phone!
- Fruit great!
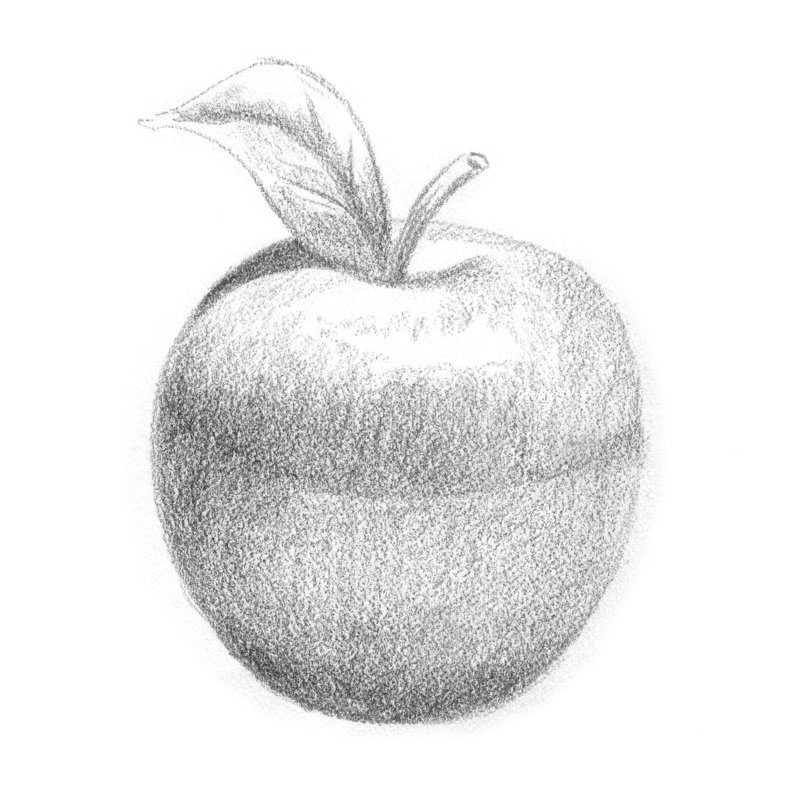
Image source Dreamstime.com
9. So the artist of this apple drawing has kinda plunked the apple down in the middle of the page. The light is coming from the top rights but does not really seem to make anything dynamic or interesting, in my opinion. The value, of shading, is nice. Altho, I am wondering if this is a metal apple that comes apart in the middle- do you see what I’m talking about?. Yet as a whole the composition does not really do it for me. Let’s take a look a the next image:
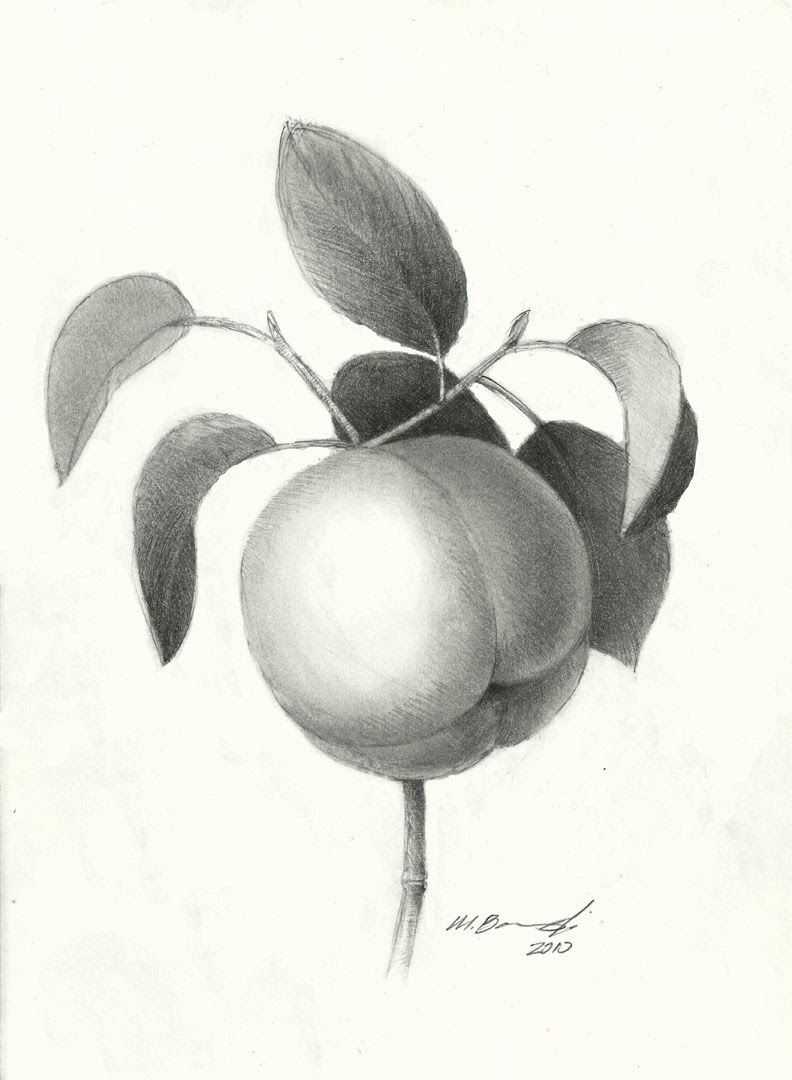
image source http://4.bp.blogspot.com/-sAqNOB-Y7nc/UlZJwTxCJzI/AAAAAAAACU8/wBwtyhZqY_I/s1600/peachdrawingx15.jpg
This Peach sketch by Mark Bornowski is quite nice, I like it. Yes, the Peach is still in the middle, but the way he has used the stem and leaves to put a visual weight at the top of the sketch works for me. I like the composition and design. I like the level of detail in the work itself. and most of all I like the use of positive and negative space. The mark making system seems to be line work and using lighter values to show the edges and make the audience aware of the 3d aspects.
10. Now it’s your turn. Pick your fruit. Hold it in your hands and look at it. No, REALLY LOOK AT IT!!! Take your eyes and start somewhere and run your eyes up and down the fruit on different paths and angles. Look at al the little bits that your fruit has opposed to the others. Does it have pores, a stem, bruises???
11. Umm, Are we still talking about Sketching or have we moved into drawing? Mmm, sketching, but the same goes when you are beginning a drawing! the only difference is that in a drawing you have conceived your how and why to a slightly higher level.
On to thinking about composition:
12. If you place an object in the middle of your paper it will most likely suck. One thing I know from framing artwork is that if you put a picture in the middle of a frame (equal spacing top, sides and bottom) the picture will alway feel as if it’s pushed down or falling. Hence why people who frame pictures usually keep the top and sides equal and the bottom deeper.
13. Try and keep your images within the picture plane (the totality of the paper).
14. Give some space at the bottom of the paper for your audience’s eye to move into the image- do spill off the bottom as it will totally flatten out your work.

Image source http-::vincentinparis.com
15. In some spots come up close to the edges, kissing the edge, is fine. (So is going over, but let’s wait on that for a bit until you get a handle on the composition and design). Remeber variation is a GREAT THING!
16. Figure-ground relationship(or positive negative space). Your fruit is the ‘figure’ and space it takes up is termed ‘positive’. The background is termed ‘negative’.
17. Arrange the object or objects in a manner you find pleasing. (habit and taste is what we find pleasing just what we have grown up with?)
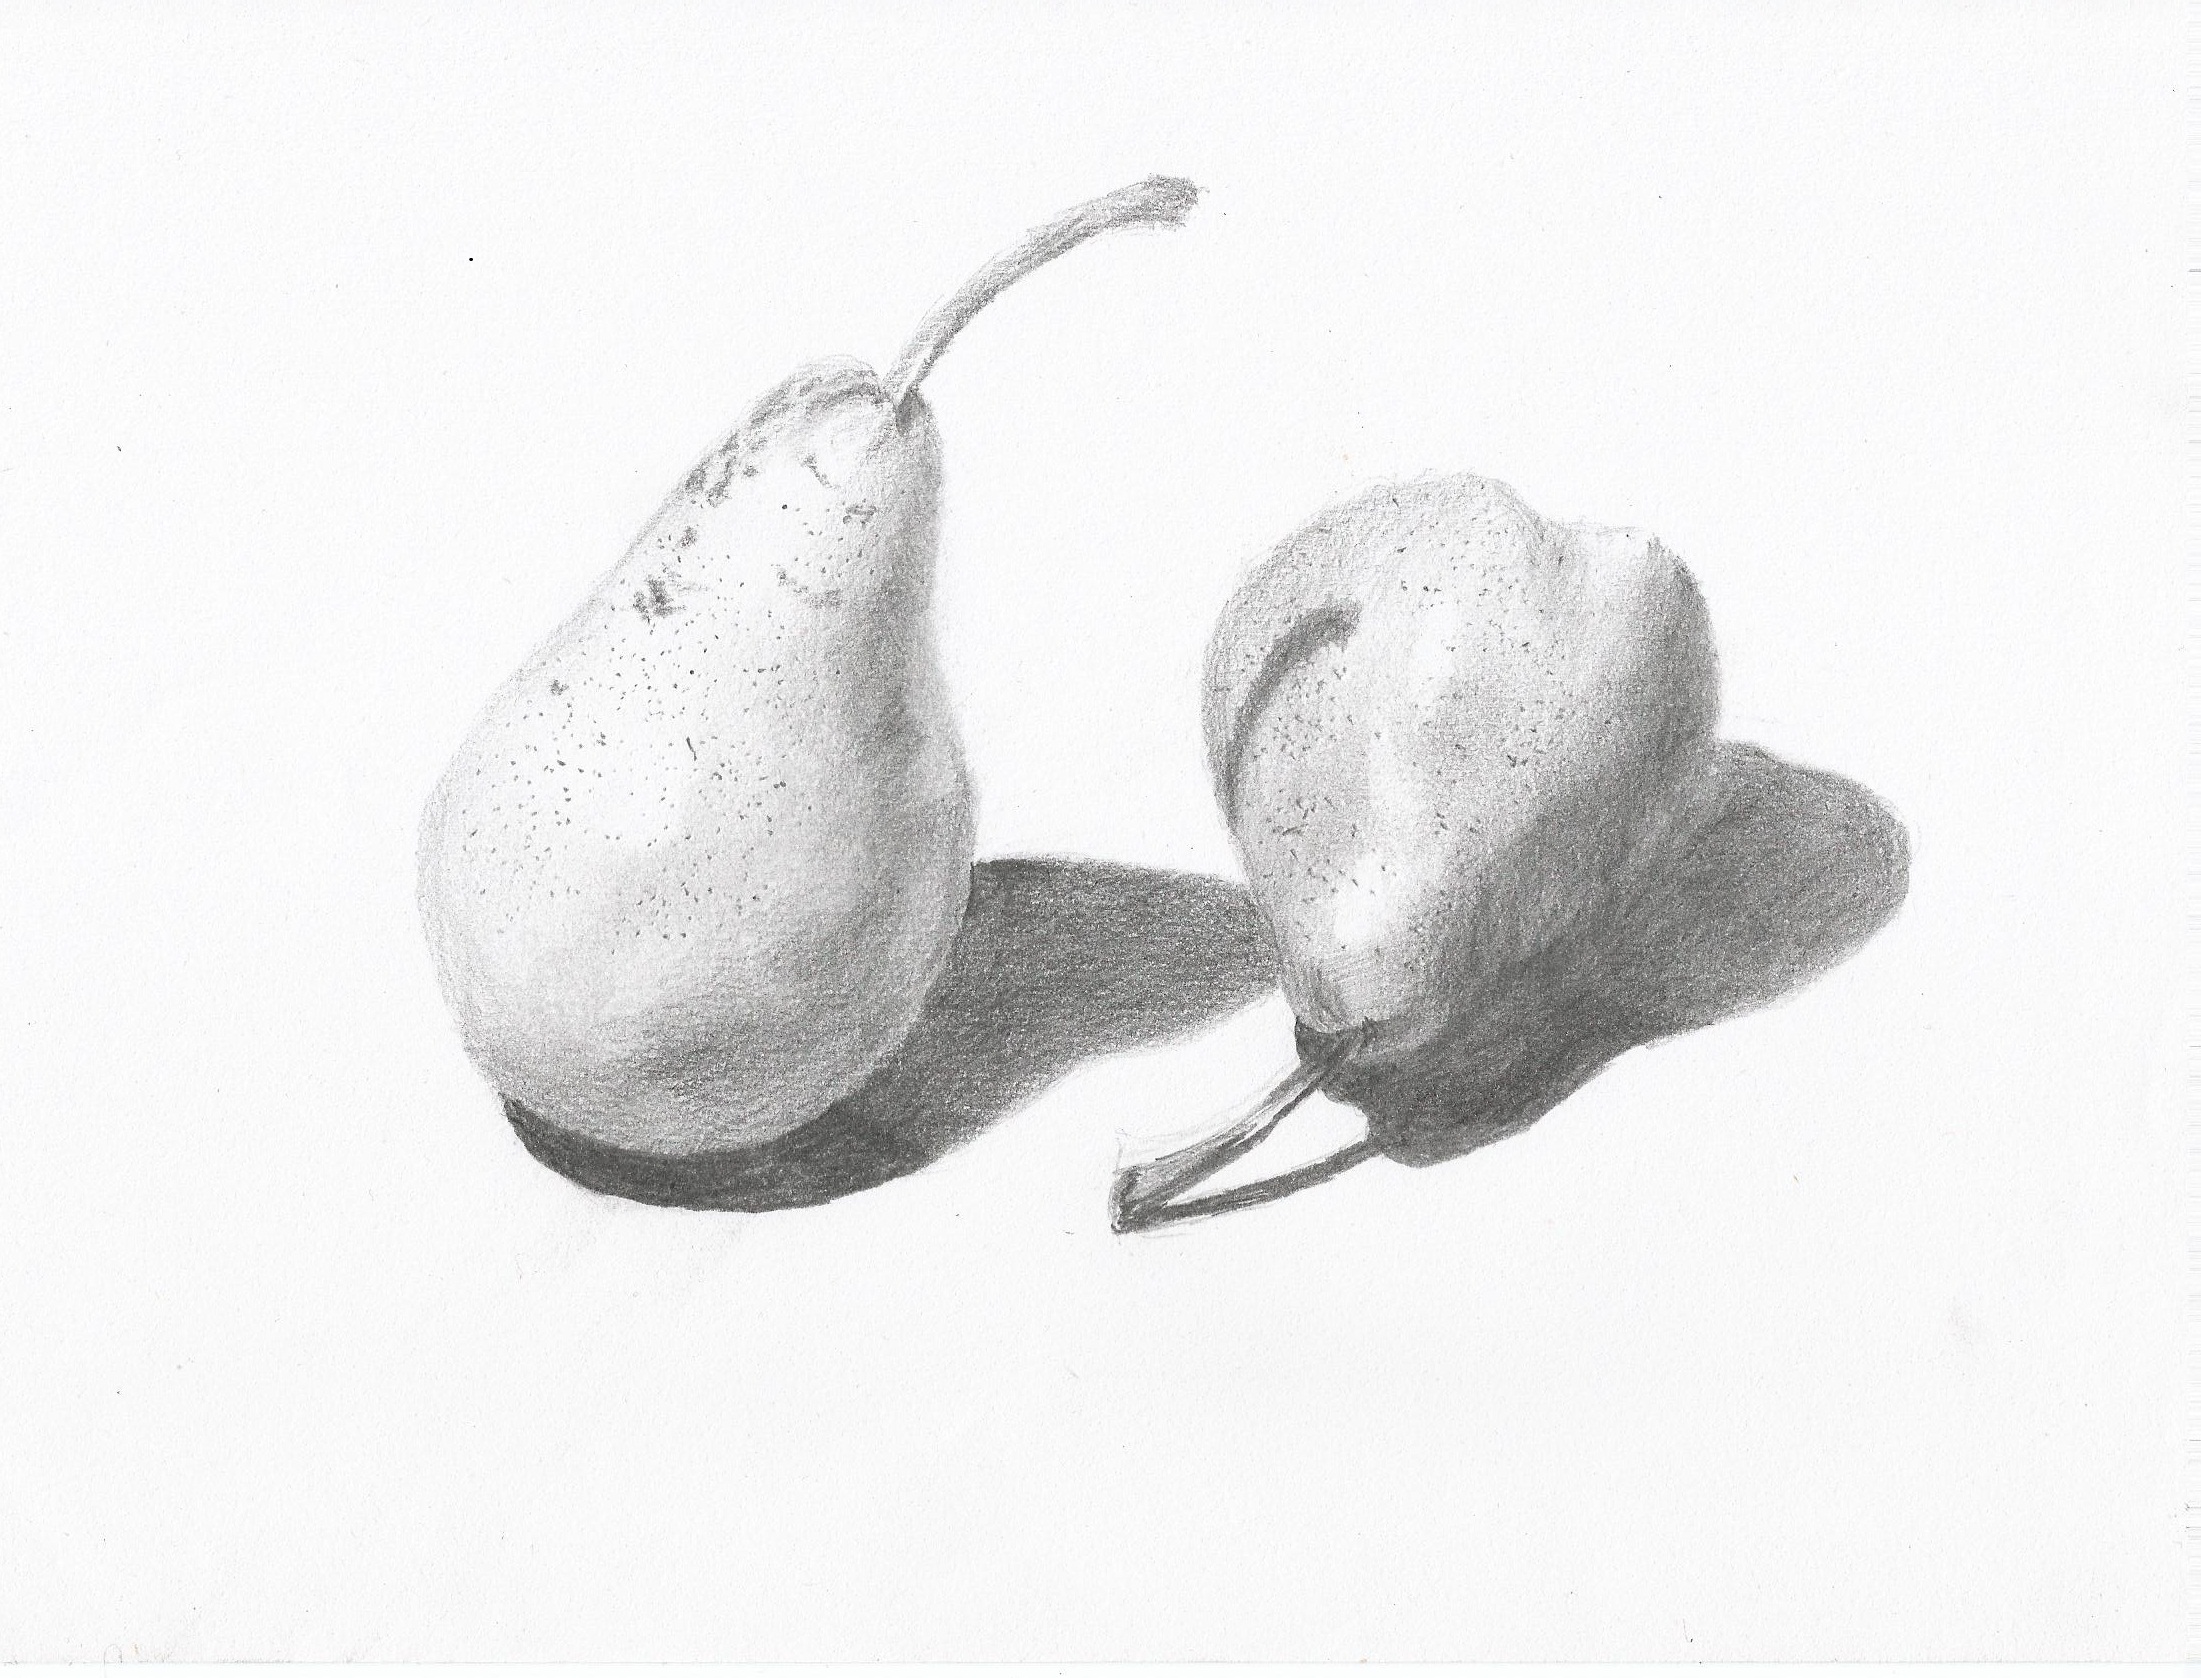
Image source mickosthehat.wordpress.com
line:
18. Start off gently. Use thin lines to find your shapes. If you make a mistake keep sketching. Use your first line to help you get to the correct line! Erasing is a waste of time if you were sketching lightly in the first place. Plus- it’s just a sketch!
19. Think about where you want the light to come from! If you have the lighting you like start adding the darker values. Use mark, lines, whatever. (We will talk about this later)
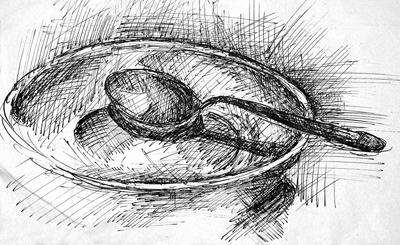
Image source http-::payload5.cargocollective.com
20. Continue on until your sketch has some visual weight to it.

Image source Will Kemp Art School
21. Don’t be scared to screw up! If you do simply start again using the lessons you learnt screwing up to not screw up again! Honestly, nothing is going to teach you more about sketching and drawing then sharpening your pencil, making some observational works, and paying attention to what is working and what is not!
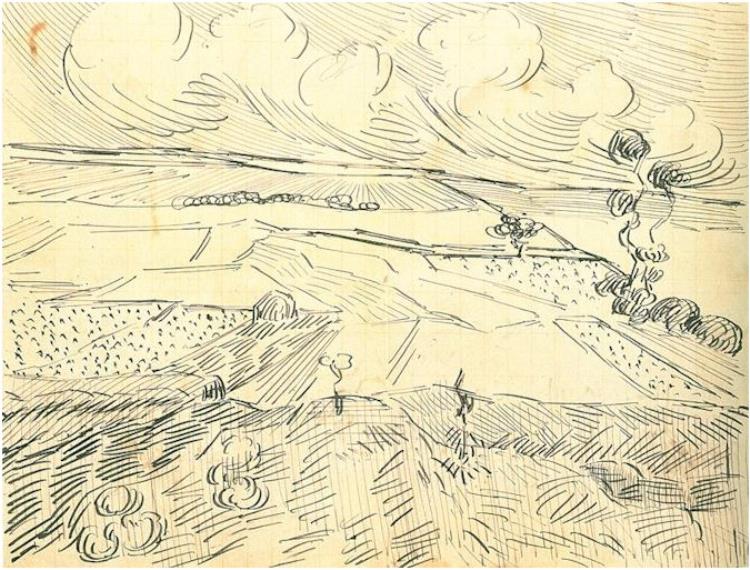
Image source Vincent van Gogh Gallery
I could not leave out landscape sketch. It’s a whole different ball of wax, but if you look at what you’re drawing. Think about the angles you need to replicate. Use big marks in the foreground and make them smaller as they recede. Adjusting the value of your lines and marks will also give you a sense of depth- Dark and crisp in the front, lighter and fuzzier as you go back. And, again, practice and think about what is happening as you sketch are the most important factors.
So you bought a sketchbook… now what?
Sketching Assignments:
We will start off each class for the next two weeks with 30 minutes of sketching. Each class we will tackle new objects. As we progress I will show you some different techniques and artists work to give you a broader perspective on sketching.
(TENTATIVE)
Day one; Something small, Something tall, and a round, round Ball (30 minutes).
Day two; Party hat, Cup and Saucer, Knife (30 minutes).
Day three; Scissors, wooden spoon, and a bottle (30 minutes)
Day Four; sketching people (Full class)
Day Five: Blocks One, Two, Three (Full class)
After we finish our two weeks, I will be requiring a 20minute Homework sketch each week. The subject is your choice!
Where to go from here?
Line drawing
Body proportion drawing
Perspective drawing
Abstract drawing
Tonal/value drawing