But we all know he got the idea from nature.
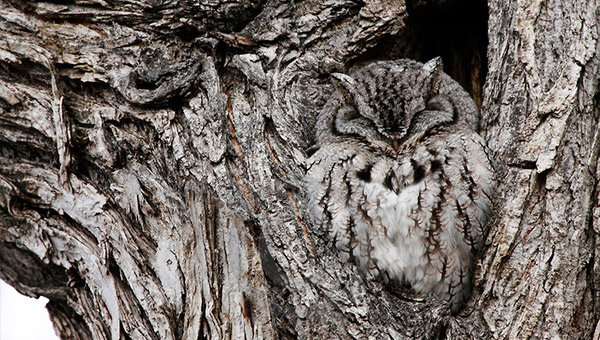
Image source InstantShift
Who came up with camouflage?
The French painter Lucien–Victor Guirand de Scévola,
In September 1914, De Scévola, serving as a second-class gunner, experimentally camouflaged a gun emplacement with a painted canvas screen. On 12 February 1915 General Joffre established the “Section de Camouflage” (English: Camouflage department) at Amiens.[8] By May 1915 the Section de Camouflage put up its first observation tree, an iron lookout post camouflaged with bark and other materials during the Battle of Artois.[9] [10] By the end of 1915, De Scévola became commander of the French Camouflage Corps, employing cubistartists such as André Mare, a specialist in camouflaging lookout posts.[3] By 1917, De Scévola’s team had grown to 3000, taking in artists including Jacques Villon, André Dunoyer de Segonzac, Charles Camoin and Charles Dufresne.[11] (Text source http://www.revolvy.com/main/index.php?s=Lucien-Victor%20Guirand%20de%20Sc%C3%A9vola)
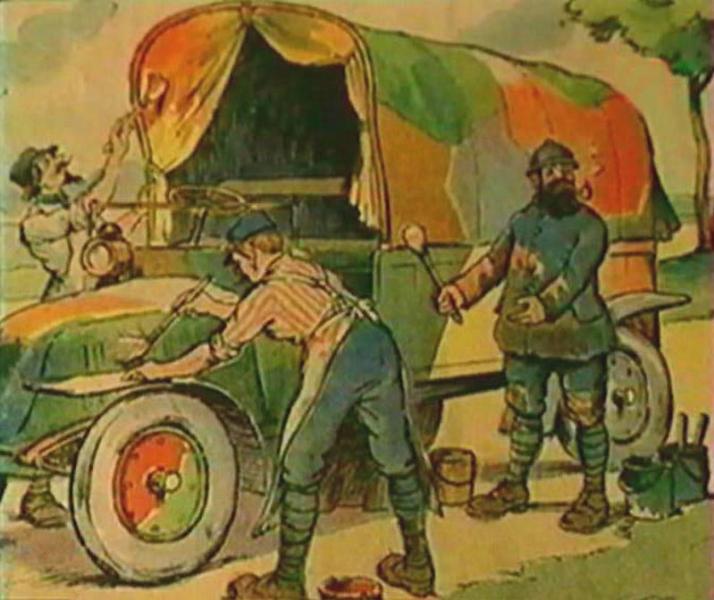
Image source http://pages14-18.mesdiscussions.net/pages1418/Pages-d-Histoire-Artillerie/Artillerie-Speciale-chars-d-assaut/artillerie-speciale-chamond-sujet_2033_1.htm
During WWI and WWII many nations developed their own ideas on how best to camouflage their troops and equipment.
Here is an early French camo for infentry? Mabe special ops???
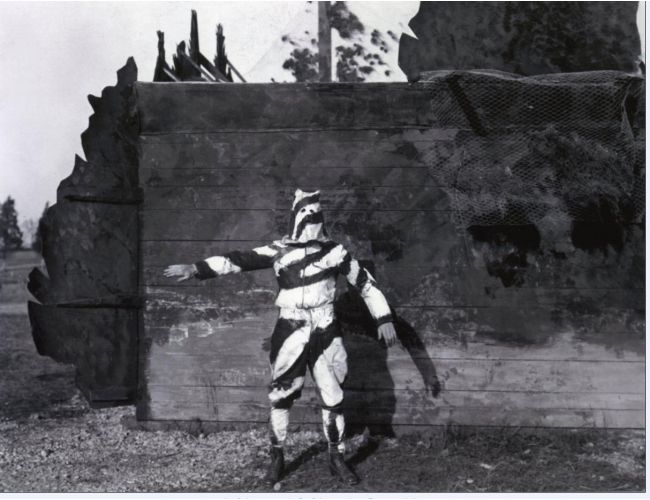
Image source www-editionspierredetaillac-com
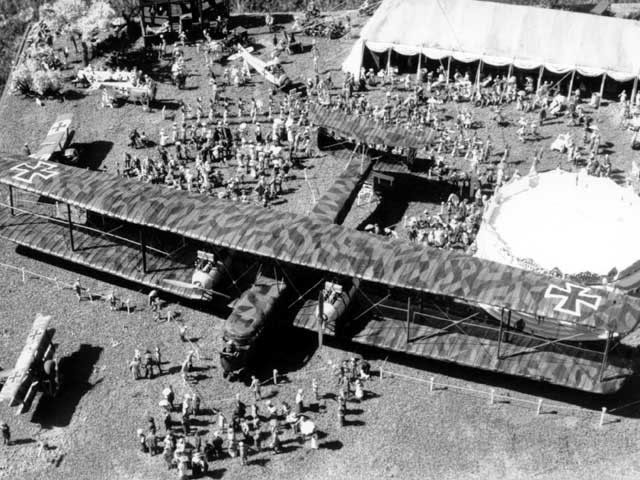
Image source http://worldwartwozone.com/forums/index.php?/topic/9184-ww1-camouflage/page-2
The “Lozenge” pattern camo was painted in various colour schemes like the two below.
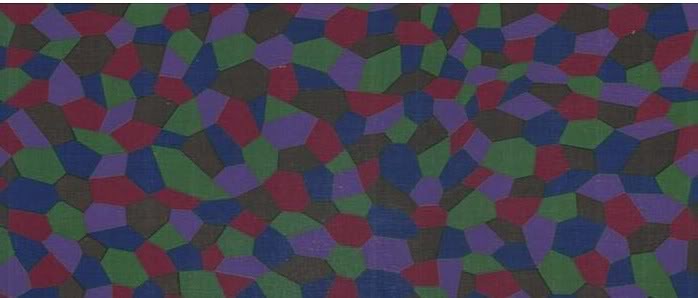
Image source http://worldwartwozone.com/forums/index.php?/topic/9184-ww1-camouflage/page-2
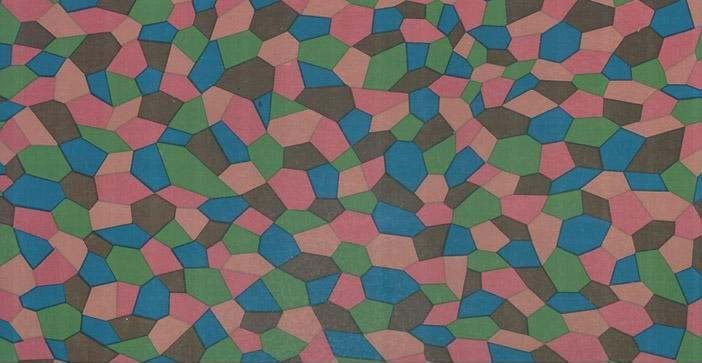
Image source http://worldwartwozone.com/forums/index.php?/topic/9184-ww1-camouflage/page-2
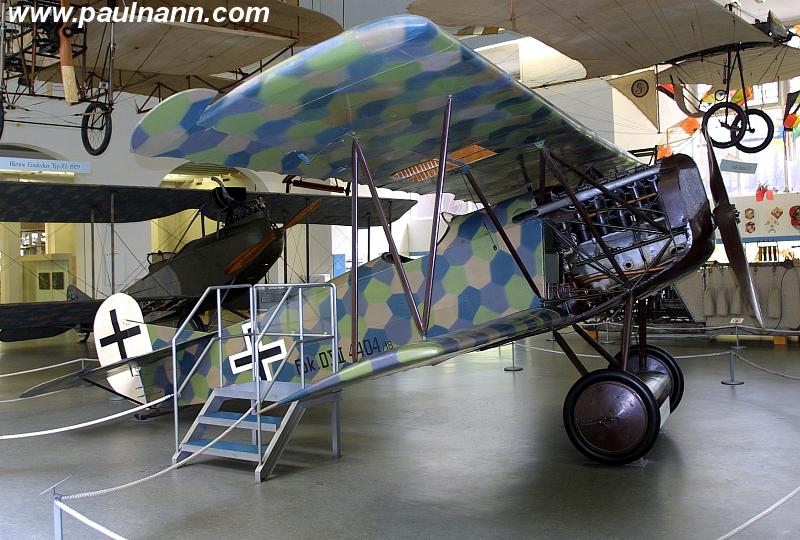
Image source www-aerofile-info. Photo by Paul Nan
And my FAVORITE type of camo ‘Razzle Dazzle”
Dazzle camouflage, also known as razzle dazzle (US) or dazzle painting, was a family of ship camouflage used extensively in World War I, and to a lesser extent in World War II and afterwards. Credited to the British marine artistNorman Wilkinson, though with a rejected prior claim by the zoologistJohn Graham Kerr, it consisted of complex patterns of geometric shapes in contrasting colours, interrupting and intersecting each other.
Unlike other forms of camouflage, the intention of dazzle is not to conceal but to make it difficult to estimate a target’s range, speed, and heading. Norman Wilkinson explained in 1919 that he had intended dazzle more to mislead the enemy about a ship’s course and so to take up a poor firing position, than actually to cause the enemy to miss his shot when firing.[a] (text source https://en.wikipedia.org/wiki/Dazzle_camouflage)
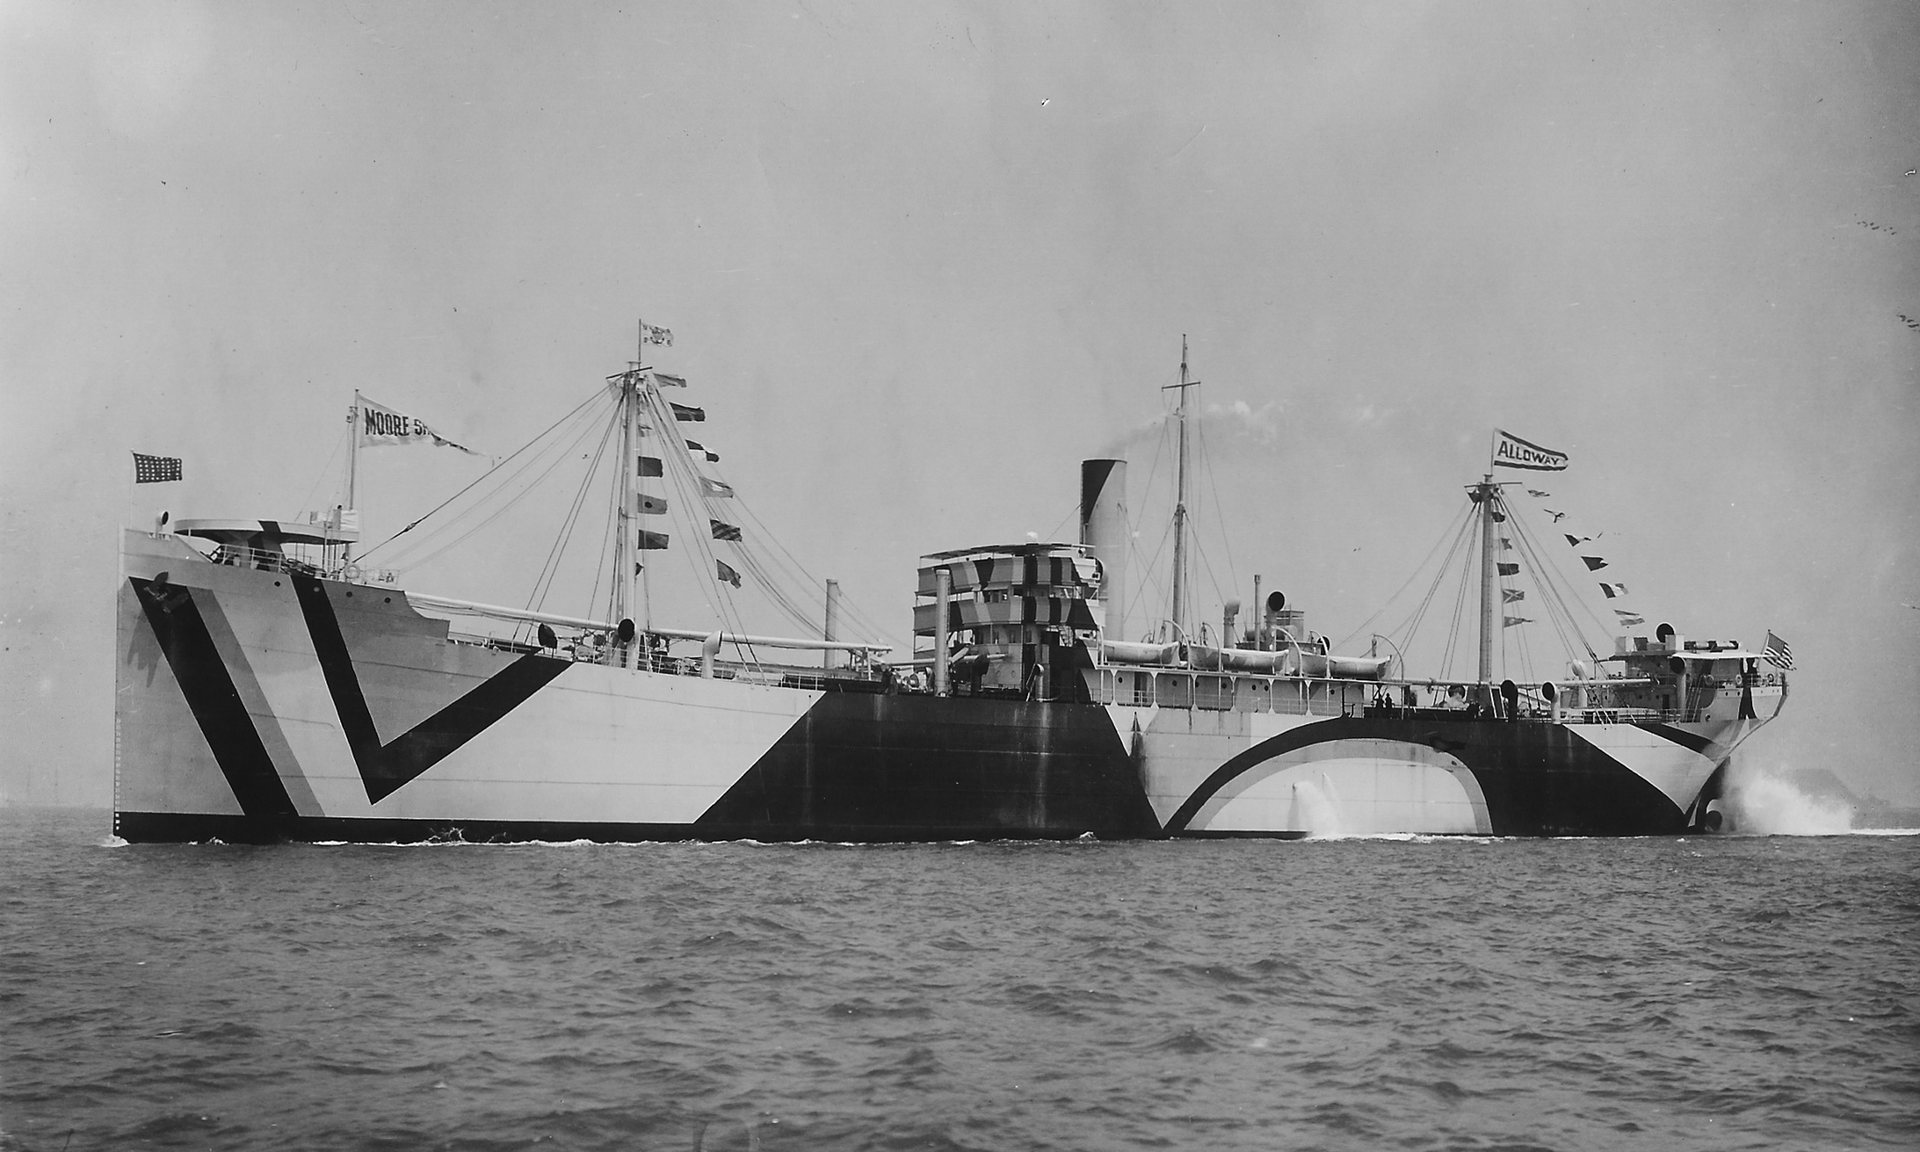
Image source www-theguardian-com
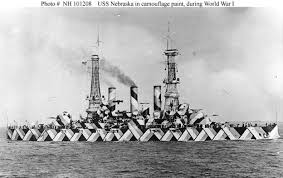
Image source usni-news-us-naval-institute
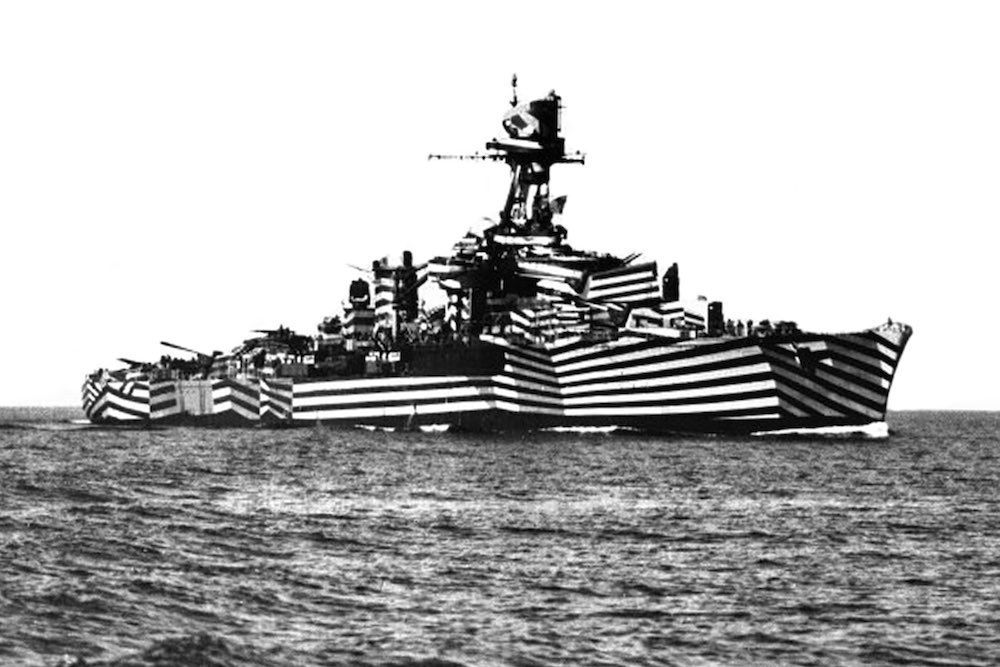
Image source http://mashable.com/
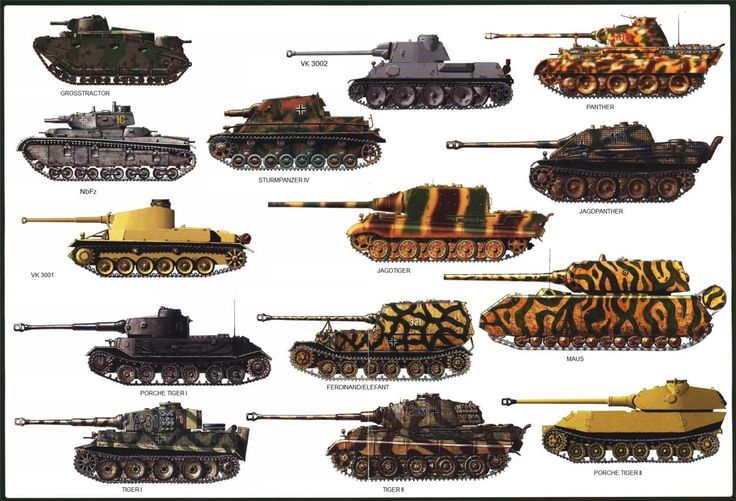
Image source weaponsandwarfare-files-wordpress-com
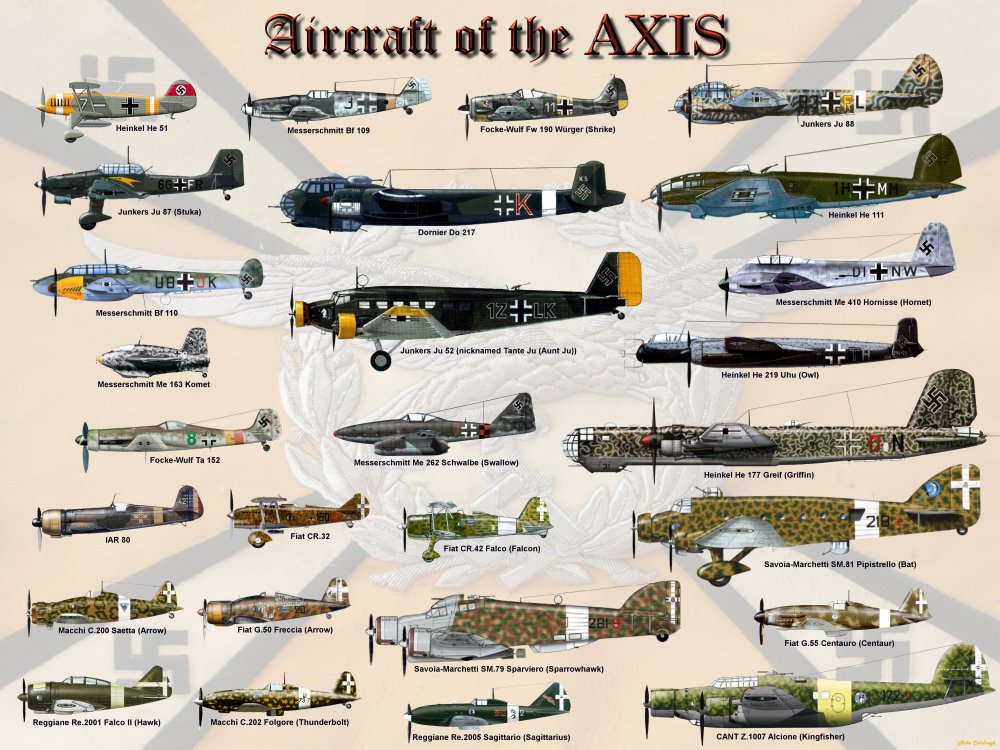
Image source www.theuntappedsource.com
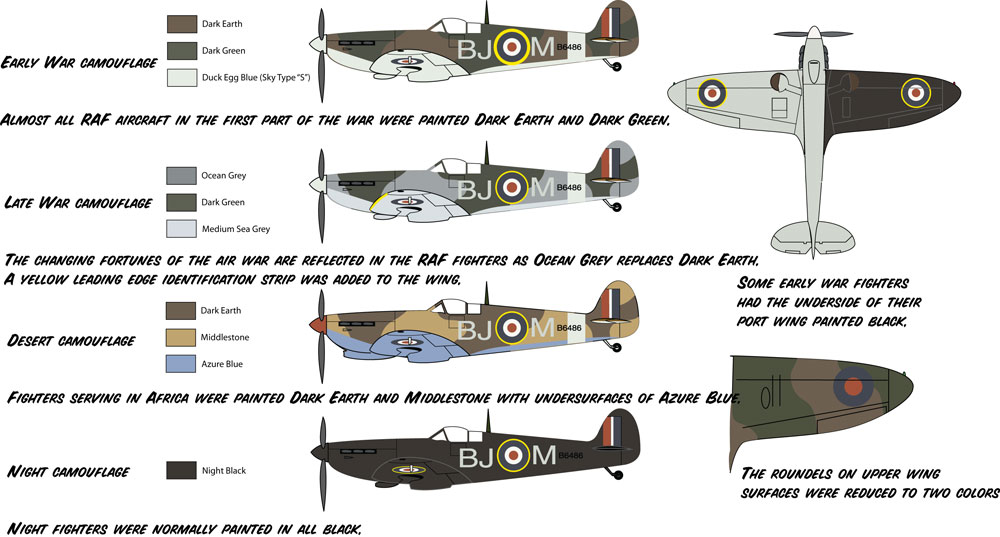
Project Tasks
In this project, I would like to use our Hand as well as our brains and the computer. With your understanding of the history and development of Camouflage, I want you to think of developing a Camoflague or Skin for one of your small household appliances. Toaster, Coffee grinder, fridge etc. Use your artistic whimsy to think through this task and see what intellectual direction you want to take. Are you going to be serious and try to hide the object, or brashly using your skin to make the object immediately visible to all who encounter it.
steps
- Understand the purpose of Camo
- Find an appliance to design a camo or skin for
- Design a 2D ‘plan view’ of your design (upload image to blog)
- build a 3D prototype. (upload images to blog)
- In Photoshop make a Virtual Prototype of your pruduct in your kitchen.
- Critique each other’s works
- think about the lifecycle of the product and how it will affect the environment over its life cycle.
- Build- either working on the original, or building a good copy model.(upload images to blog)
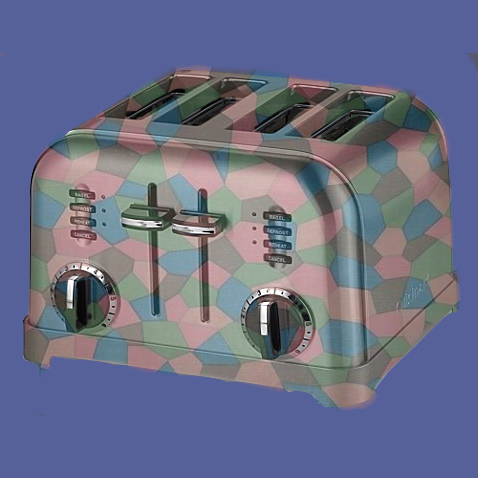
My toaster in German lozenge camo. No, unfortunately, my wife would not let me actually paint it!
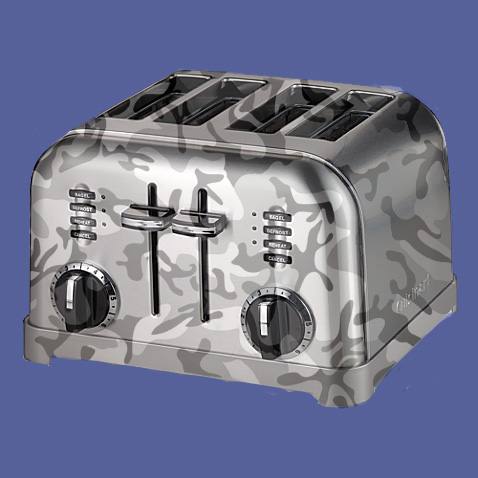
in a 3 tone camo
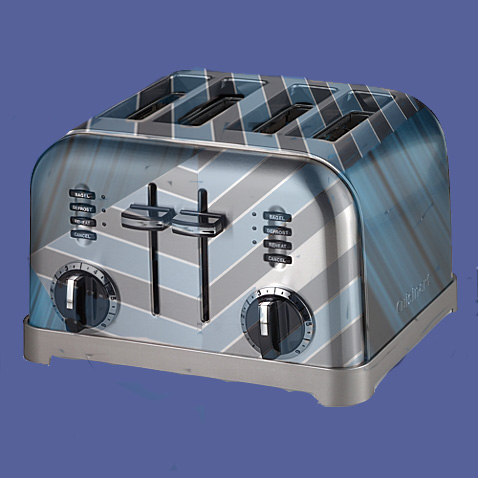
in Razzle dazzle
Design Process, Prototyping and Sustainability
Please read The Design Process, Prototyping, and Sustainability.
Your 2D plan (BluePrint)
Using photoshop I want you to plan out in a 2D manner what you intend to do.
- take pic’s of your object
- In Photoshop render them into line drawings – 3 views.
- Place all views on one document/page
-
- Name, object, date, etcAdd information in the top right corner
- add in you camo or skinBe able to give a one-minute presentation on what you are doing next class. Using your 2D plan as a visual add.
Here is my 2D plan view for a Radio Toaster
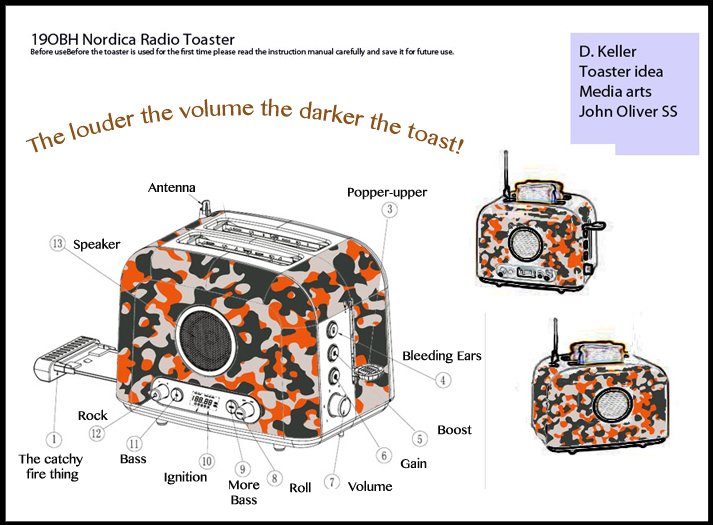
PLEASE REMEMBER TO HAVE SOME FUN WITH THIS!!!
Your 3D Mockup

My toaster in German lozenge camo
Your Virtual Prototype
We are going to make this a Virtual Prototype and have you Photoshop you Project into your own kitchen. It will need to be posted on your blog.
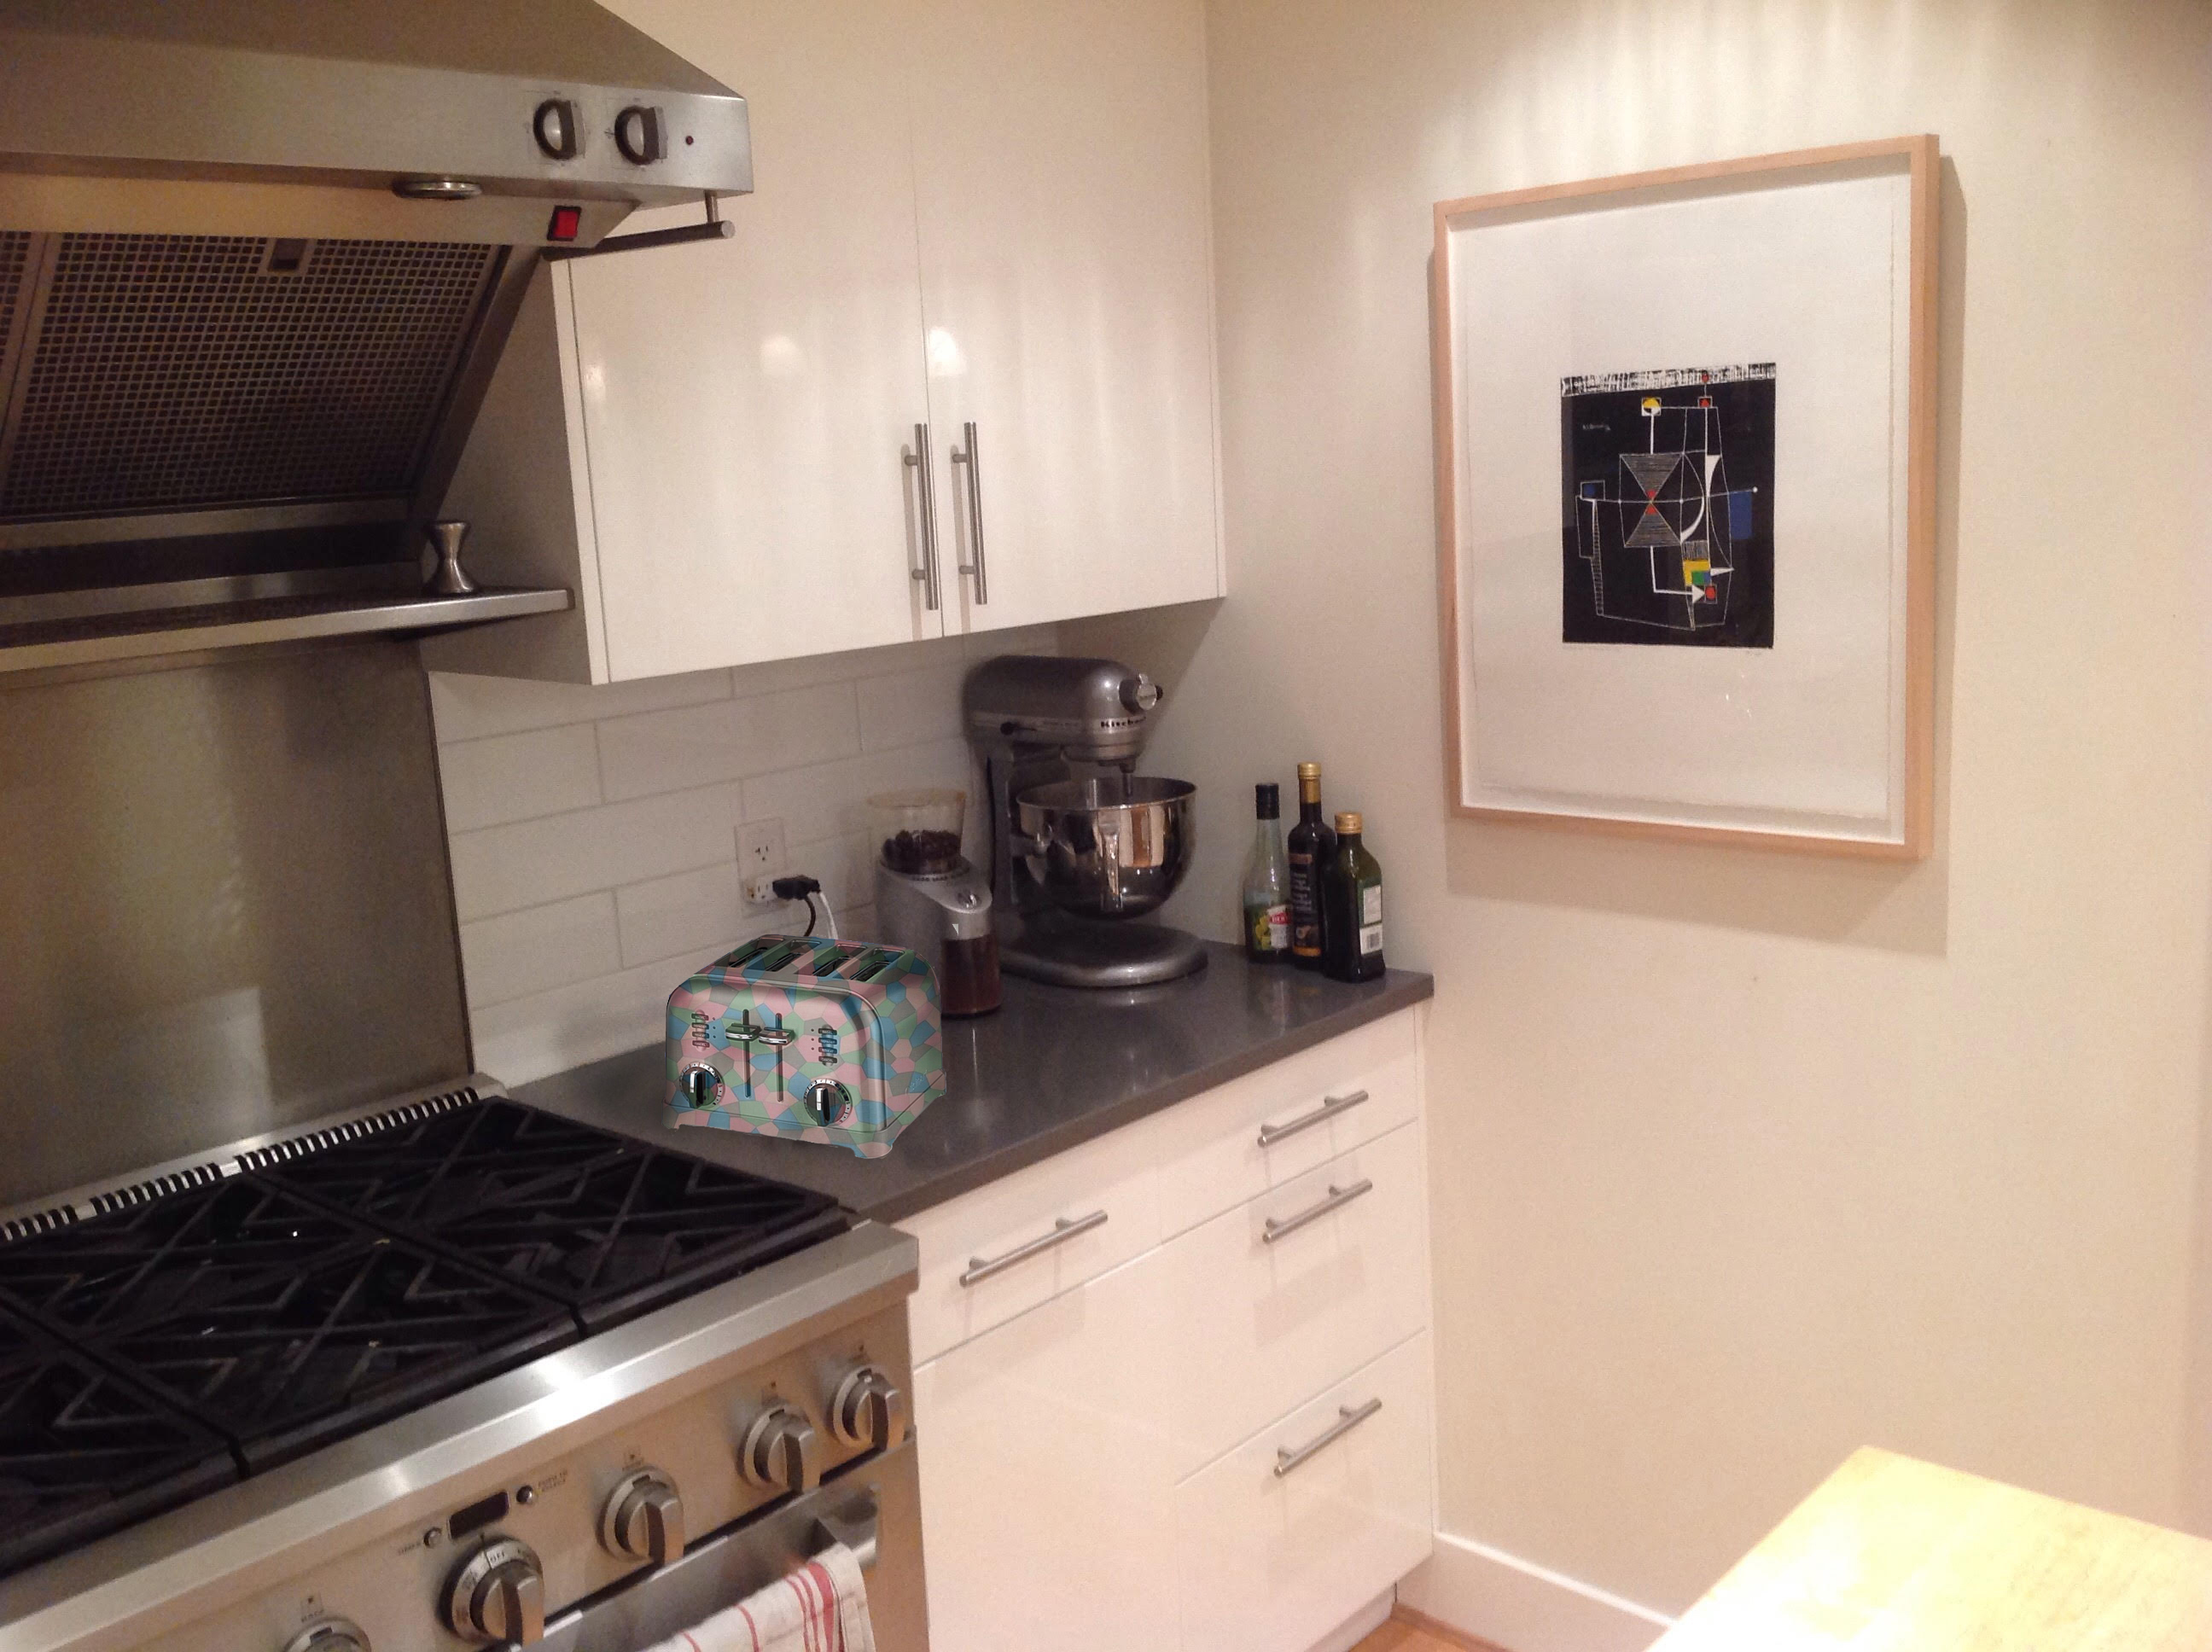
Conclusion
Post to your blog:
- your 2D plan
- Your 3D Mockup
- your Virtual Prototype in your kitchen
- written reflection of your personal learning throughout the project

