Project Title: Insect Sculptures
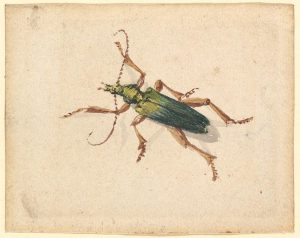
Introduction: Insect Sculptures
In this project, you will create a 3D sculpture of an insect, choosing either a fully three-dimensional form (in the round) or a low bas-relief. This project is designed to help you develop your skills in ceramics while also exploring your creativity and imagination. I hope this project does not Bug you…
Bas relief or “low relief” is a sculpture technique in which figures or other design elements are carved on a flat surface so that the carving barely protrudes from the surface, like on a coin. The main difference between high relief and low relief is that in low relief, the figures are only slightly raised from the background, while in high relief they are significantly higher.
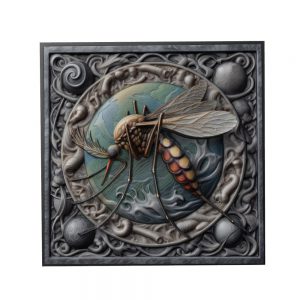
Image source Cults3D.com
Why Insects?
Insects are incredibly diverse, coming in all shapes and sizes, making them ideal subjects for artistic exploration. From the delicate wings of a butterfly to the intricate body of a beetle, insects provide endless inspiration. Throughout history, cultures worldwide have drawn upon insects for art and design. By studying and sculpting these creatures, you can gain a deeper appreciation for their complexity and beauty. Plus, they are a great source of protein—has anyone tried them? I have!
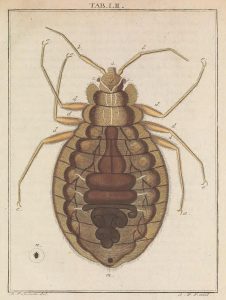
Image source PublikeWorks.com
Project Goals:
- Skill Development: You’ll learn and practice essential ceramics techniques, including sculpting, texturing, and glazing. This project will help you improve your craftsmanship and attention to detail.
- Creativity: This is your chance to let your imagination soar! Whether you choose to create a realistic representation or a fantastical interpretation of an insect, you’ll have the freedom to express your unique artistic vision.
- Problem-Solving: Sculpting in three dimensions requires careful planning and problem-solving. You’ll need to consider balance and stability and how to effectively translate your ideas from sketches to clay.
- Artistic Expression: Through this project, you’ll explore design principles, such as form, texture, and balance. You’ll also have the opportunity to experiment with different finishes and colours to bring your sculpture to life.
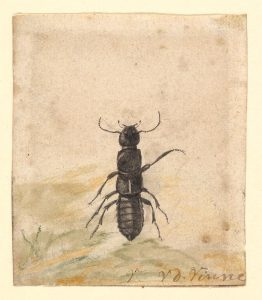
Research project and Image Collection (30 minutes)
- Students use computers, tablets, or library resources to find images of insects.
- Encourage them to look for a variety of sources, including scientific websites, museum collections, and historical art databases.
- Students should collect at least three images: one from nature, one from an ancient culture, and one of their choice.
- For each image, students must note the source and prepare a proper citation.
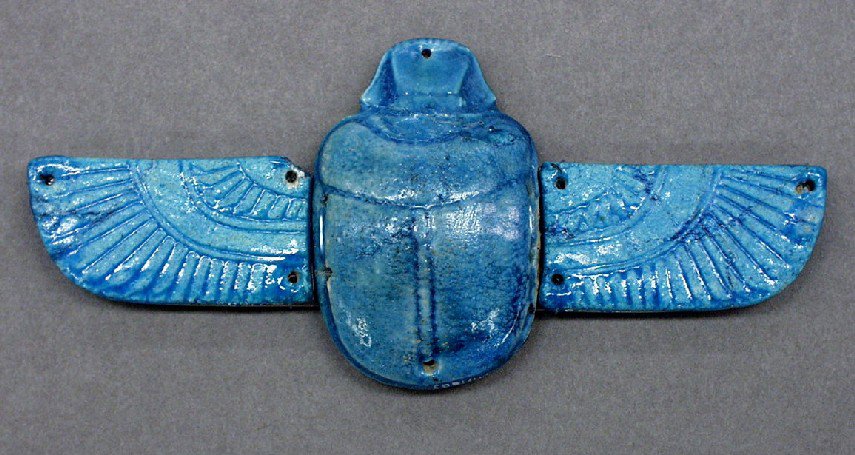
Image source australian.museum.com
Many ancient cultures incorporated insects into their art and design, often imbuing them with symbolic meanings:
- Ancient Egypt: Scarab beetles were prominent in Egyptian art, symbolizing rebirth and the sun god Khepri1.
- Mesoamerica: The Aztecs and Mayas used cochineal insects to create vibrant red dyes for textiles and paintings1.
- Ancient Greece and Crete: Bees were often depicted in art, symbolizing fertility and the soul2.
- Native American Cultures: The Navajo and Hopi tribes included insects like cicadas and dragonflies in their pottery and sand paintings, representing themes of emergence and water2.
- Southeast Asia: In Thailand and Myanmar, beetle wings were used to decorate textiles and jewelry2.
- ere are five great websites for students to explore and learn about insects:
- PestWorld for Kids: This site offers kid-friendly insect information, games, and activities, making it a fun and educational resource for young learners.
- Bugscope: Run by the University of Illinois, Bugscope allows students to send in bugs and view them under a scanning electron microscope, providing a detailed look at insect anatomy2.
- Cool Sites for Kids – Department of Entomology: This page lists various online resources dedicated to insect education, including Monarch Watch and the Amateur Entomologists’ Society3.
- Scholastic’s Insect Lessons: Scholastic provides interactive lessons and activities about insects, perfect for early learners to grow their science skills4.
- Lesson Hive: A reviewed library of insect-related lesson plans and curricula, developed by teachers and entomologists to help teach about ecology and evolution5.
- bug pins on https://www.etsy.com
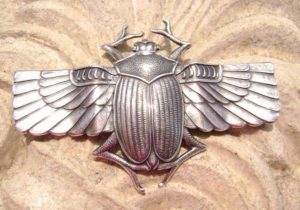
Image source ArtifactWorld.com
Sketching and Planning:
While, or after, you have done your research I want you to sketch out a bunch of bugs or designs based on bugs- like 2 pages. You’ll create detailed sketches of your chosen insect from multiple angles, considering how to best capture its form and details in clay. I will be assigning them on teams.
Draft
I will be asking for a two-sided good copy draft of your 3d sculpture or low bas-relief tile
Good Copy
Somewhere, about, 2x3x4” works for me for the sculpture and 1x4x6” works for the low bas tile. It should be realistic or highly designed- I really want this to be Beautiful!
Please know: this project is not just about creating a beautiful piece of art; it’s about pushing your boundaries, experimenting with new techniques, and discovering the joy of working with clay. So, let’s get started and see where your creativity takes you!
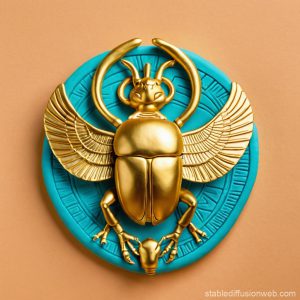
Image source Stablledeffusion.com
Detailed Plan:
Introduction (1 class period)
- Discussion: Introduce the project and explain the objectives. Show examples of insect sculptures, both in the round and bas-relief, to inspire students.
- Examples: Display images or actual sculptures of insects like beetles, butterflies, and dragonflies. Discuss the unique features of each insect.
- Anatomy: Provide a brief overview of insect anatomy, focusing on parts like the head, thorax, abdomen, wings, and legs.
Sketching and Planning (1 class period)
- Sketching: Have students sketch their insect designs from multiple angles. Encourage them to think about how they will translate these sketches into 3D forms.
- Planning: Discuss the importance of balance and stability in their sculptures. For example, if a student is sculpting a butterfly, they should consider how to support the wings.
Building the Armature (if needed) (1 class period)
- Armature Construction: For larger or more complex sculptures, students may need to build a simple armature using wire or other materials to support the clay.
- Example: If a student is creating a praying mantis, they might use wire to support the long, thin legs and body.
Sculpting (3-4 class periods)
- Demonstration: Show basic sculpting techniques, such as how to use loop tools for carving and needle tools for detailing.
- Sculpting Process: Students sculpt their insects, starting with the basic shapes and gradually adding details.
- Example: A student sculpting a beetle might start with a rounded body shape and then add details like the segmented legs and antennae.
Drying and Bisque Firing (time as needed)
- Drying: Allow sculptures to dry completely to avoid cracking during firing.
- Bisque Firing: Fire the sculptures in the kiln to harden the clay.
Glazing and Painting (2 class periods)
- Glazing Techniques: Teach students about different glazing techniques, such as dipping, brushing, and sponging.
- Painting: If using paints instead of glazes, discuss how to apply them effectively.
- Example: A student might glaze a dragonfly sculpture with iridescent colours to mimic the natural sheen of dragonfly wings.
Critique and Display (1 class period)
Class Critique: Have students present their work and discuss their process. Encourage constructive feedback.
Display: Arrange the finished sculptures in a classroom or school exhibition.
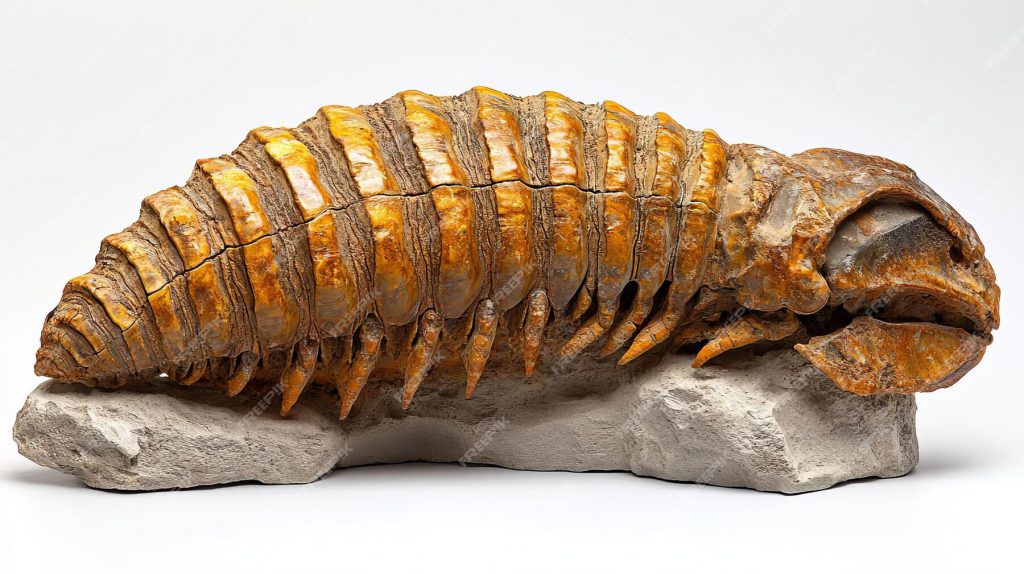
IMage source Freoik.com
Tips for Success:
- Encourage students to take their time and pay attention to detail.
- Remind them to keep their sculptures moist by covering them with plastic when not working on them.
- Provide plenty of positive feedback and constructive criticism.
Would you like any additional details or modifications to this plan?
