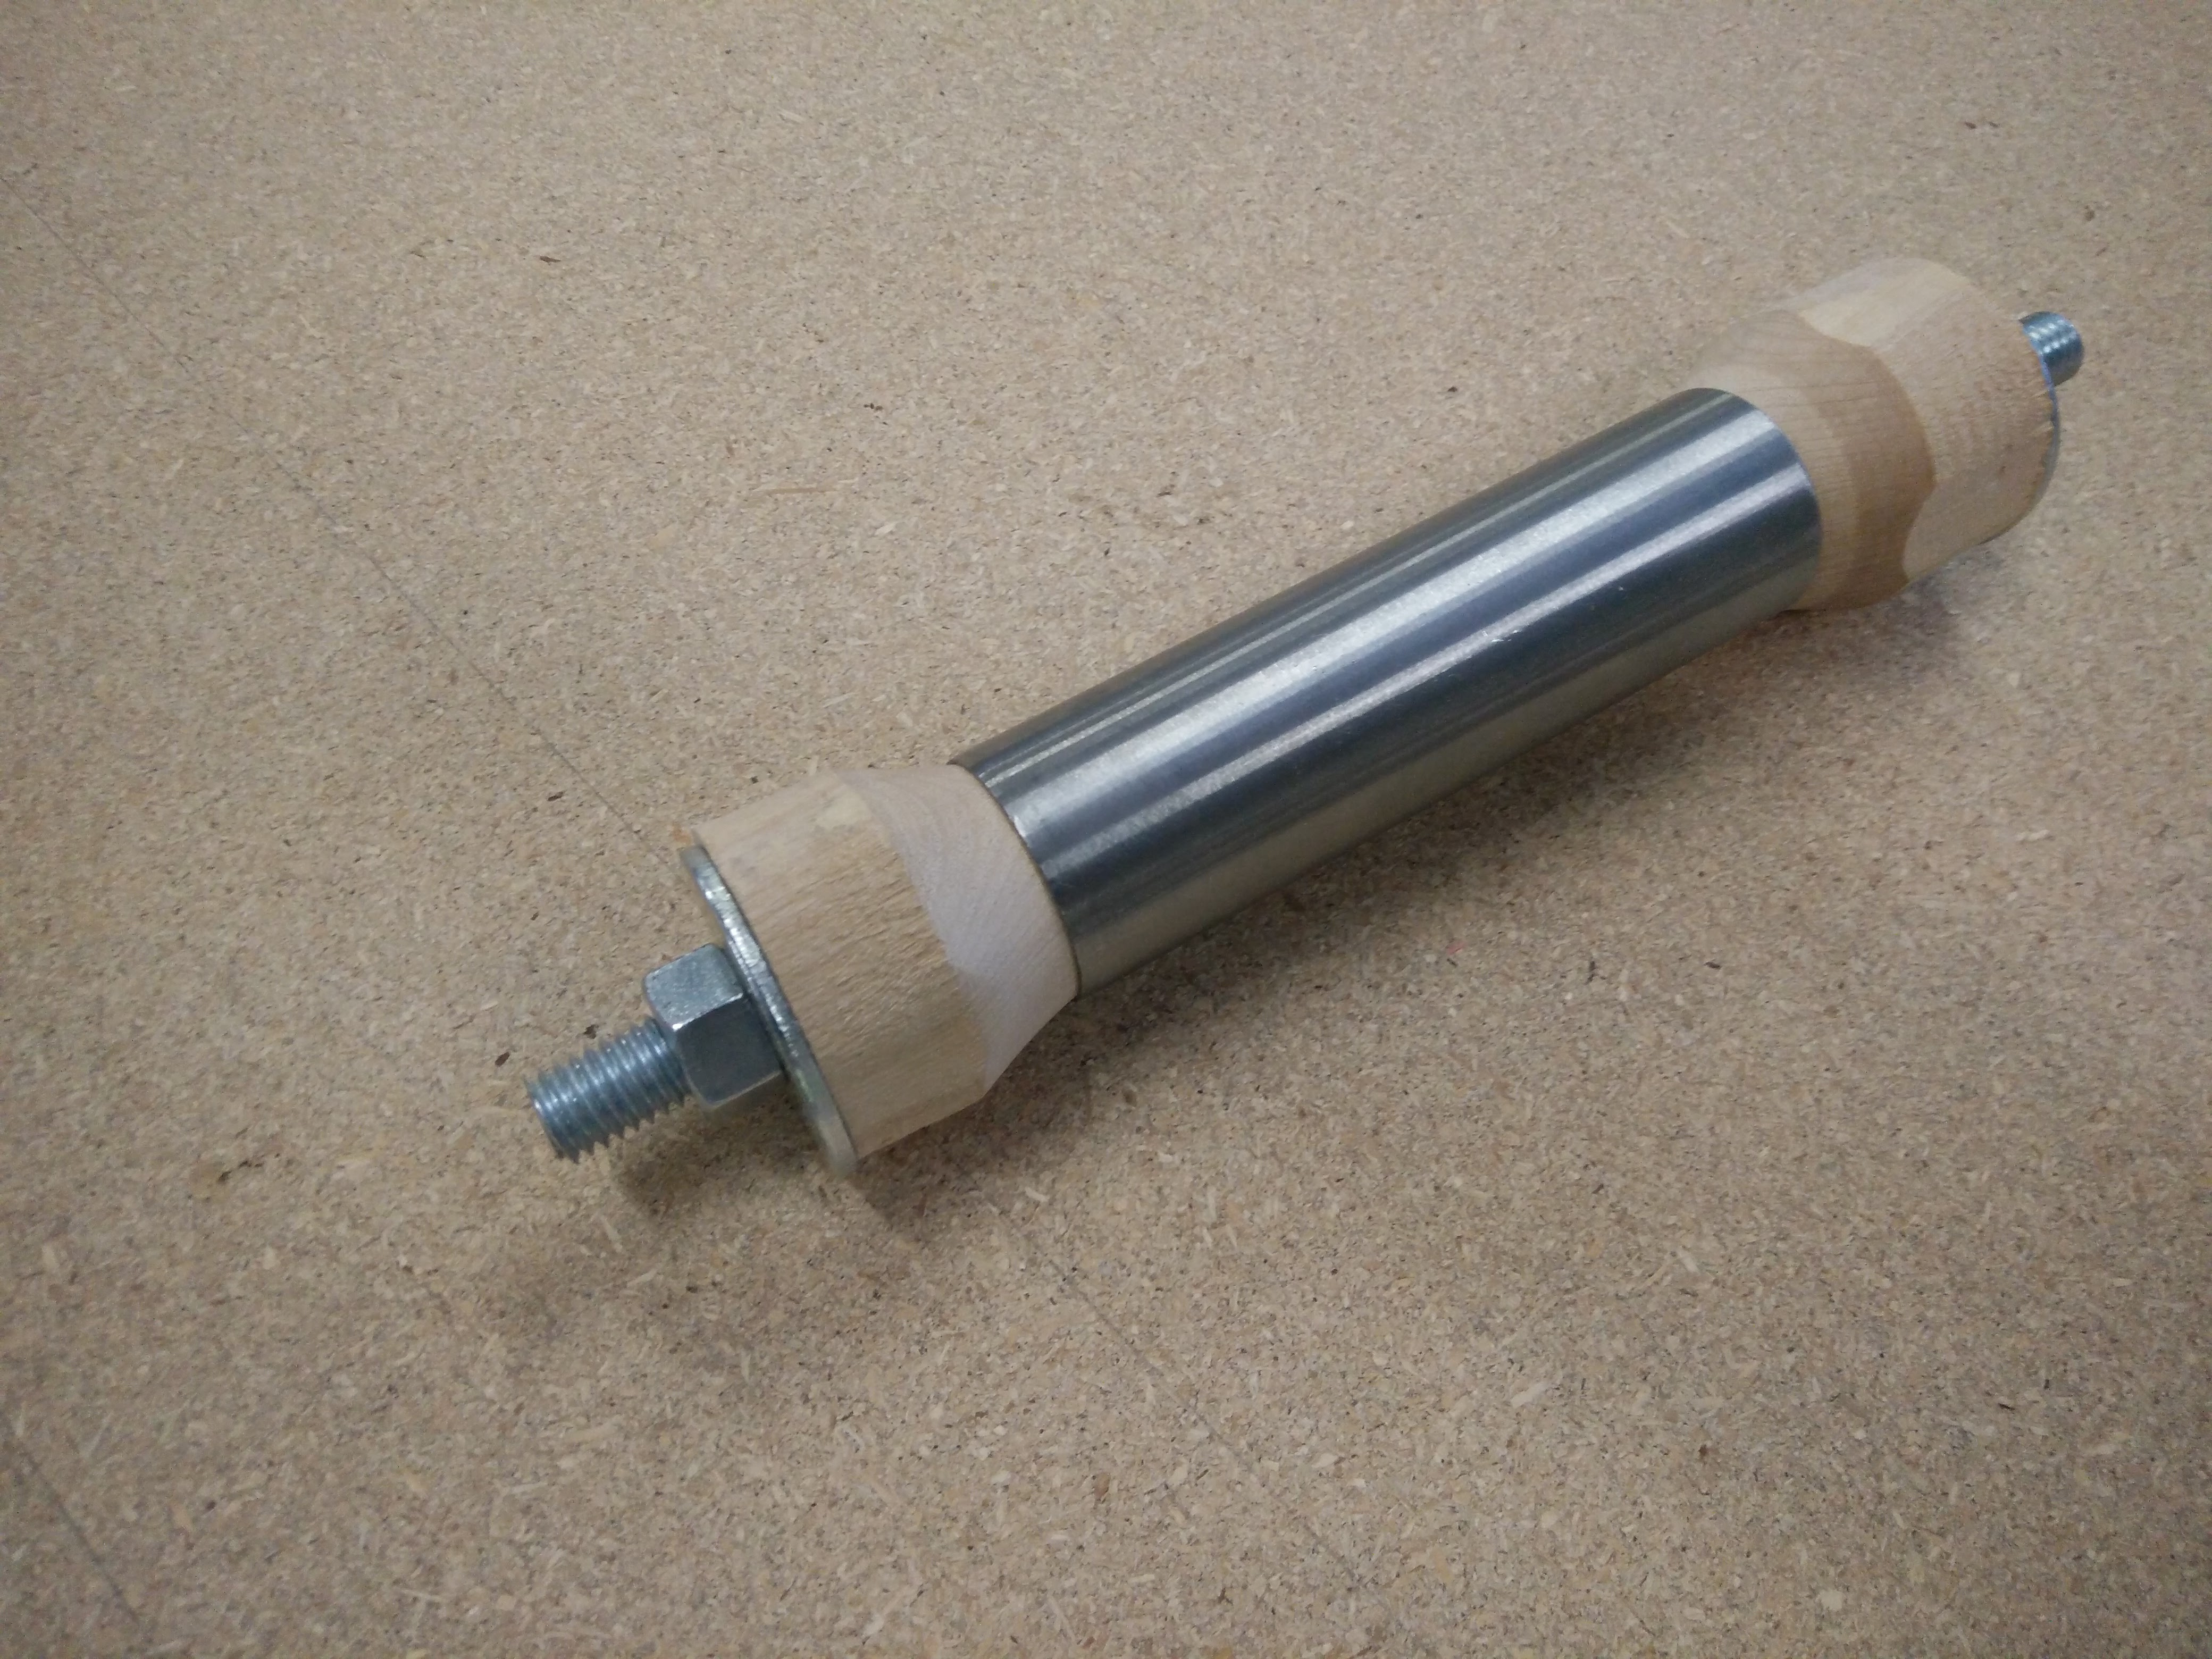
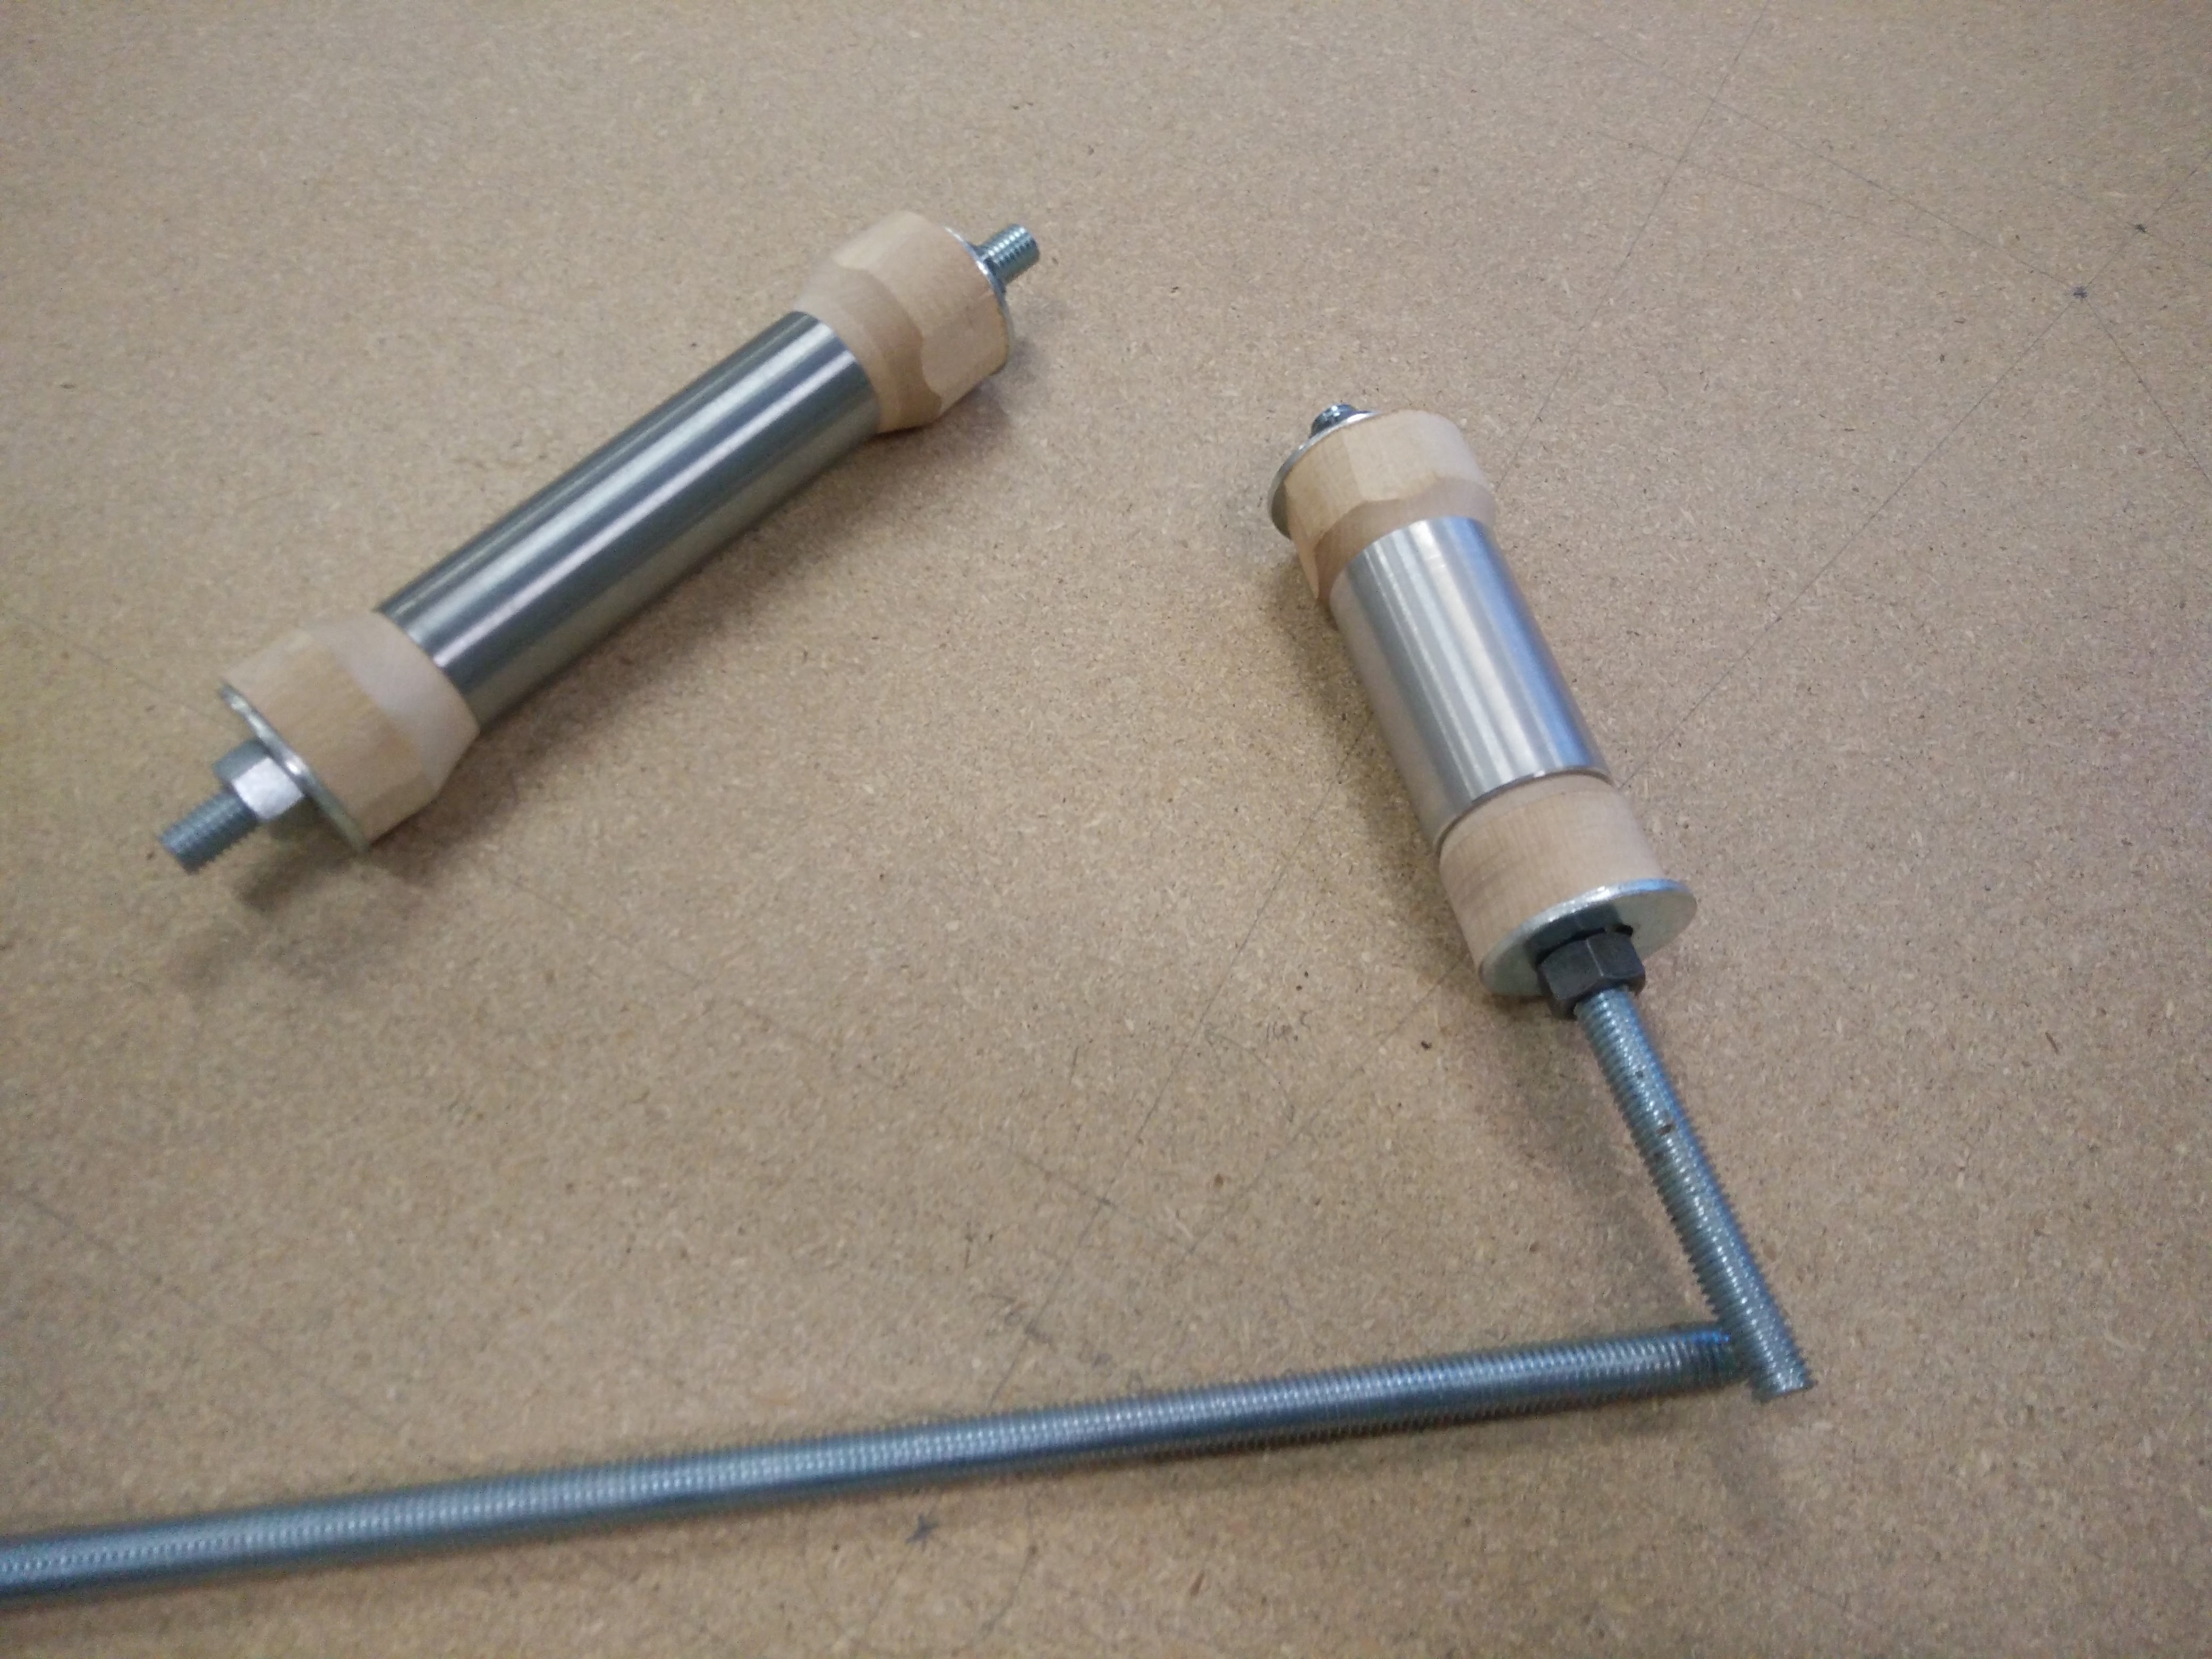
Well, I decided to do a horizontal jig. I needed to hold the Bottom Bracket in air. I bought some ready rod, washers and nuts. I did spend quite a bit of time measuring and researching. I wanted to get the jig set perfectly so that I could custom fit the bamboo into place.
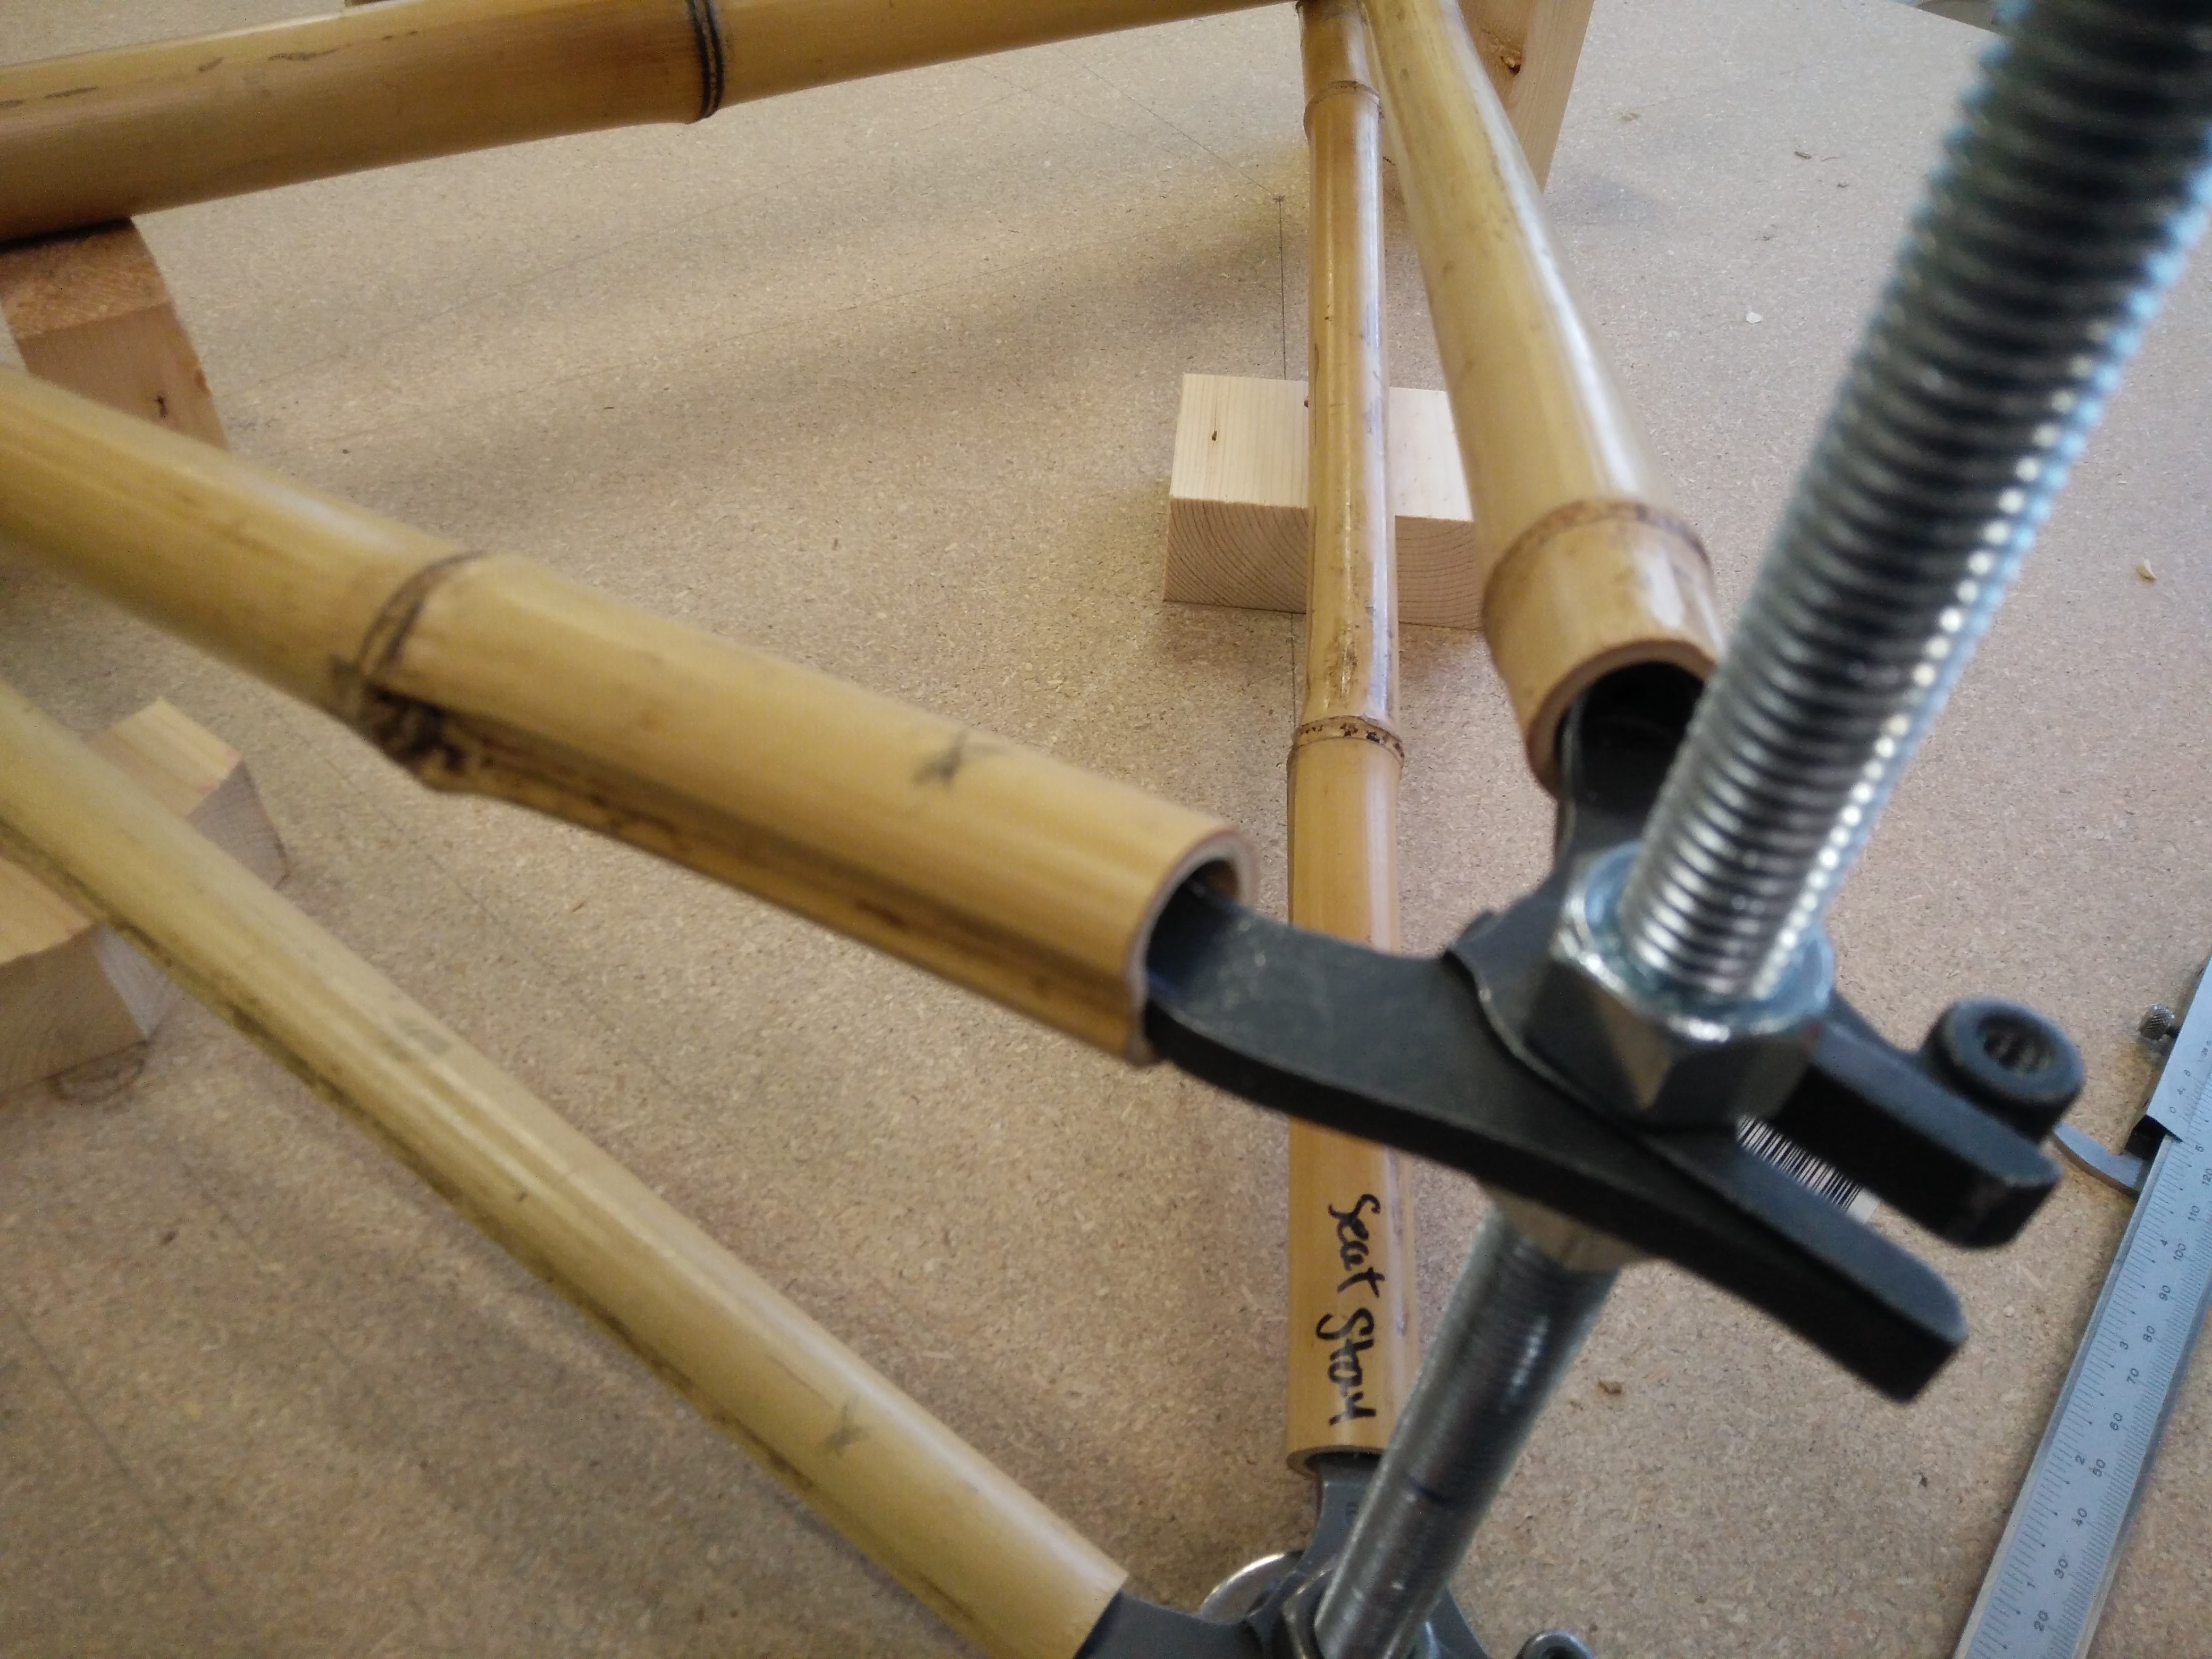
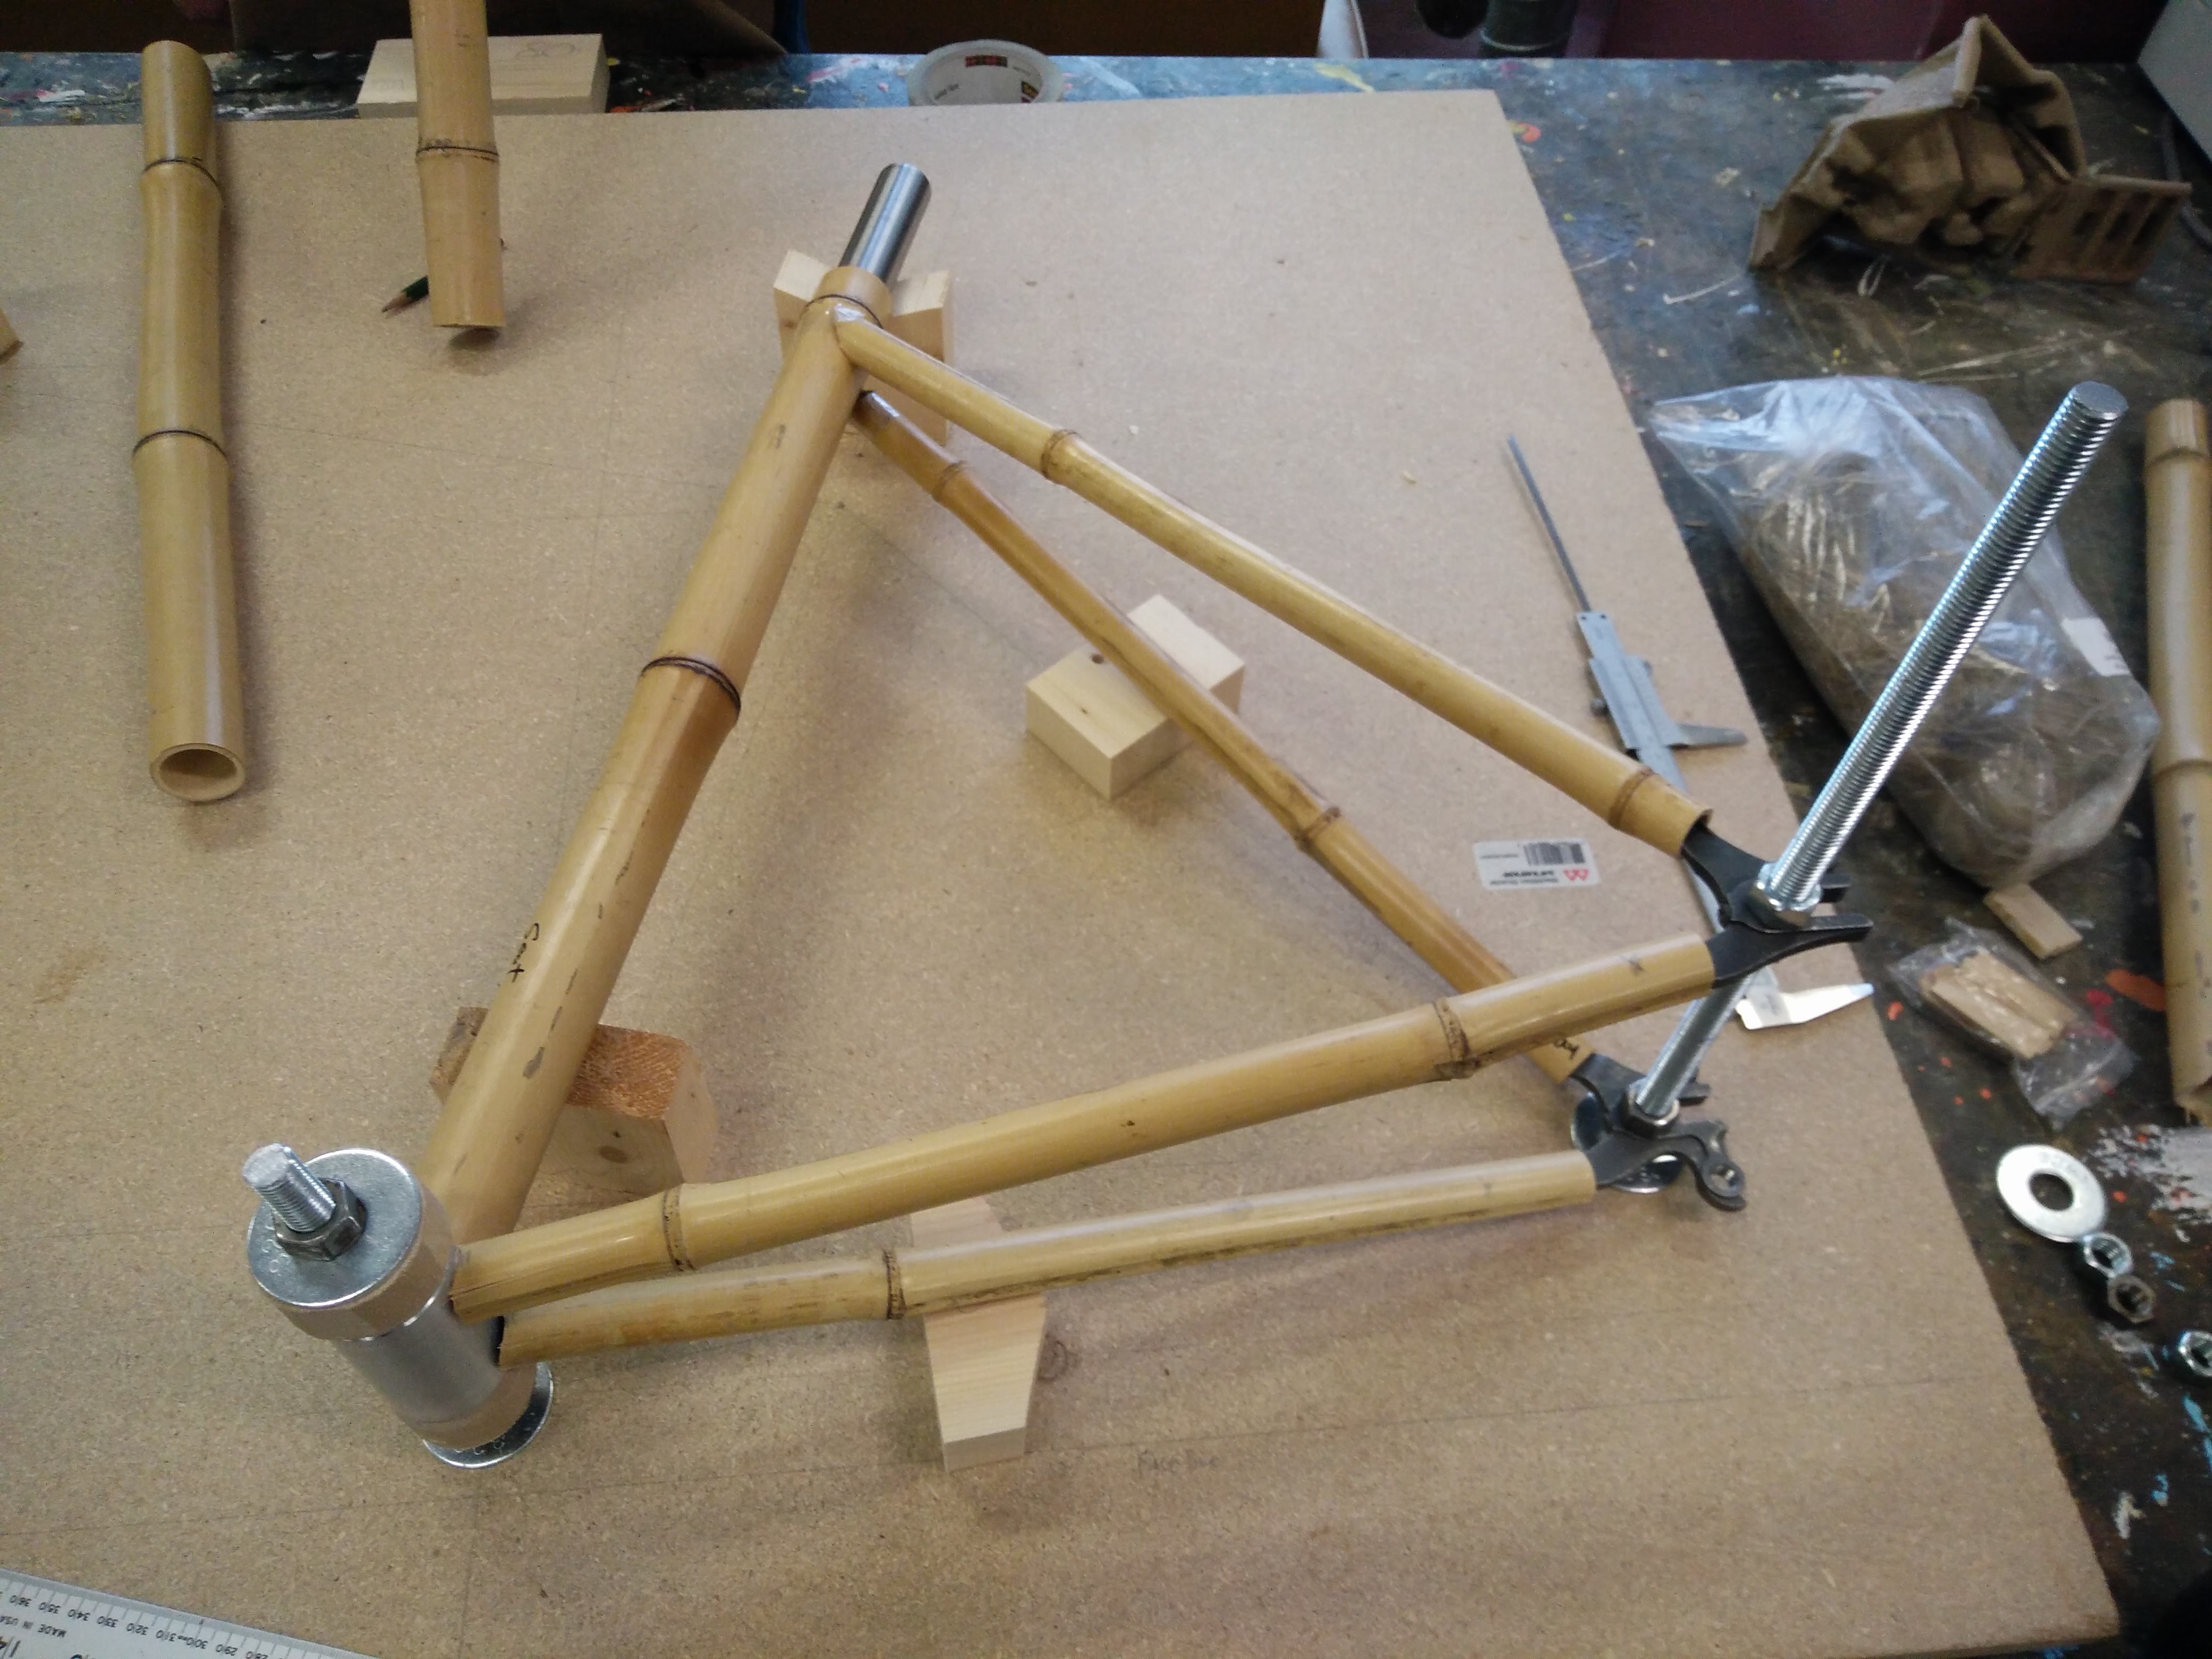

You can see the big particle board. I should have taken a pic with just the pencil layout on it. I drilled the rear hub location, BB and then added a support for the headtube. It is a free moving support for the seat tube.
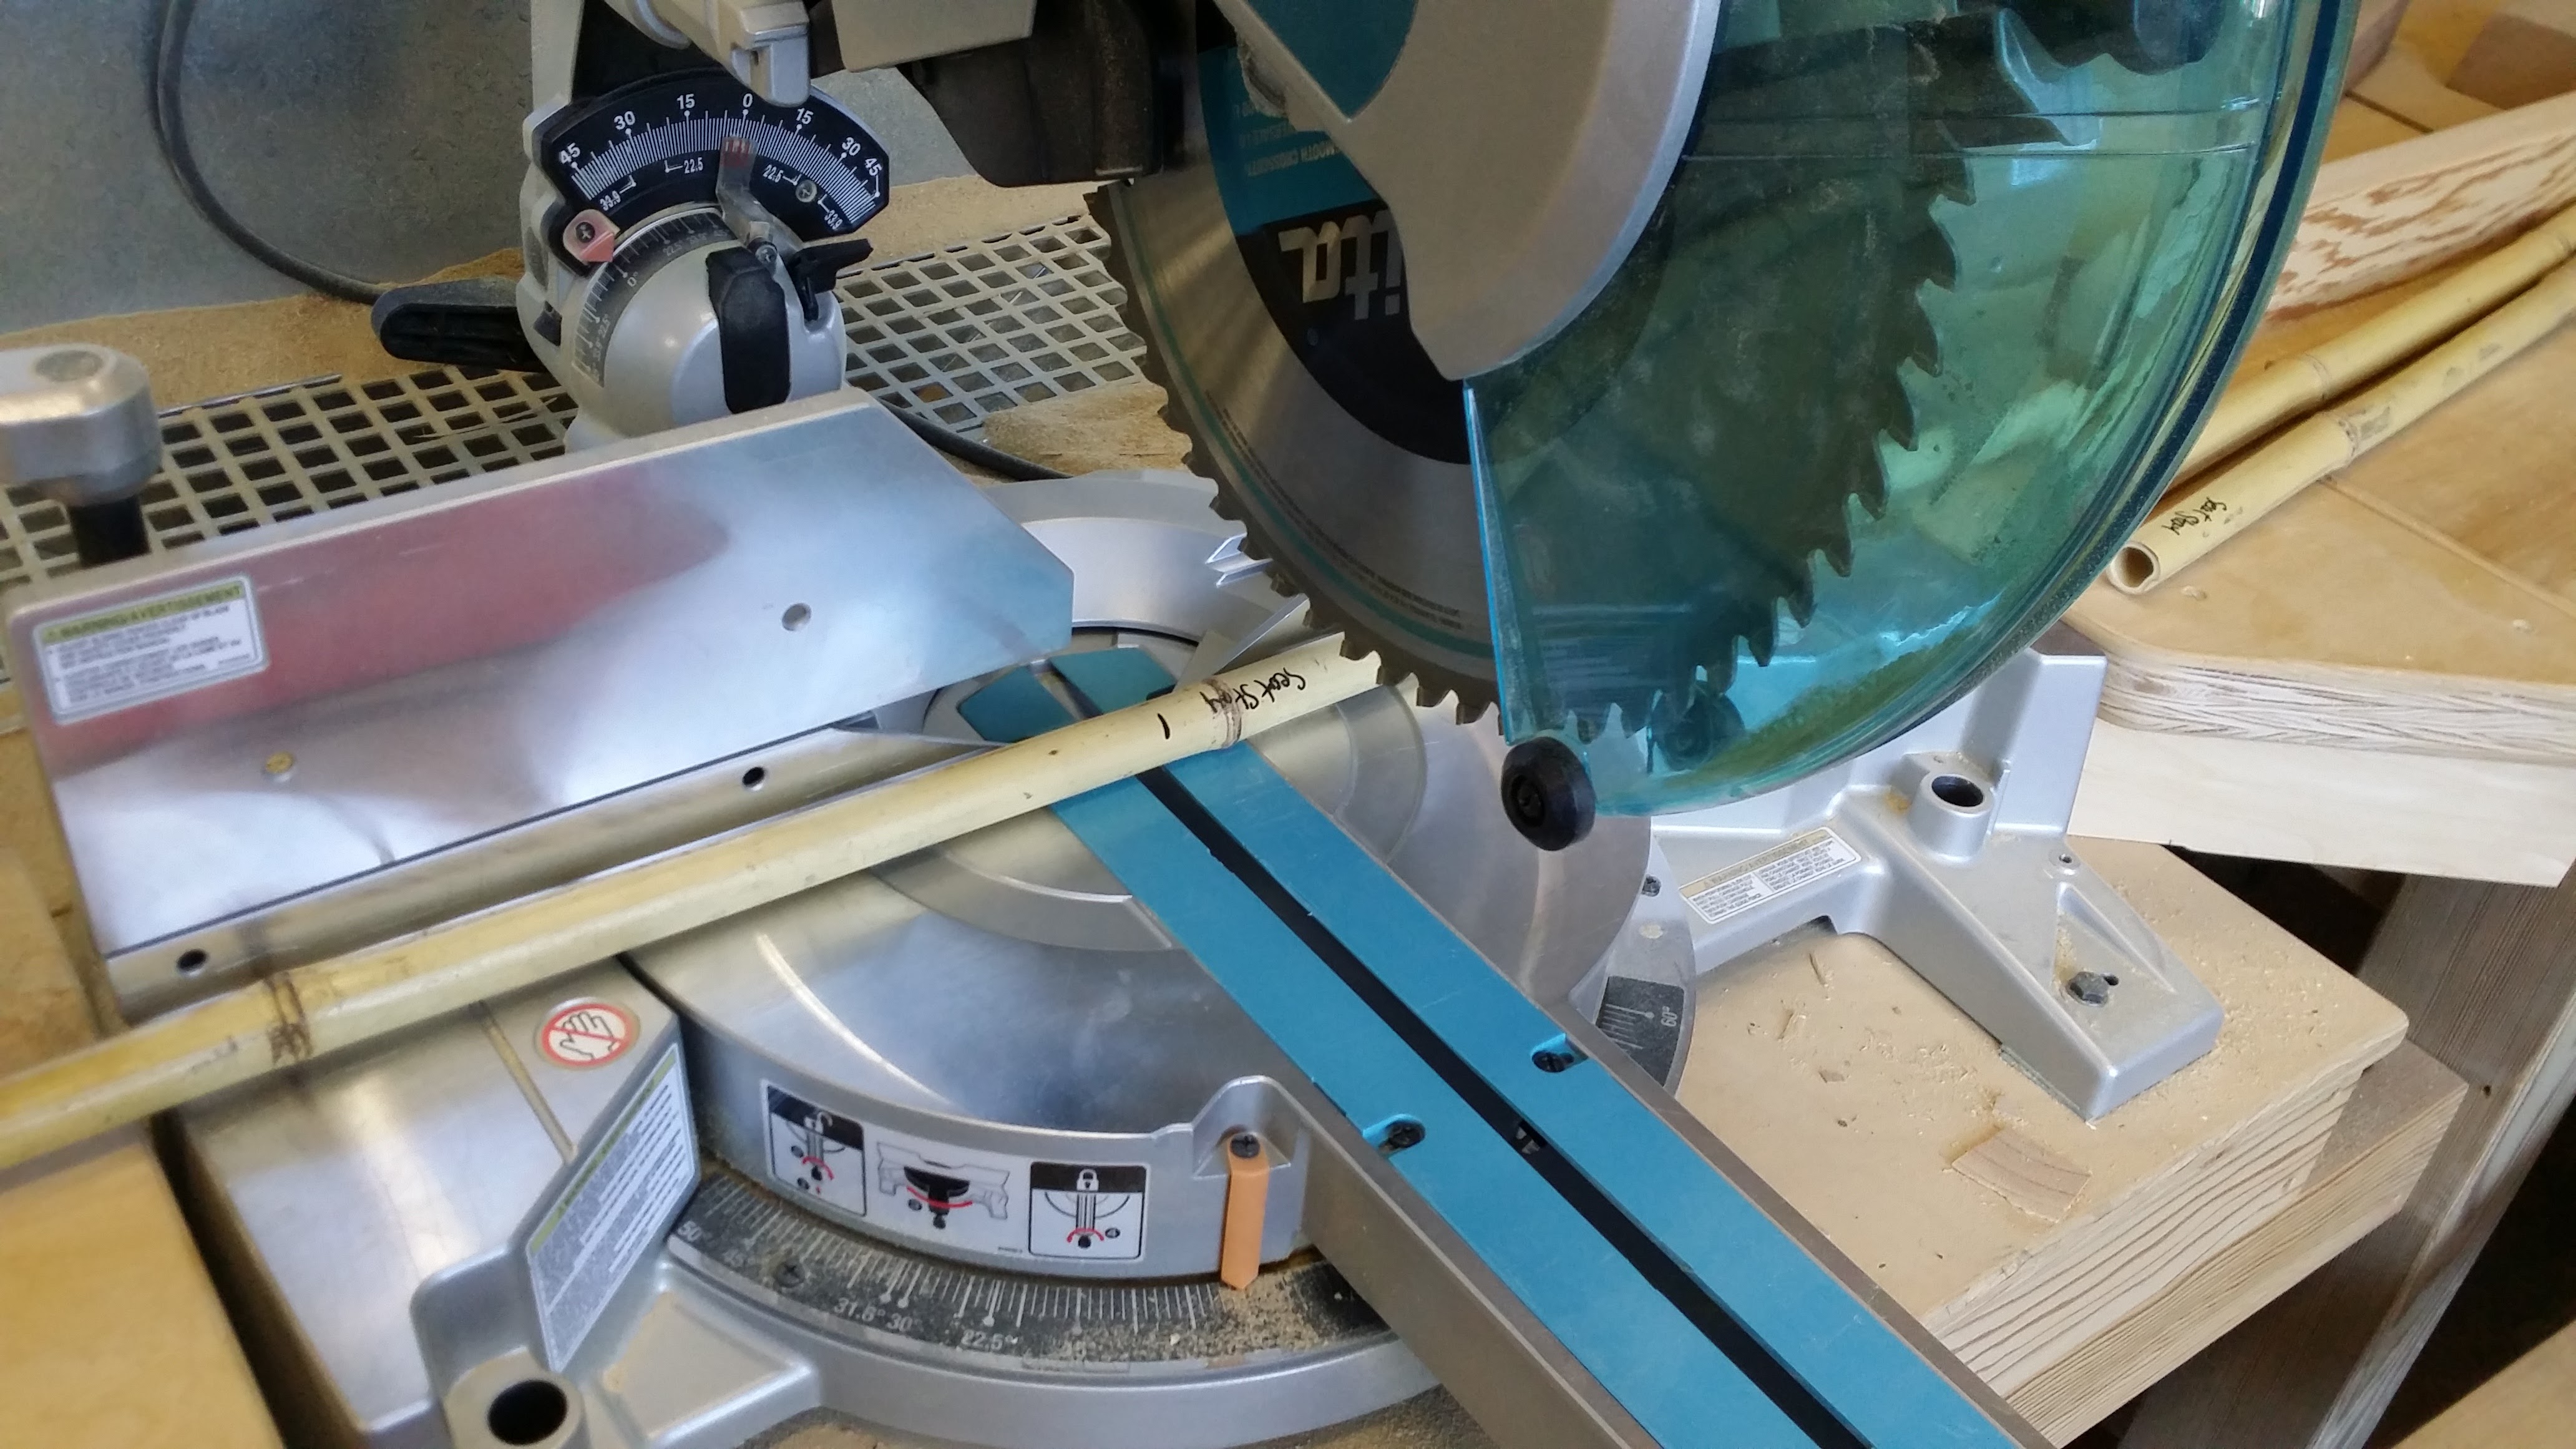
I rough cut the lengths to fit in the oven with a chop saw.
Before putting in the oven, I needed to drill the compartments so the moisture didn’t explode or split the wood. Actually, it would’ve been cool to blowup the staffroom oven with bamboo. I would go down in history.
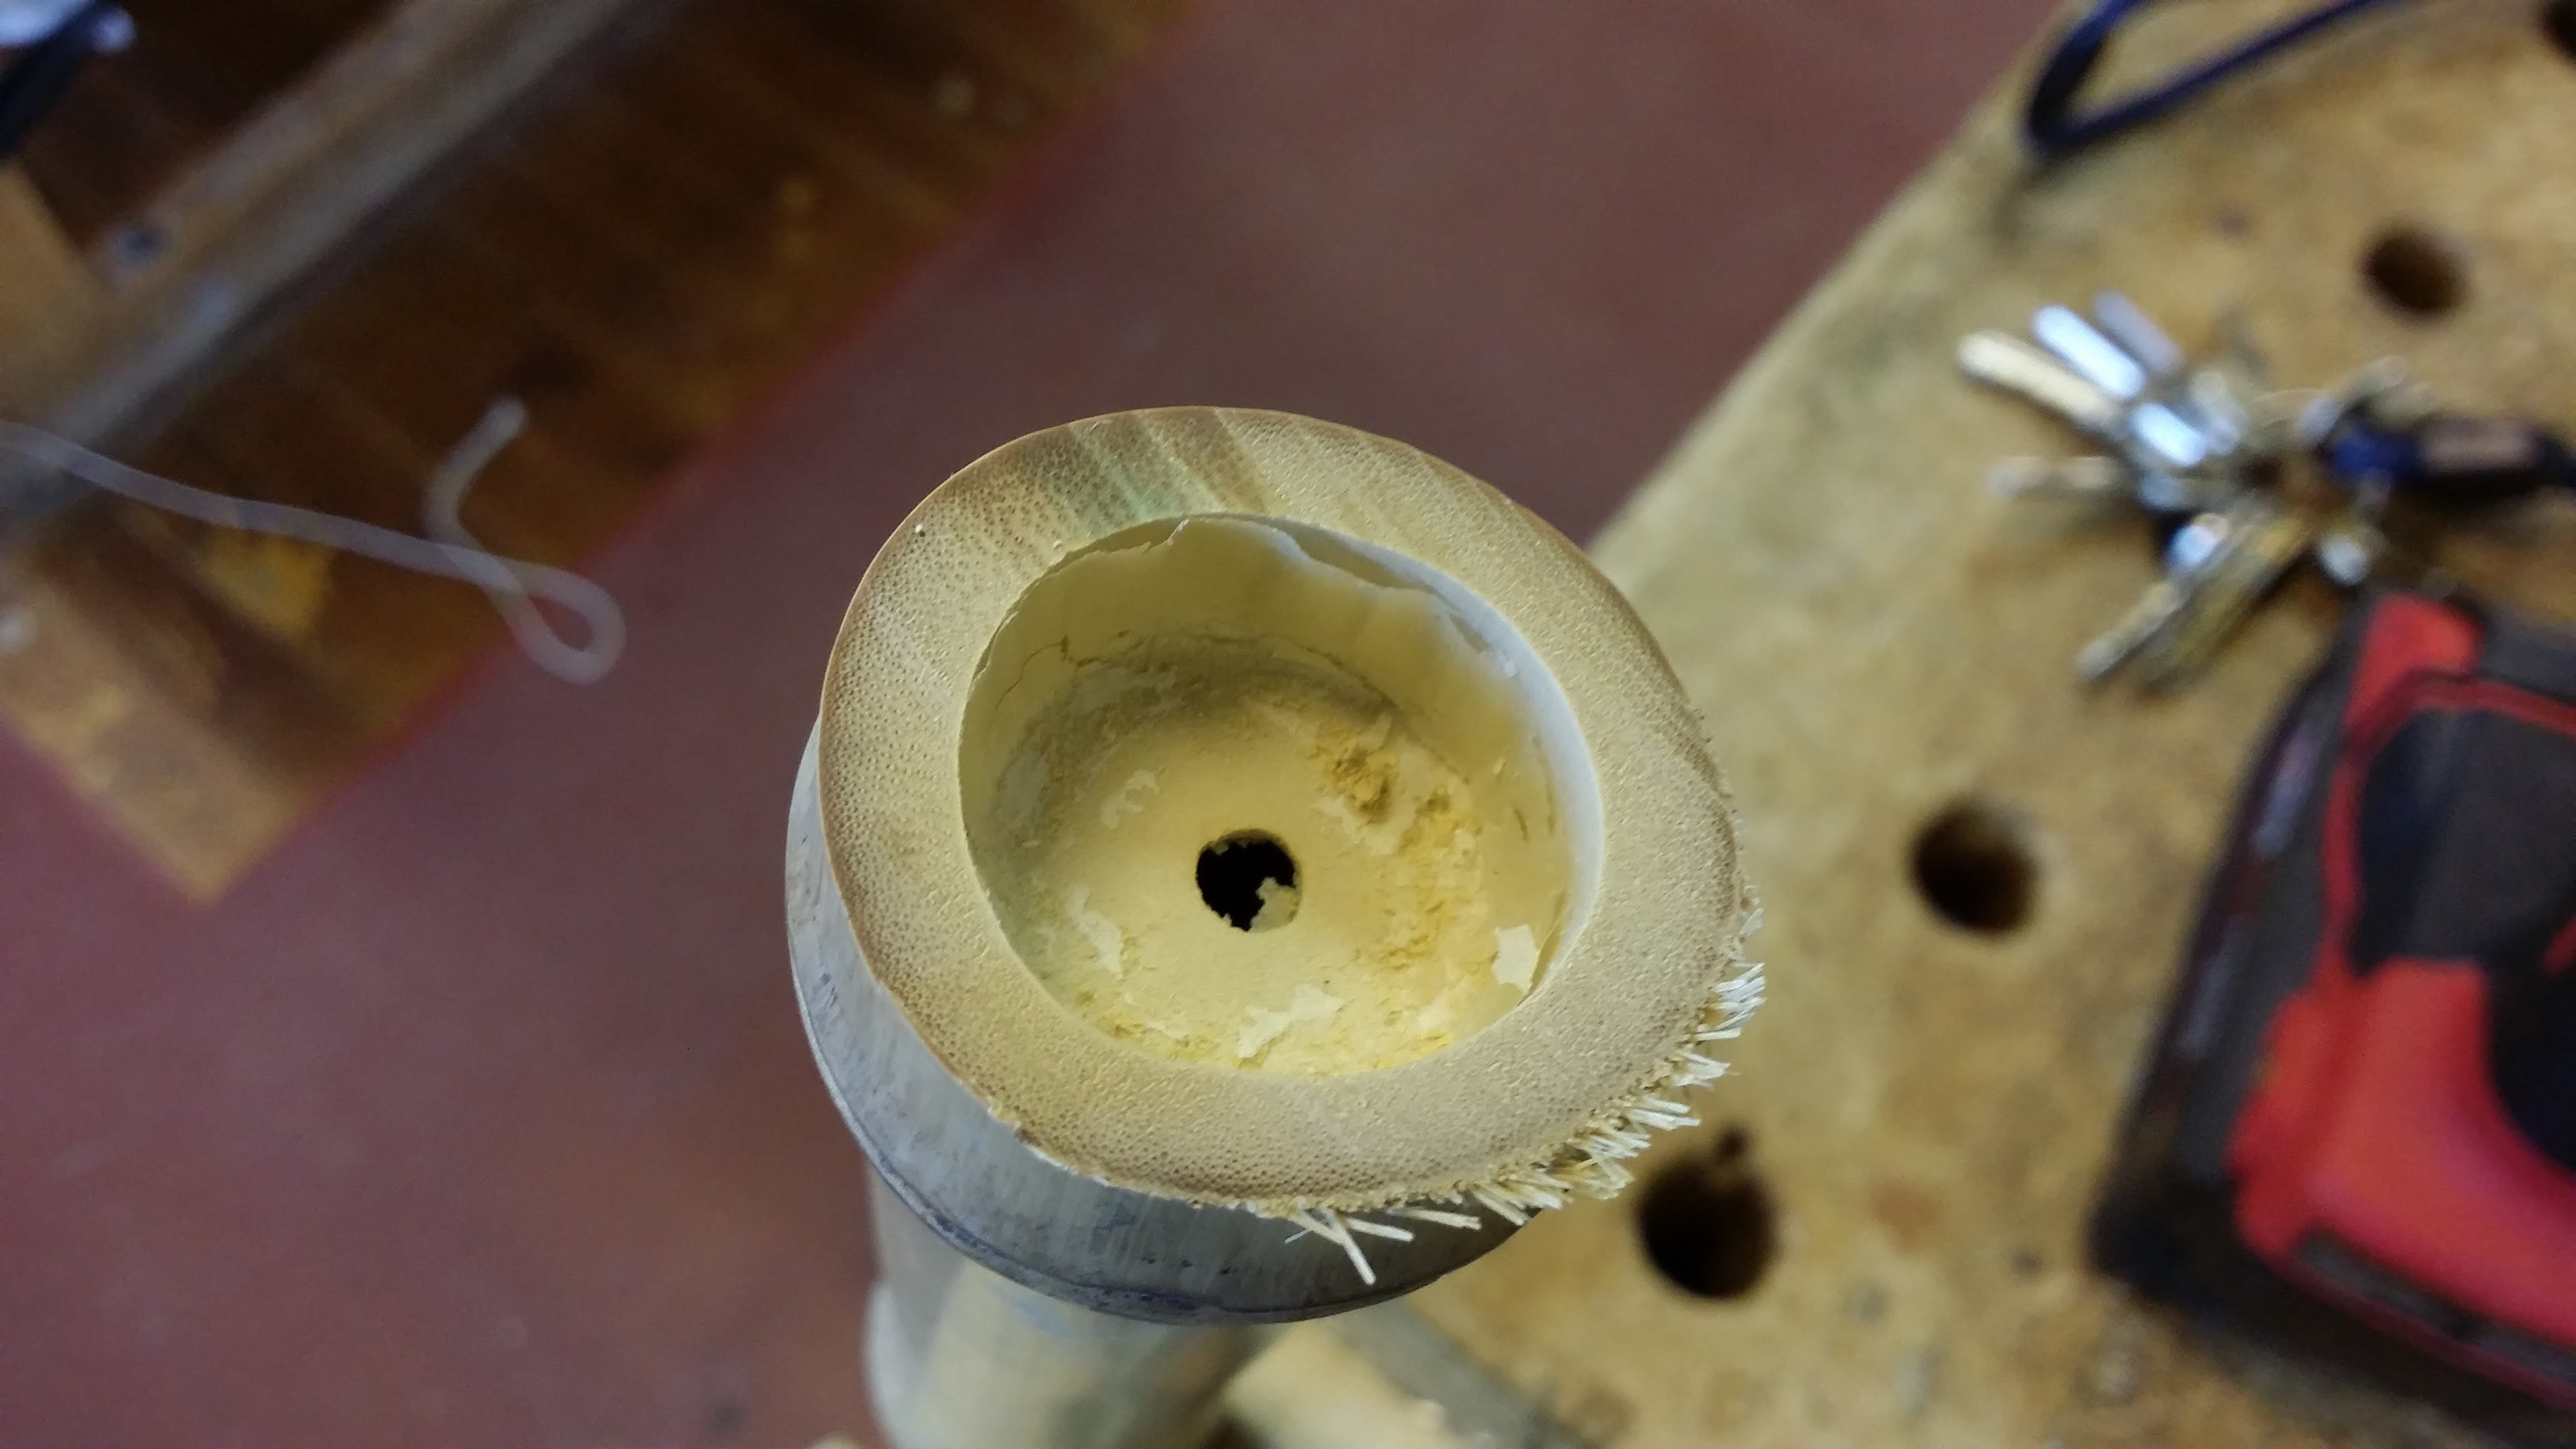
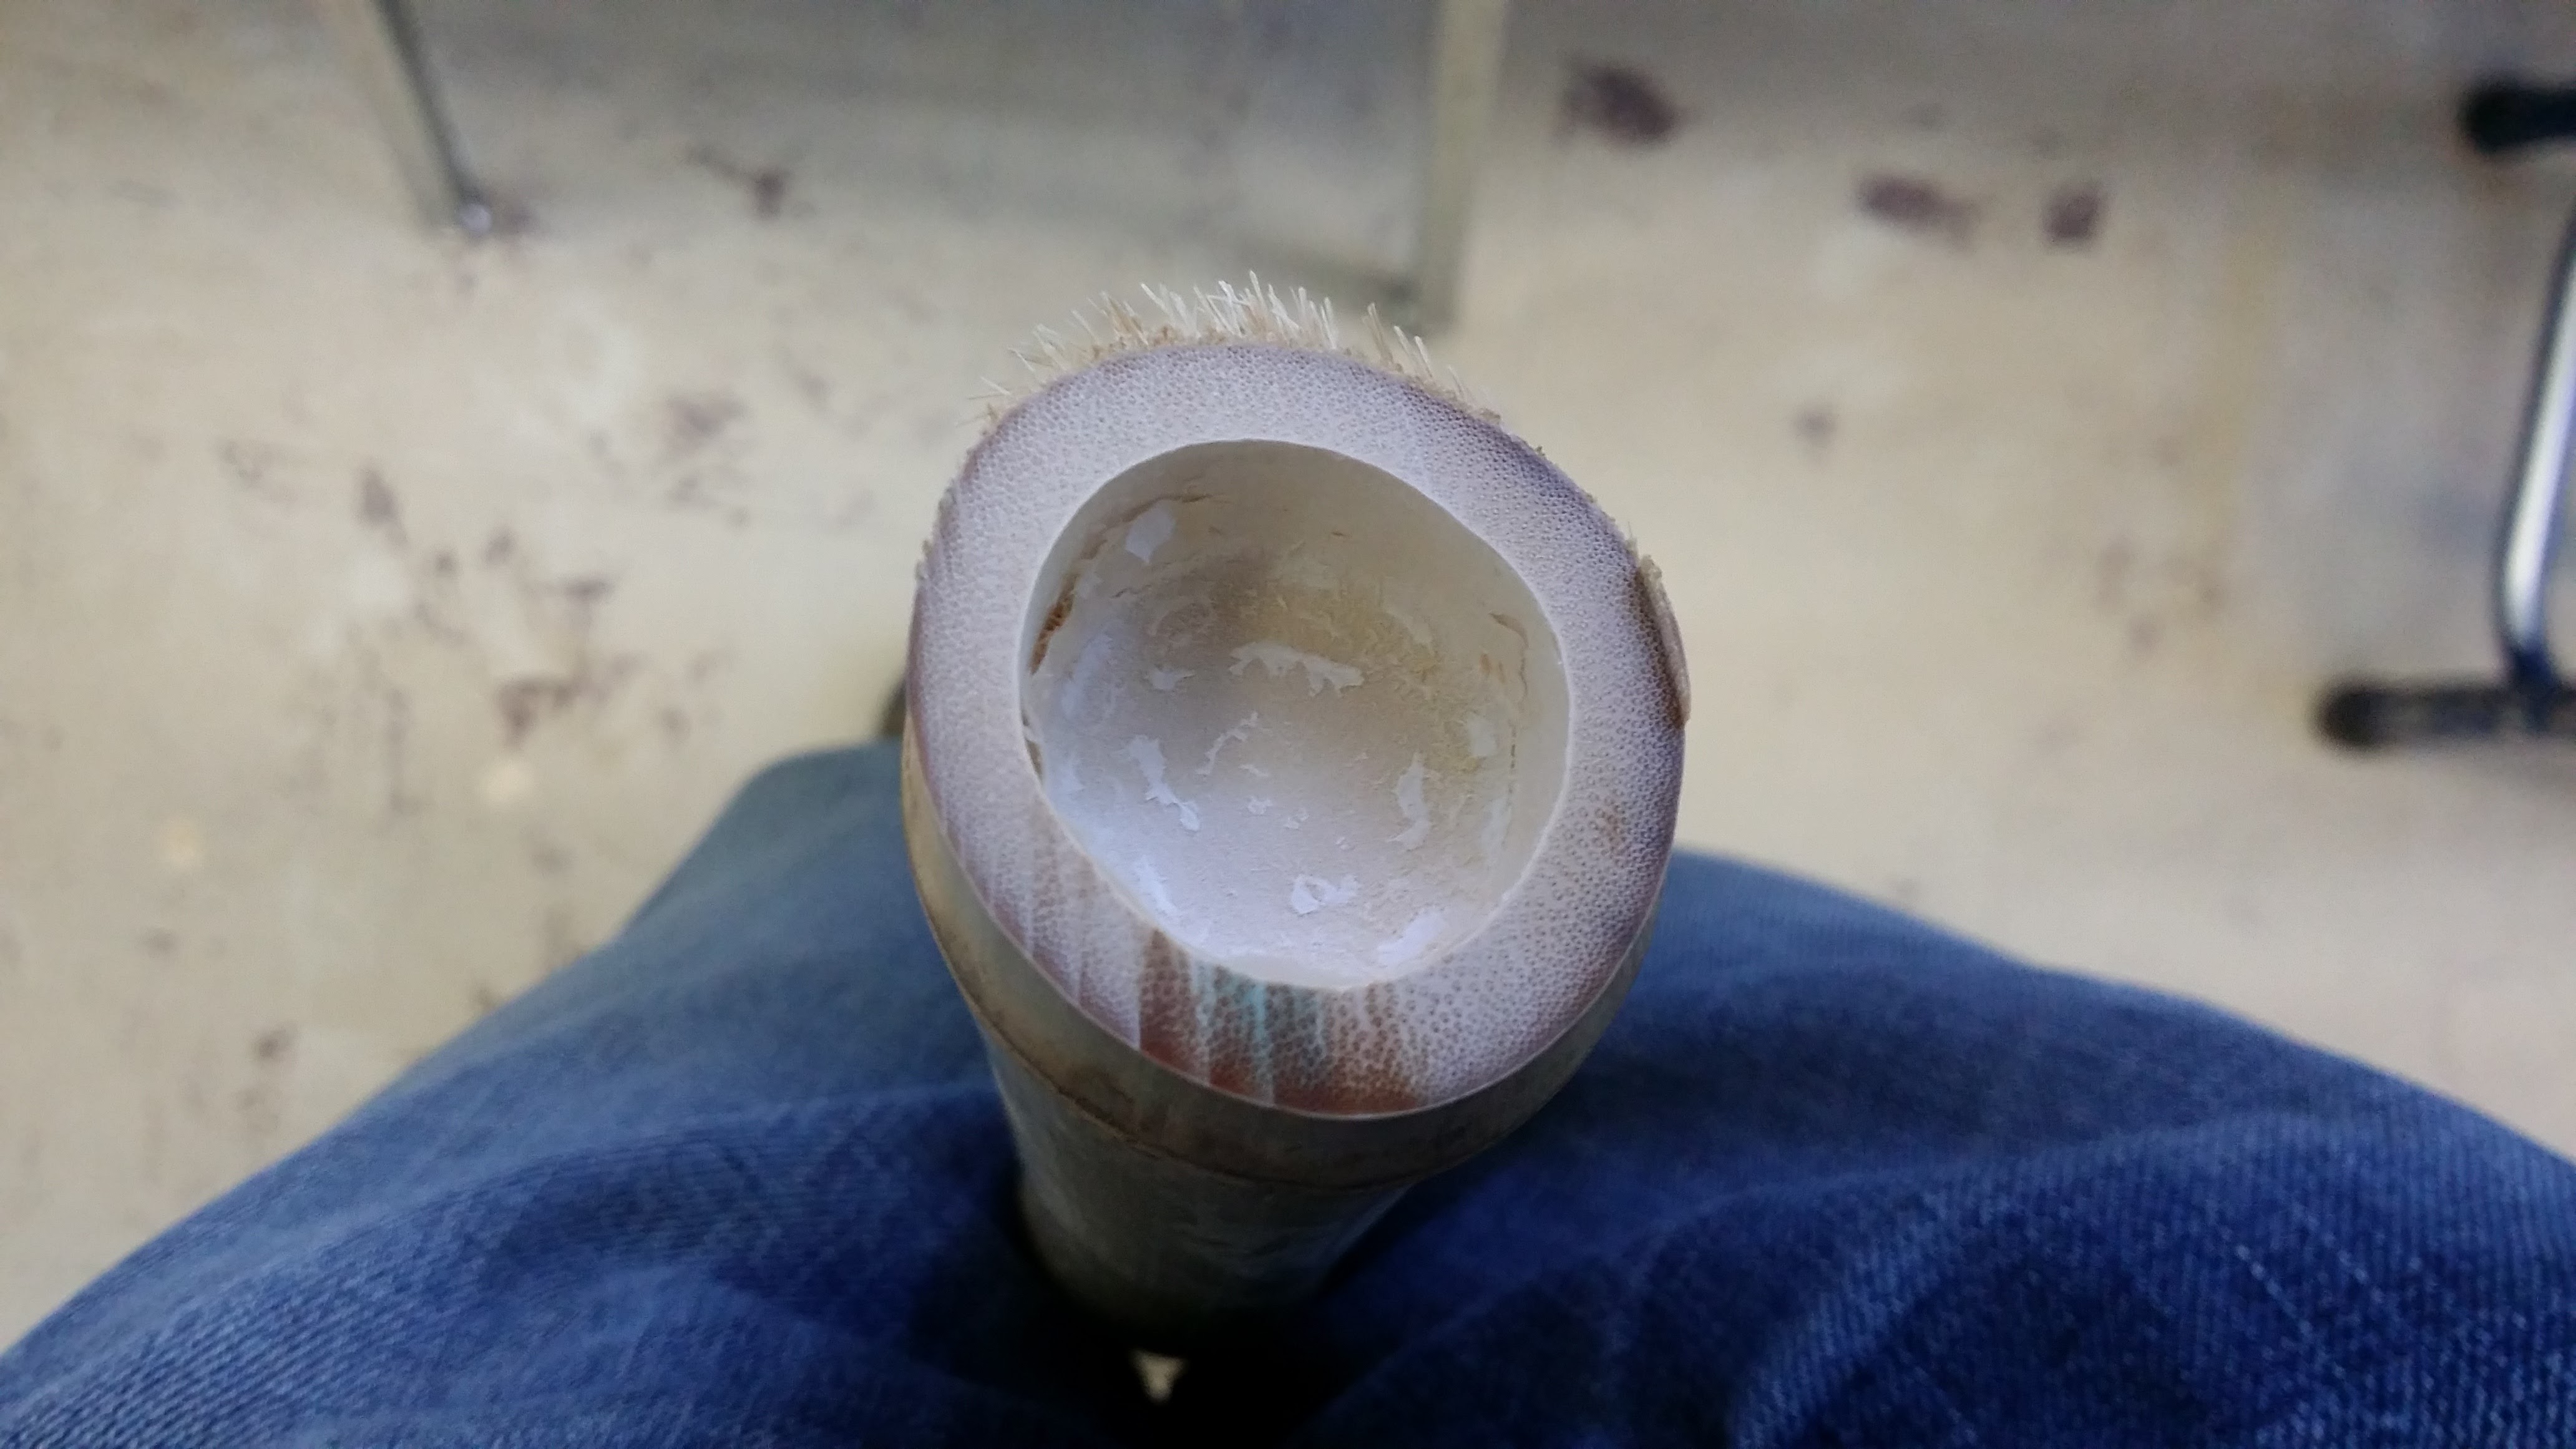
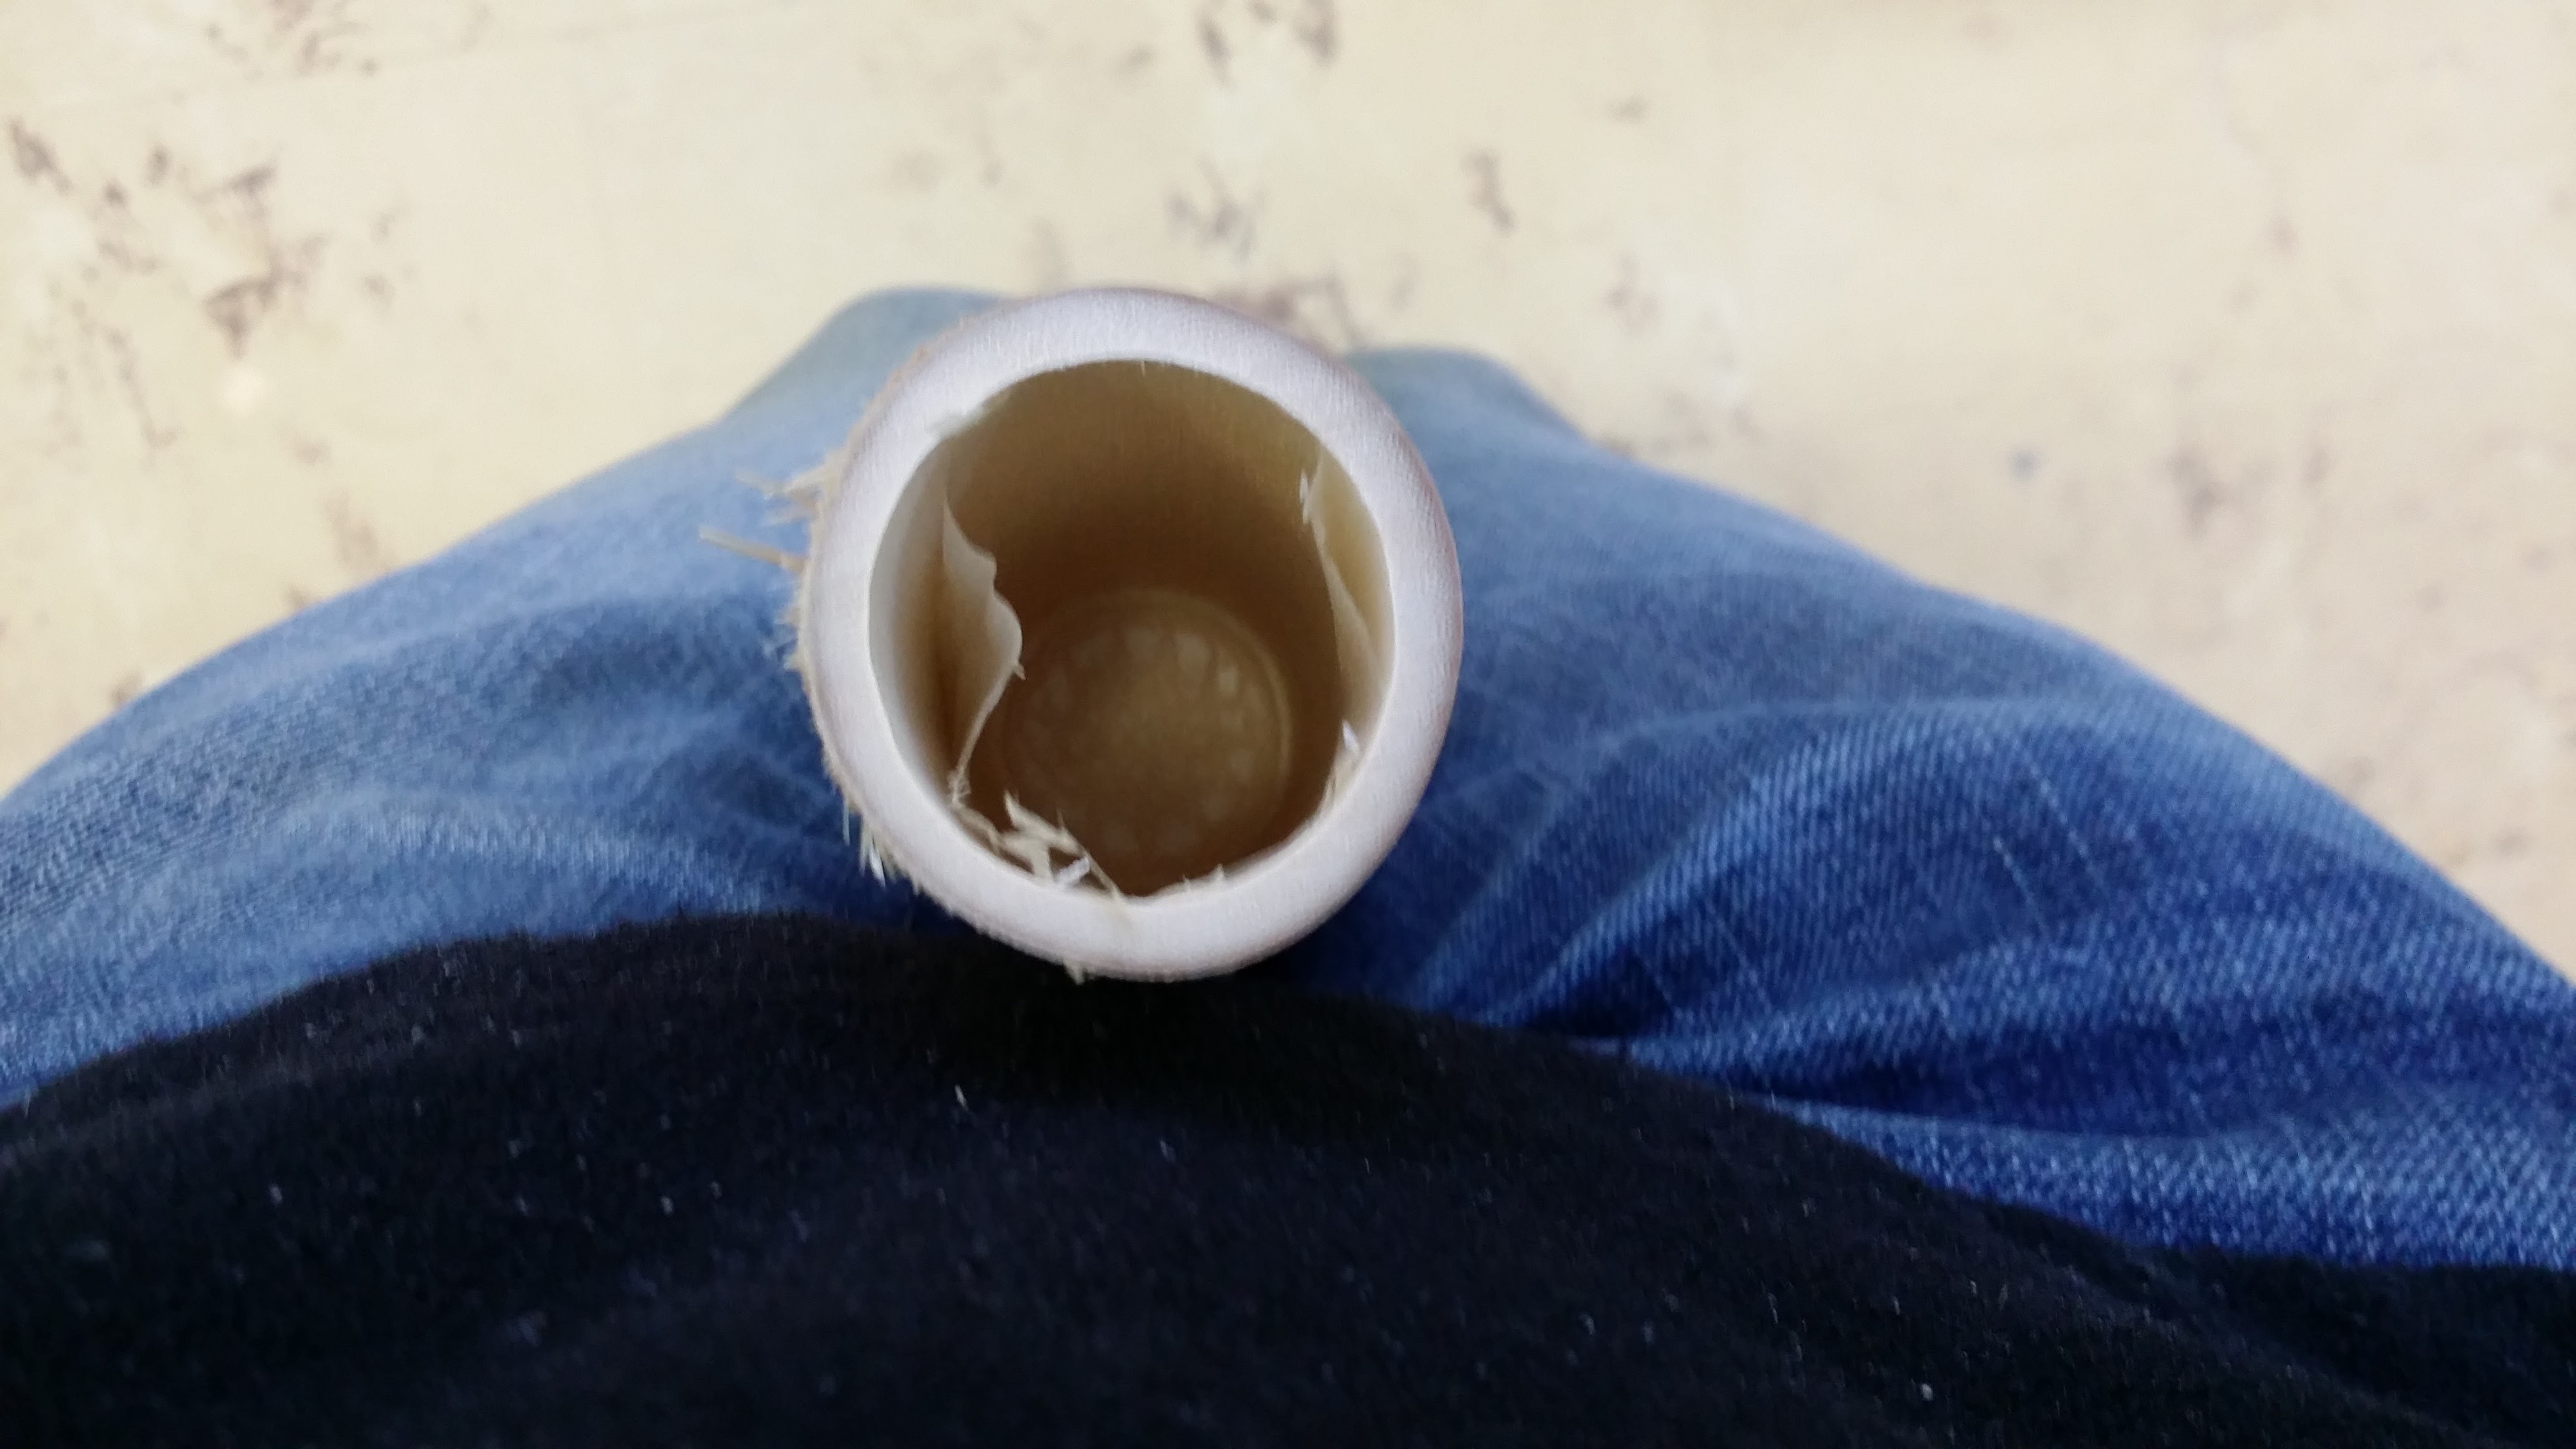
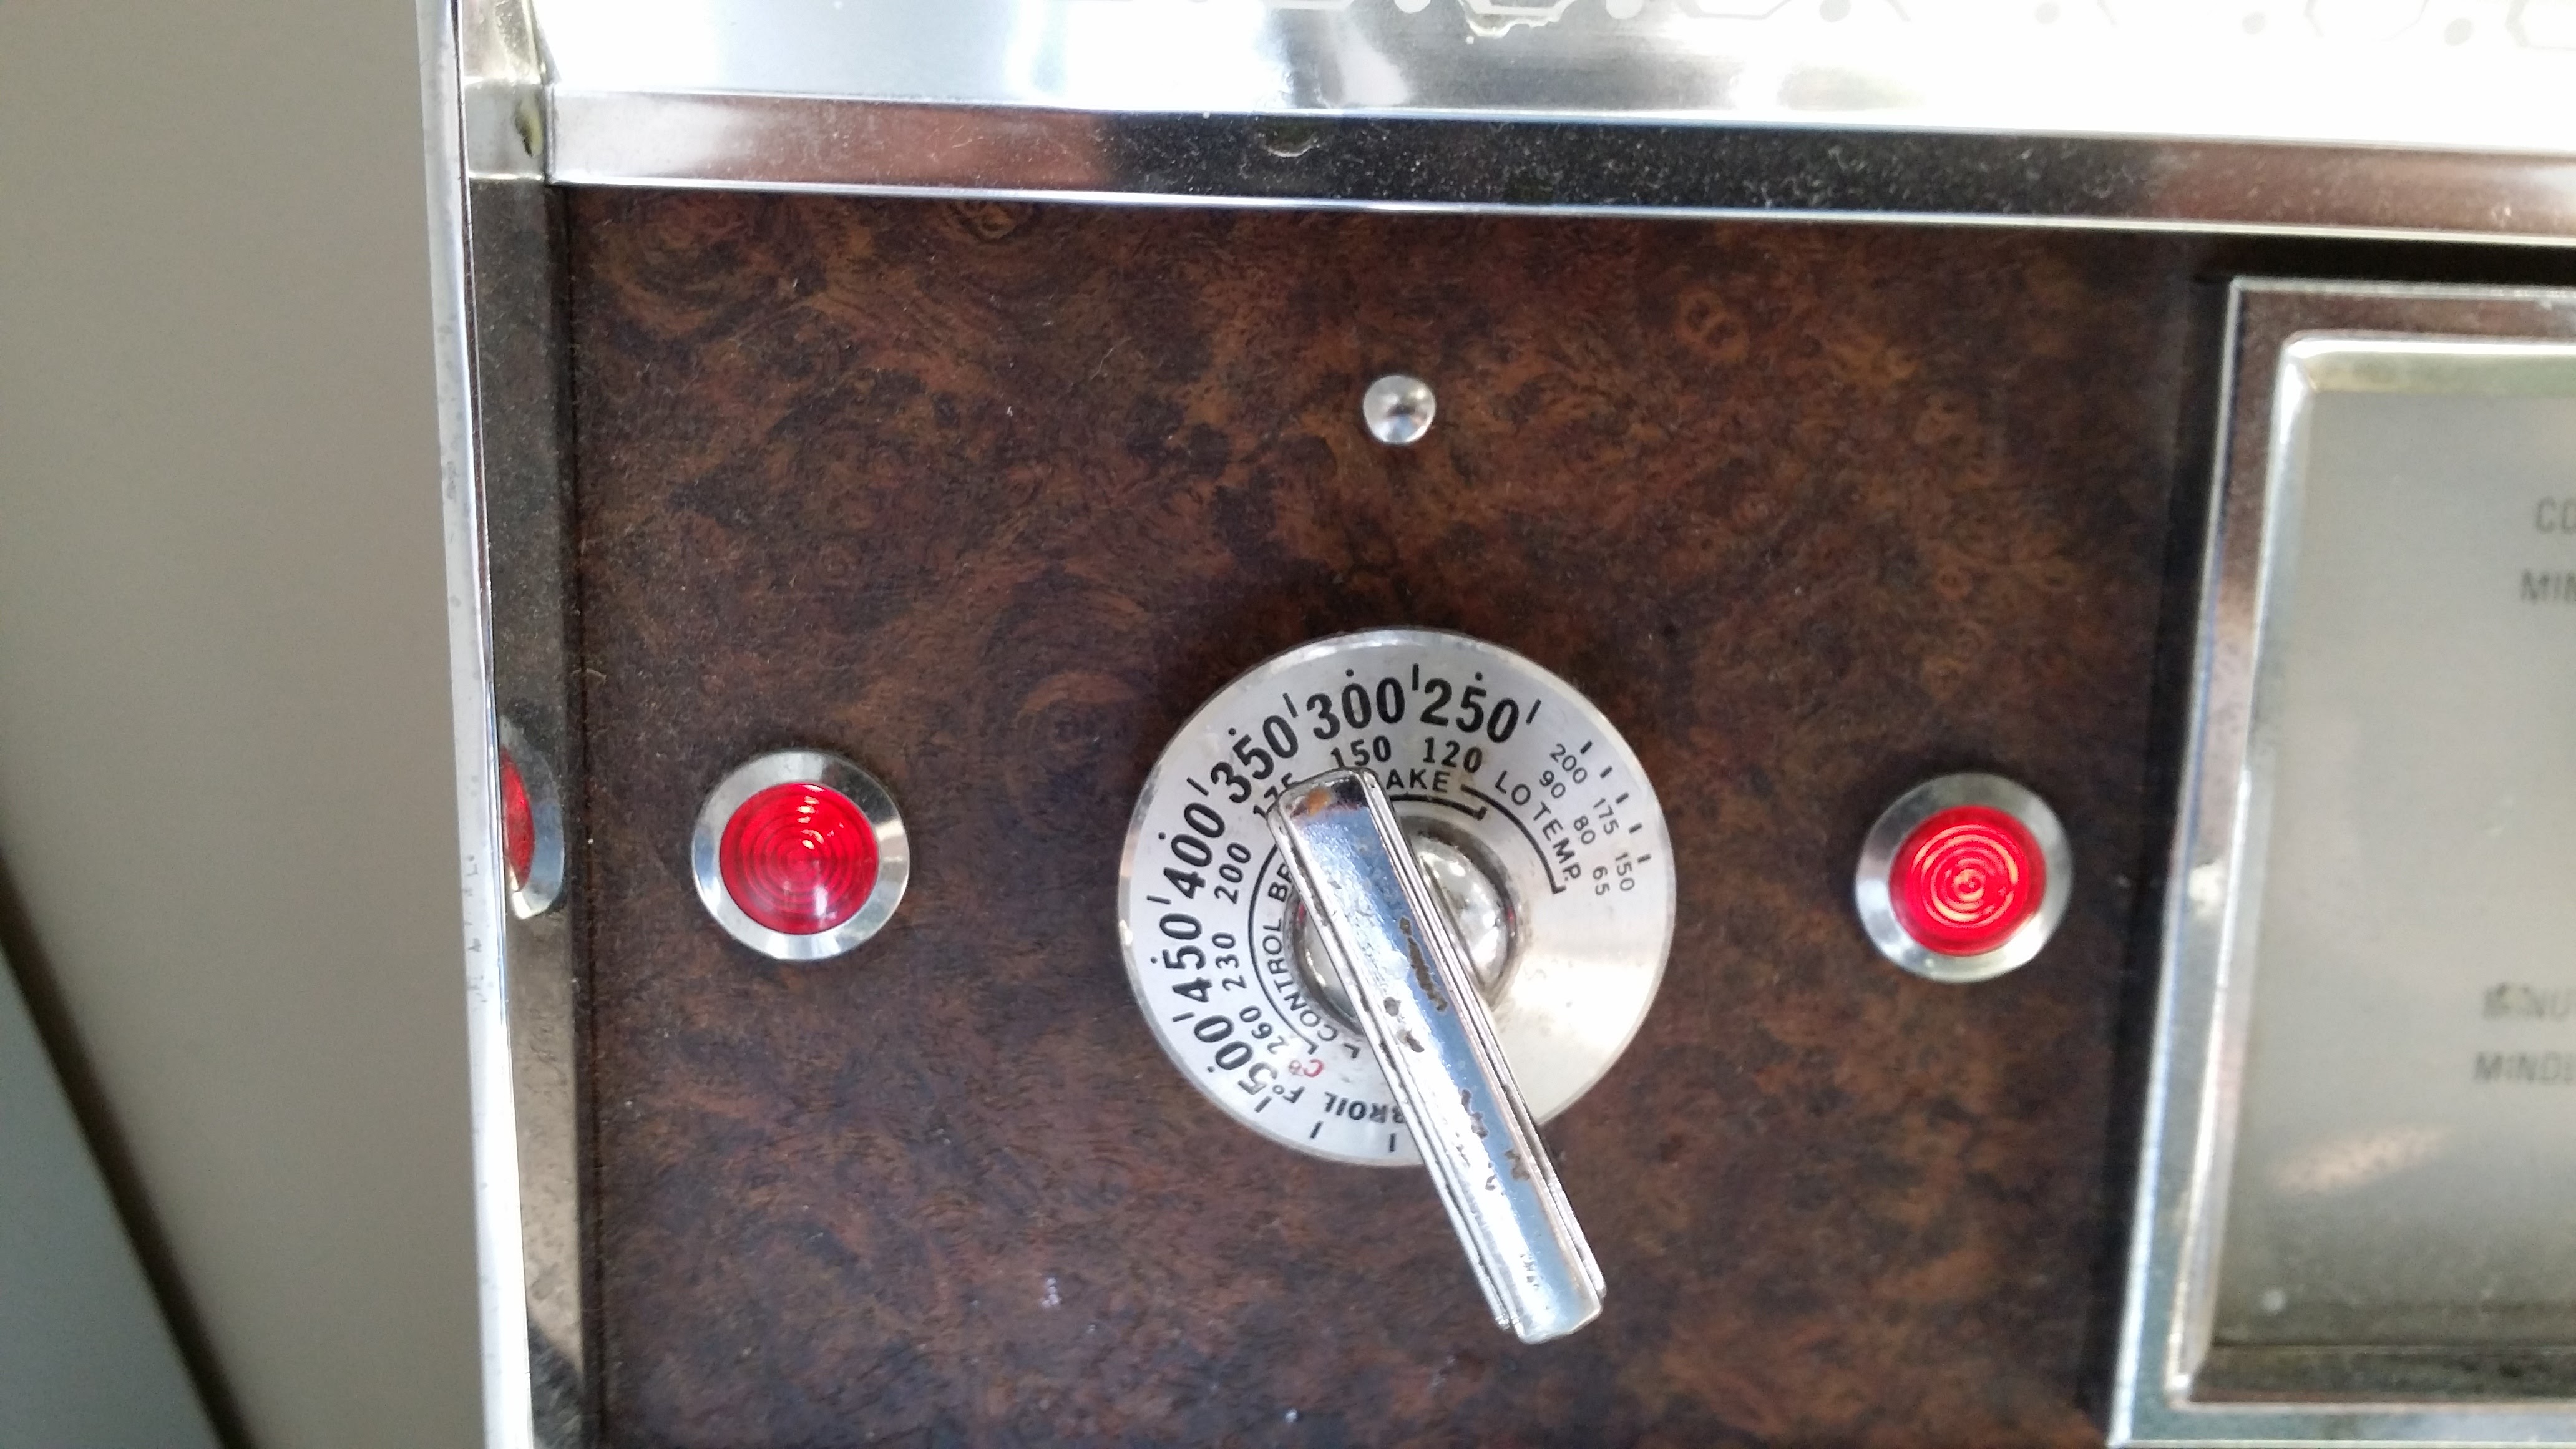
On a simultaneous timeframe, I “cooked” the bamboo at about 250 degrees F for 10 min. This was to ensure they were dry and to burn the outside a bit. One end of the smaller diameter split. Oops.


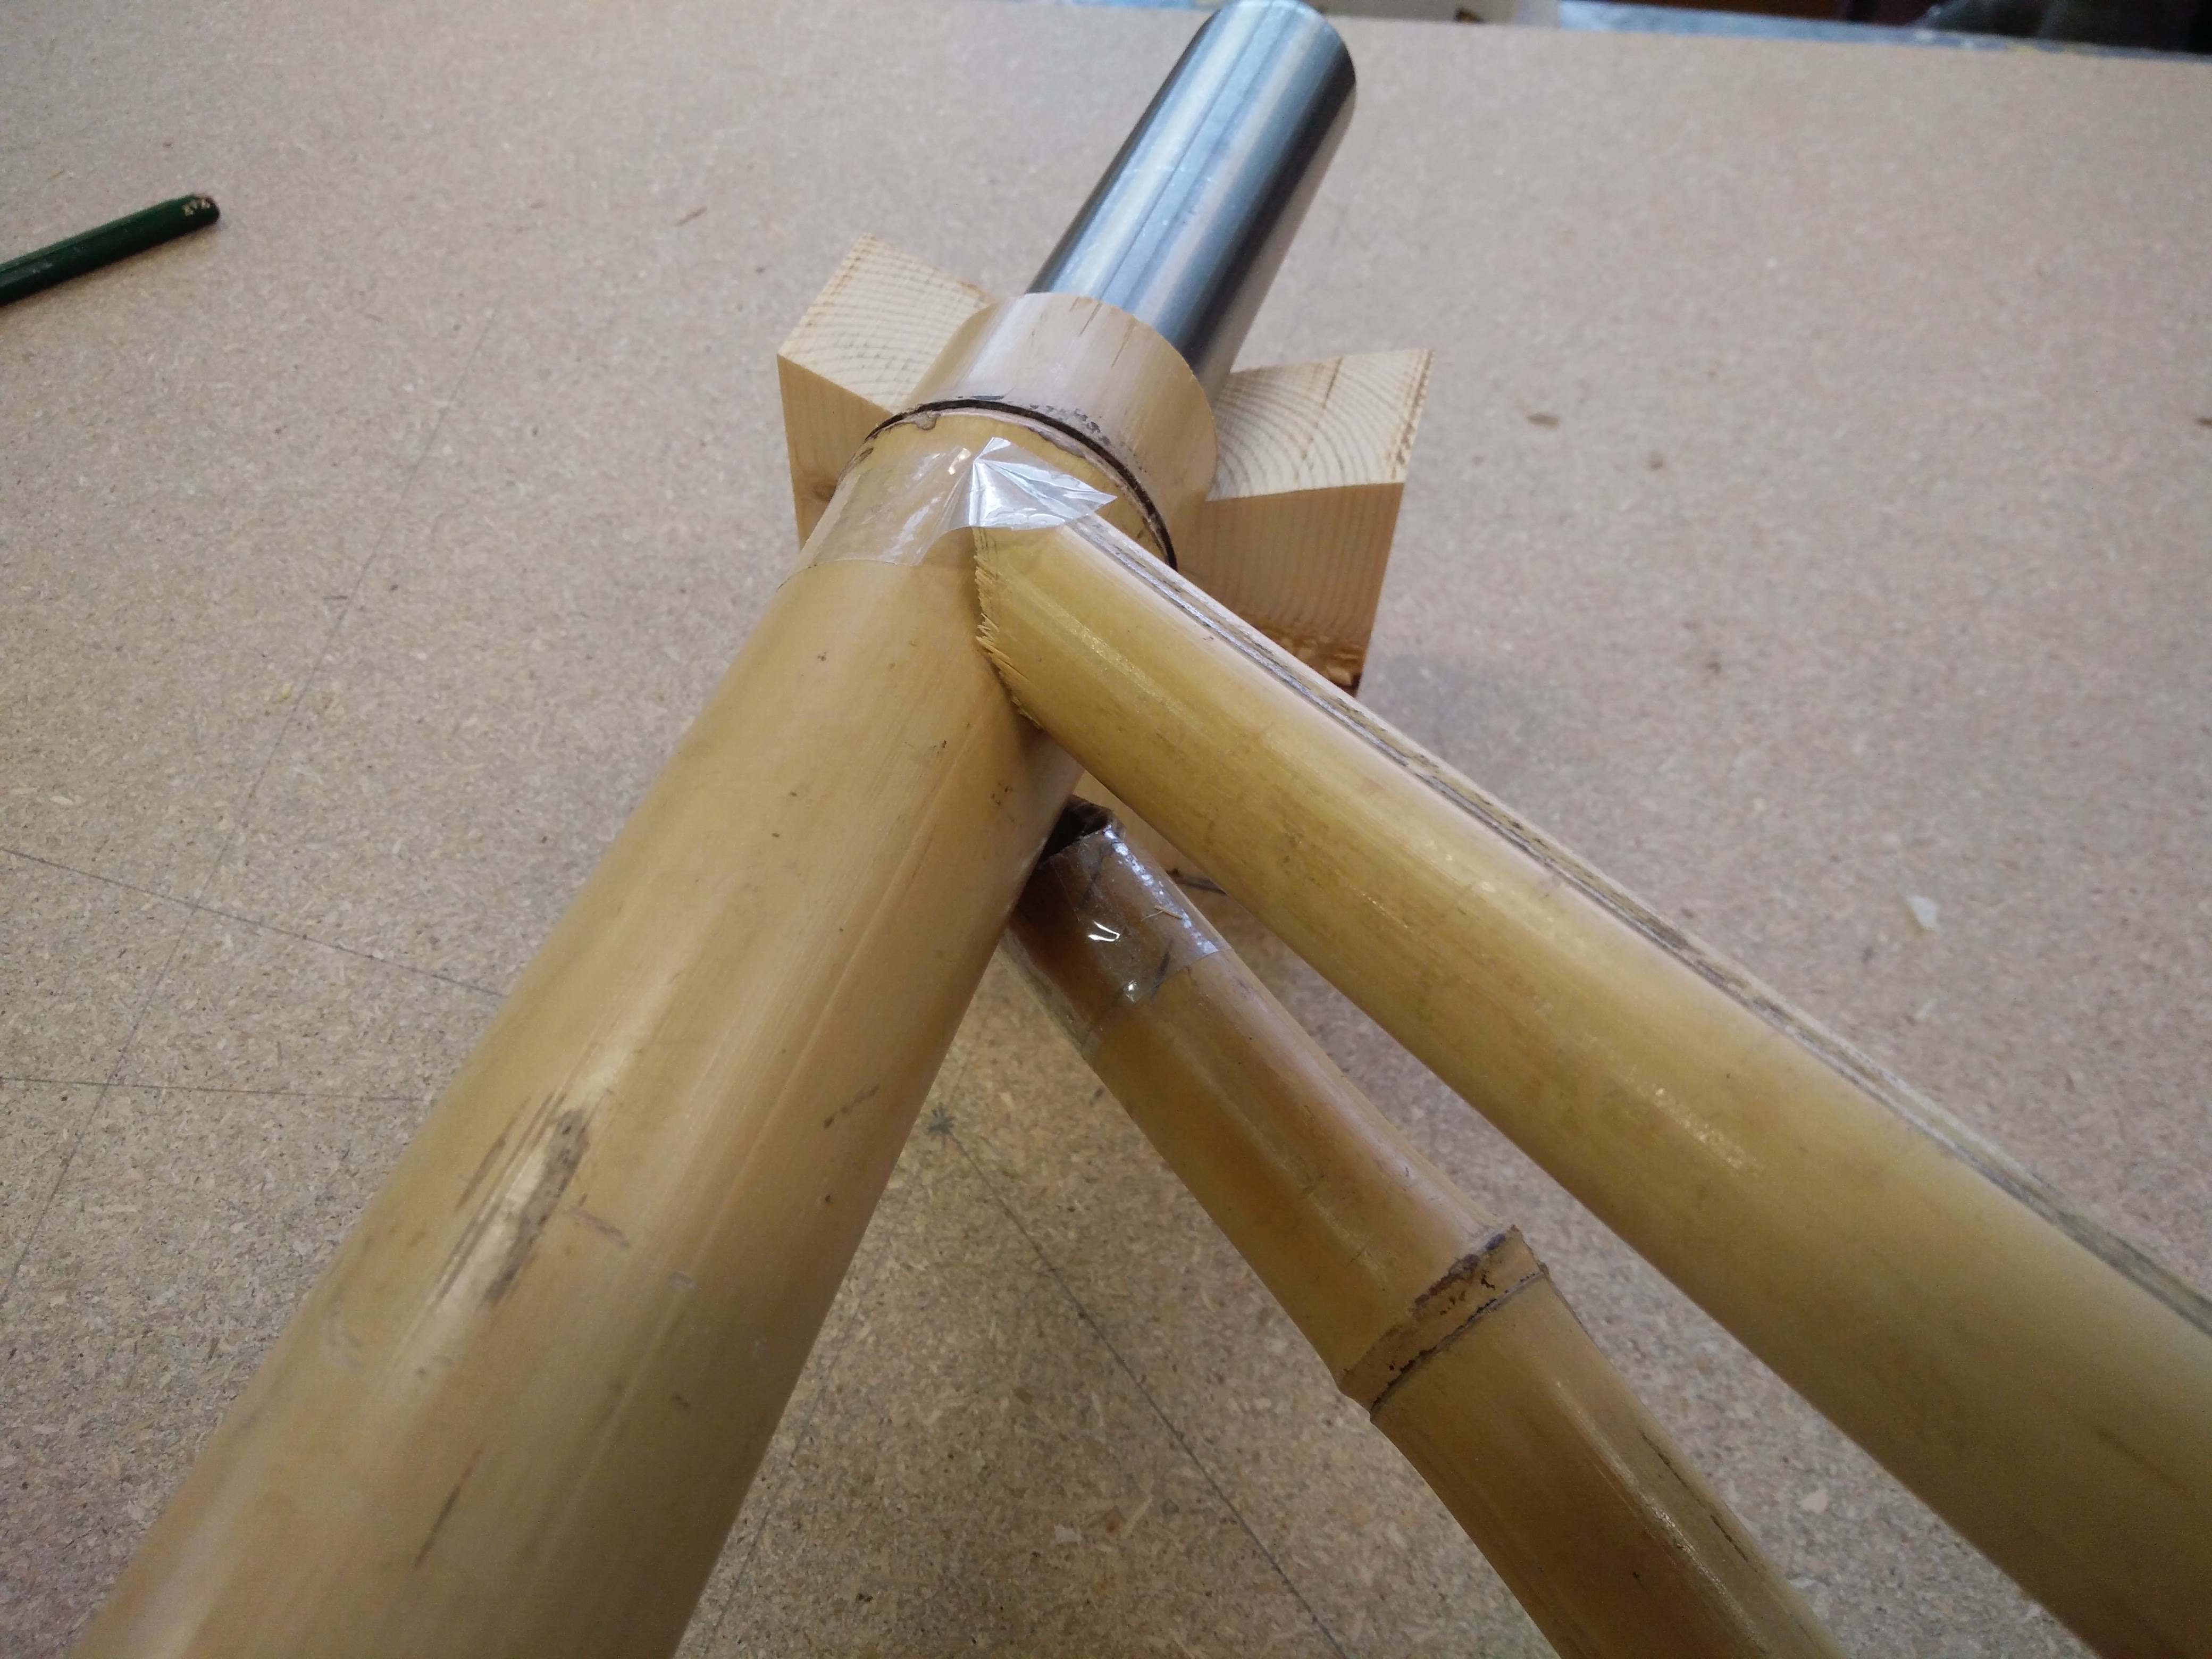
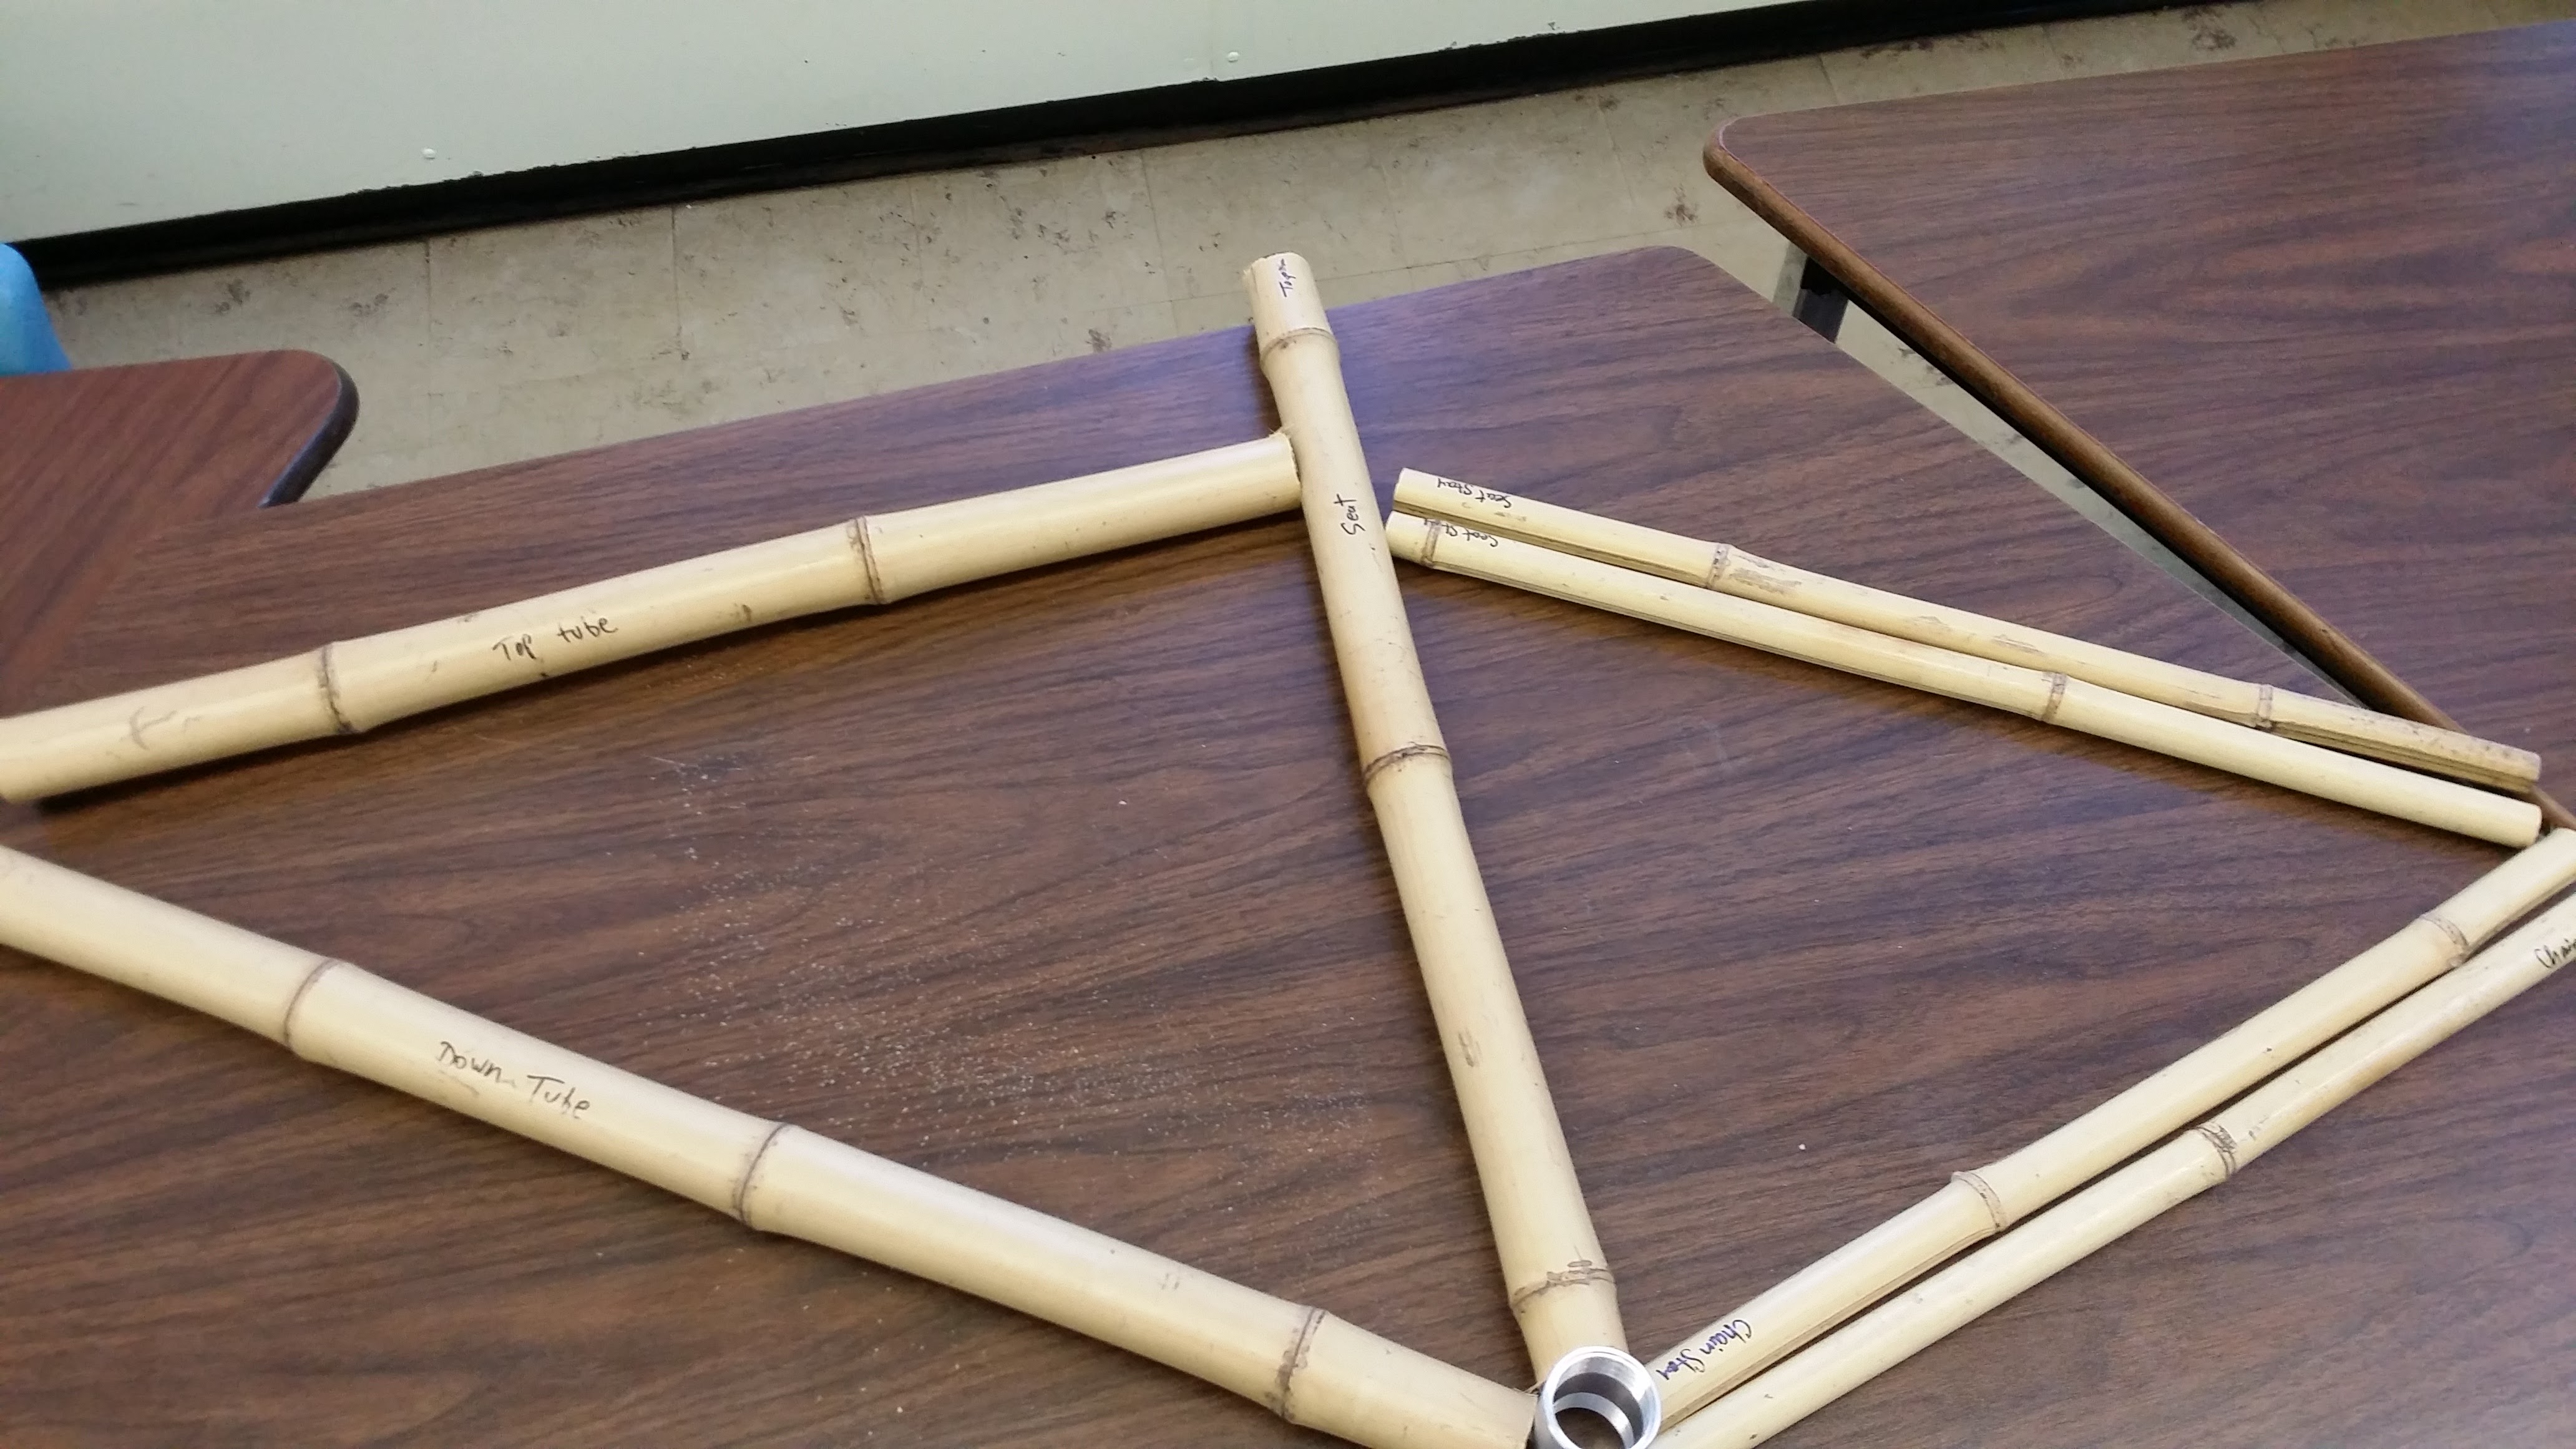
With the fixed points on the jig, it was time to cut the bamboo to specific lengths and “tack” into place. My palms were sweating with nervousness but with the help of the masterful B.King and his forstner drill bits, we got them into place.