Life drawing – Body proportion
 Big picture
Curricular ties
- Design, create, and refine 2D artistic works
- Create 2D artistic works with an audience in mind
- Explore artistic possibilities and take creative risks
- Express meaning, intent, and emotion through 2D artistic works
- Develop skills and techniques in a wide range of styles and movements and a variety of technical processes
FPPL
- Learning involves recognizing the consequences of one’s actions.
-
Learning involves patience and time
As we saw in our last project, on representing 3D forms with charcoal, that we as artists have to really look, and really see, our subject/s. In this new project on body proportion, we are really going to have to open our eyes WIDE! and we are also going to have to do a bit of thinking as well!
(Please note that this project is to inform our next- 2D kids will move to a graphic novel assignment, while 3D kids will move onto clay figures!)
In Art, Body Proportion is the study of the relation of human, or animal body parts, to each other and to the whole.
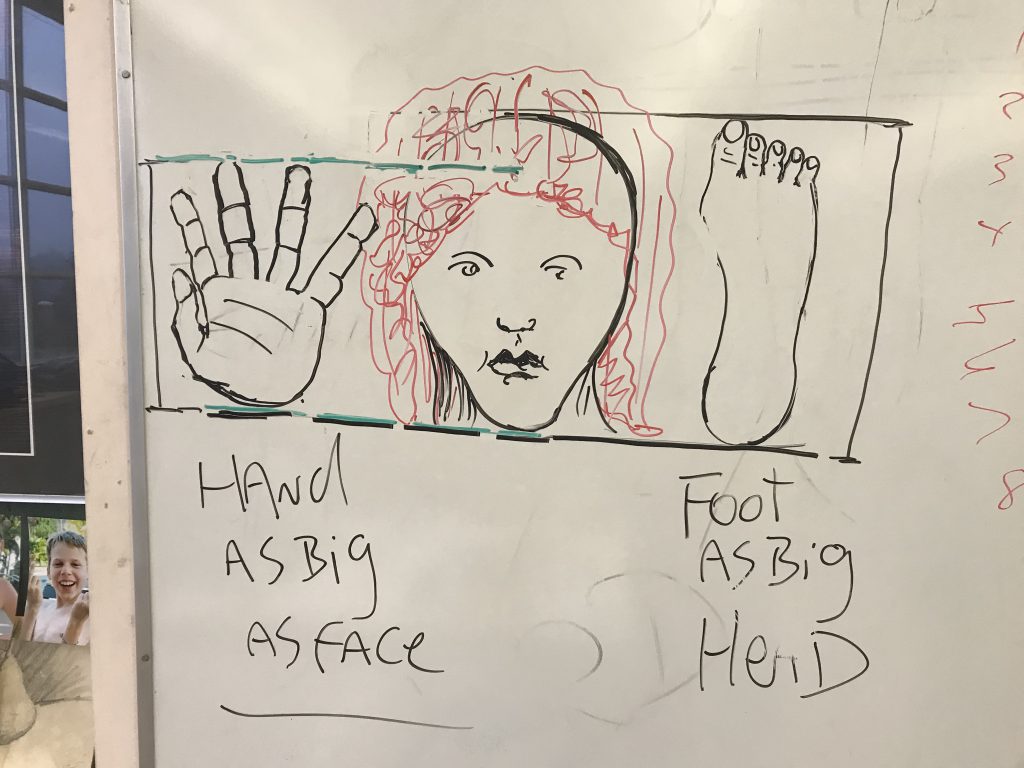
Basics of human proportions:
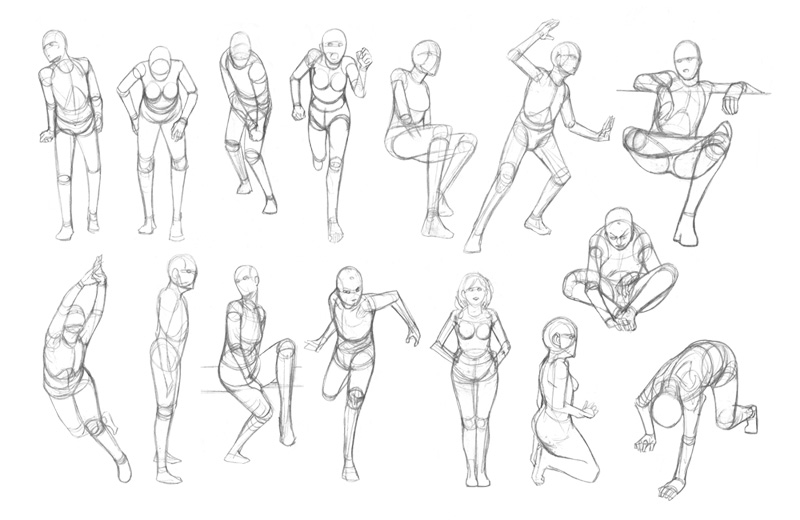
Image source makingcomics.com
It is important in figure drawing to draw the human figure in proportion. Though there are subtle differences between individuals, human proportions fit within a fairly standard range, though artists have historically tried to create idealized standards, which have varied considerably over different periods and regions. In modern figure drawing, the basic unit of measurement is the ‘head’, which is the distance from the top of the head to the chin. This unit of measurement is reasonably standard and has long been used by artists to establish the proportions of the human figure.
- An average person is generally 7-and-a-half heads tall (including the head).
- An ideal figure, used when aiming for an impression of nobility or grace, is drawn at 8 heads tall.
In this project we’re will only be concerned with the average and Ideal proportions. We will save the Heroic or Superhero proportion for our Comic Book project!
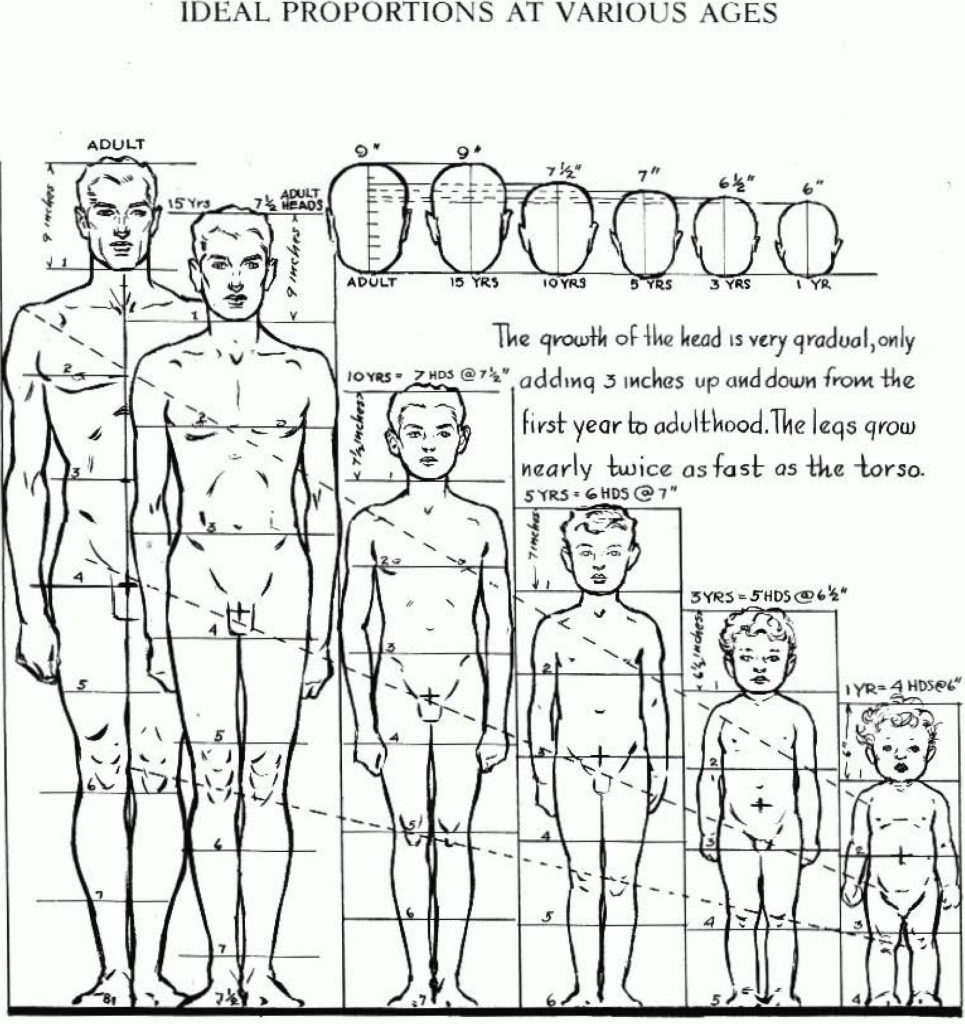
Image source free-clipart-pictures.com
At different ages, as the body grows, lengthens, our proportions are different.
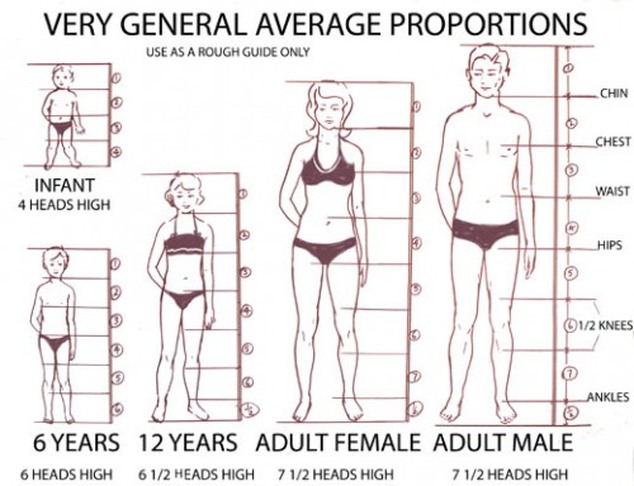
Image source silvercreekart.weebly.com
The constant unit of measurement is the Head.
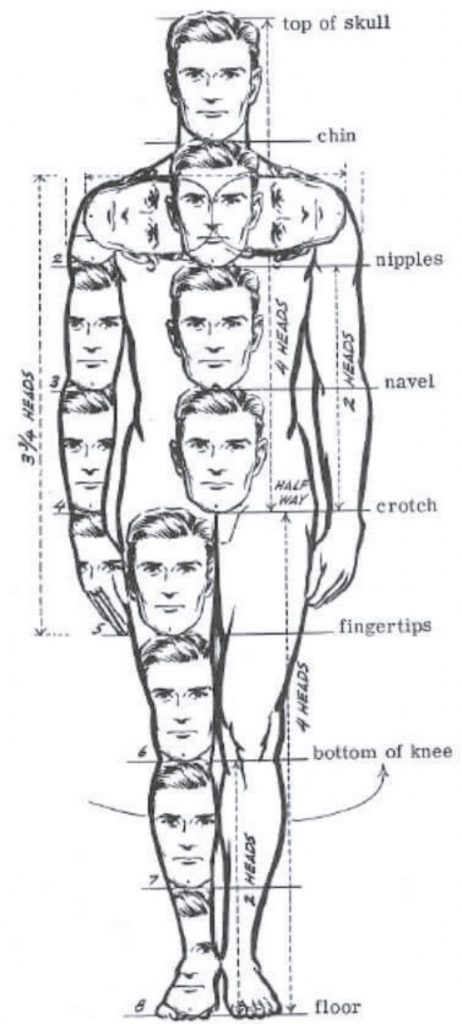
Image source pinterest.com
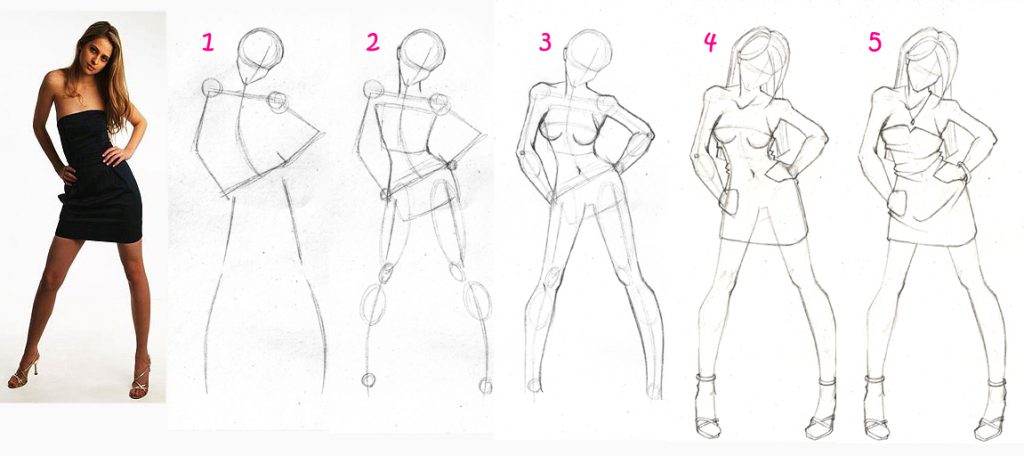
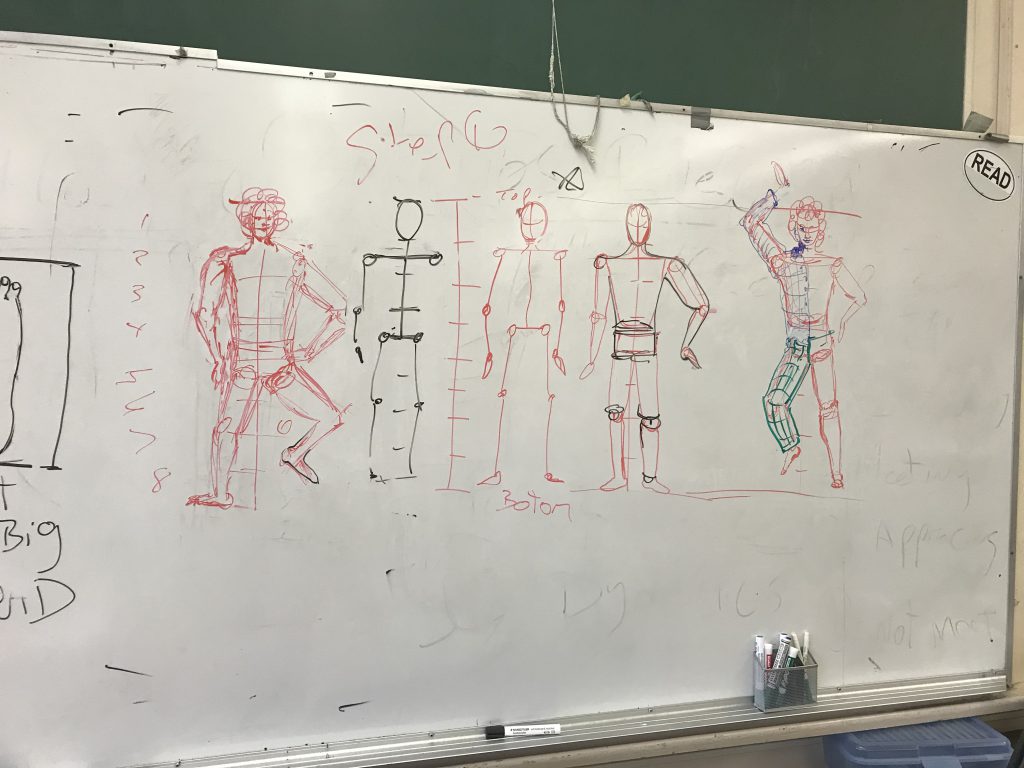
Once you understand how to use head length to devise your proportions, then the fun begins- Drawing your figures in dynamic poses.

Image source pinterest.com
But how do we get from head length to realistic drawings??? Well, there are a few ways that artists have developed over the years. We will practice them in class. Then you can figure out which way works best for you.
Line and point: Pretty straight forward.
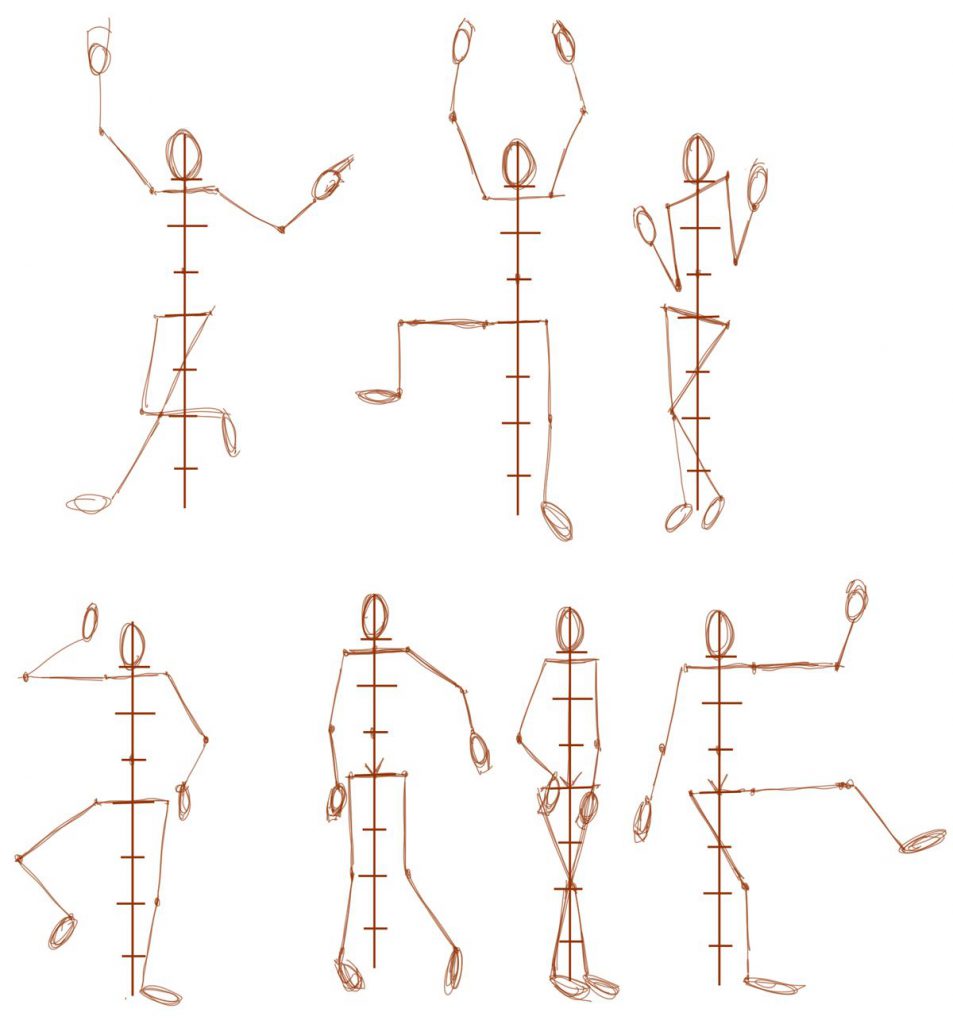
Image source Pinterest
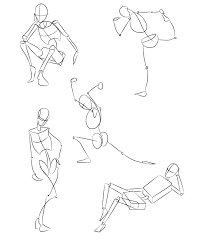
Image source GetDrawings
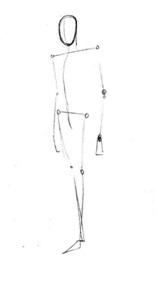
Image source kokuyocamlin.com
Boxes:
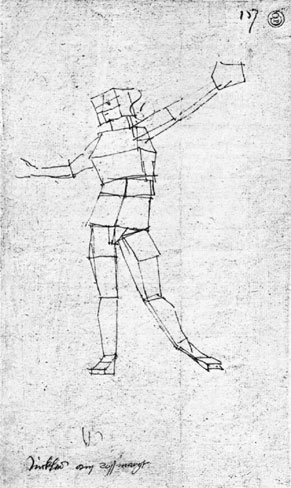
Image source uqtr.ca
Tubes:
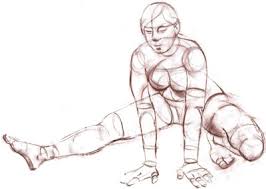
Image source GetDrawings
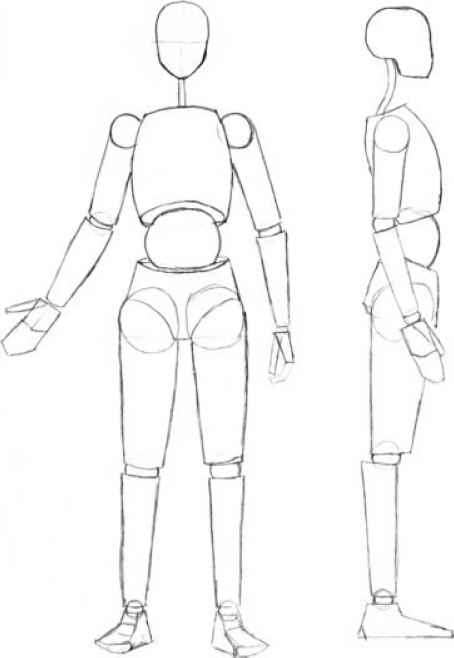
Image source joshuanava.biz
Line/contour and carving the shape out:
We will go over all these techniques in class. But the best way to get better is by PRACTICING THEM!!!
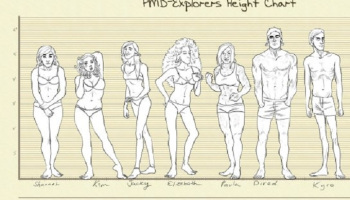
Image source pipocacombacon.wordpress.com
The only way to get better is to Draw! while drawing, think about what is going right and wrong. Try and correct the wrong, be happy with the good- even if it’s just a little! Don’t spend time erasing if its just a sketch. use your incorrect line to inform where the correct ones should be. Drawing takes time and dedication. If you want to get better you will need to work on it… simple. Lol, no, it will still be lots of work!
Classroom activities:
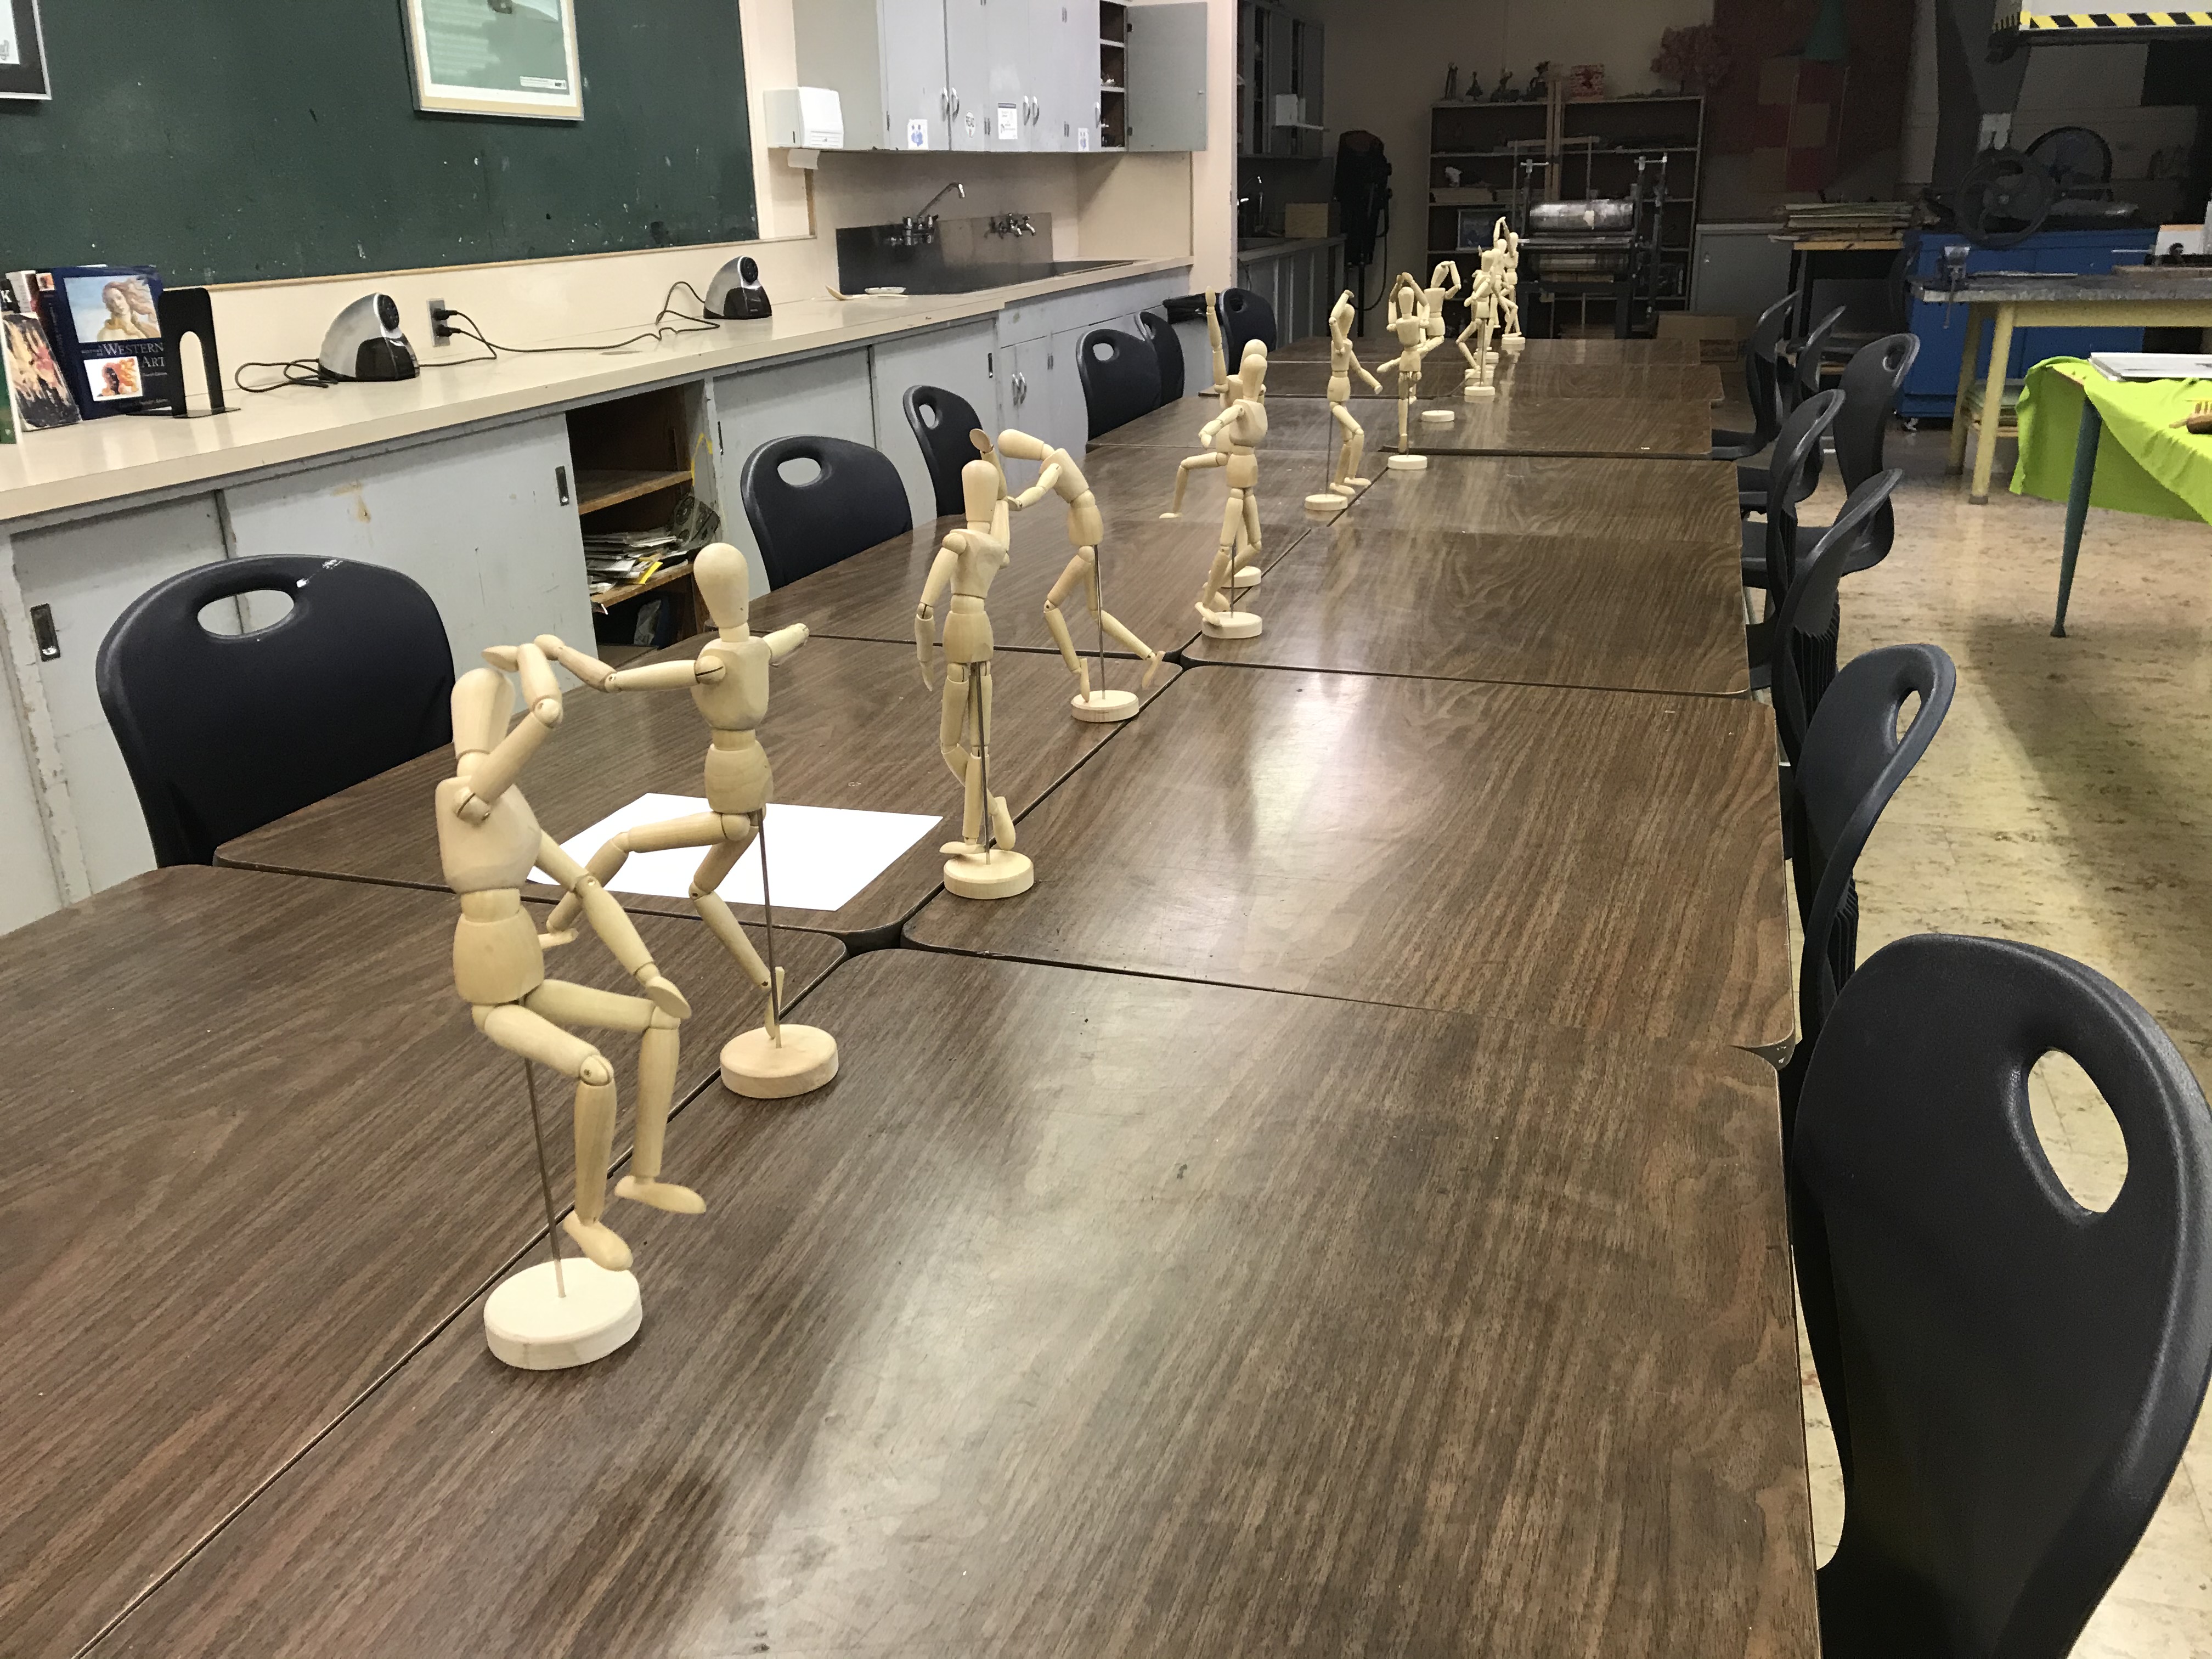
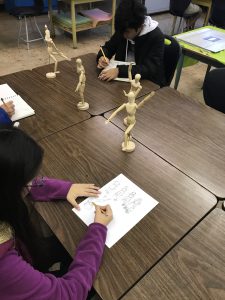
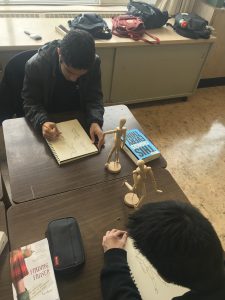
Day one:
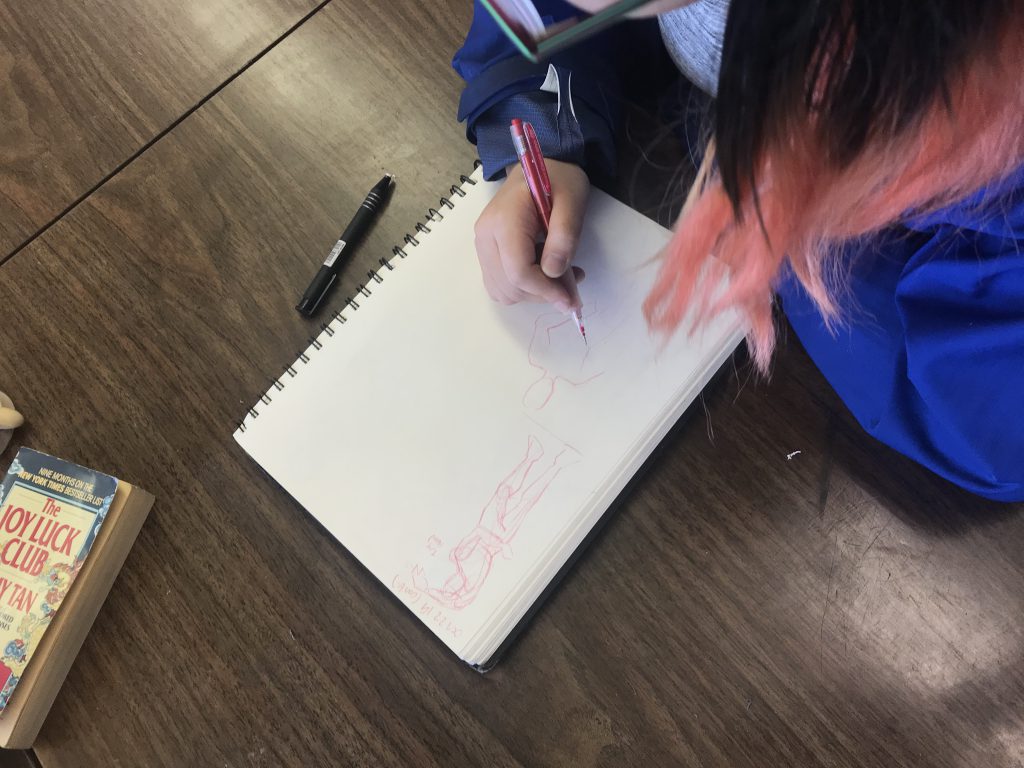
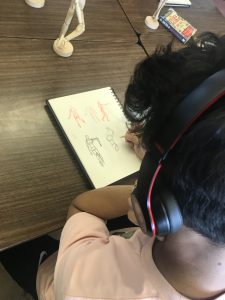
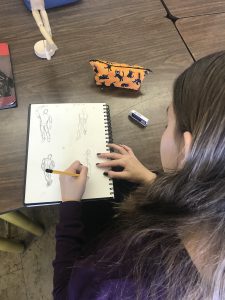
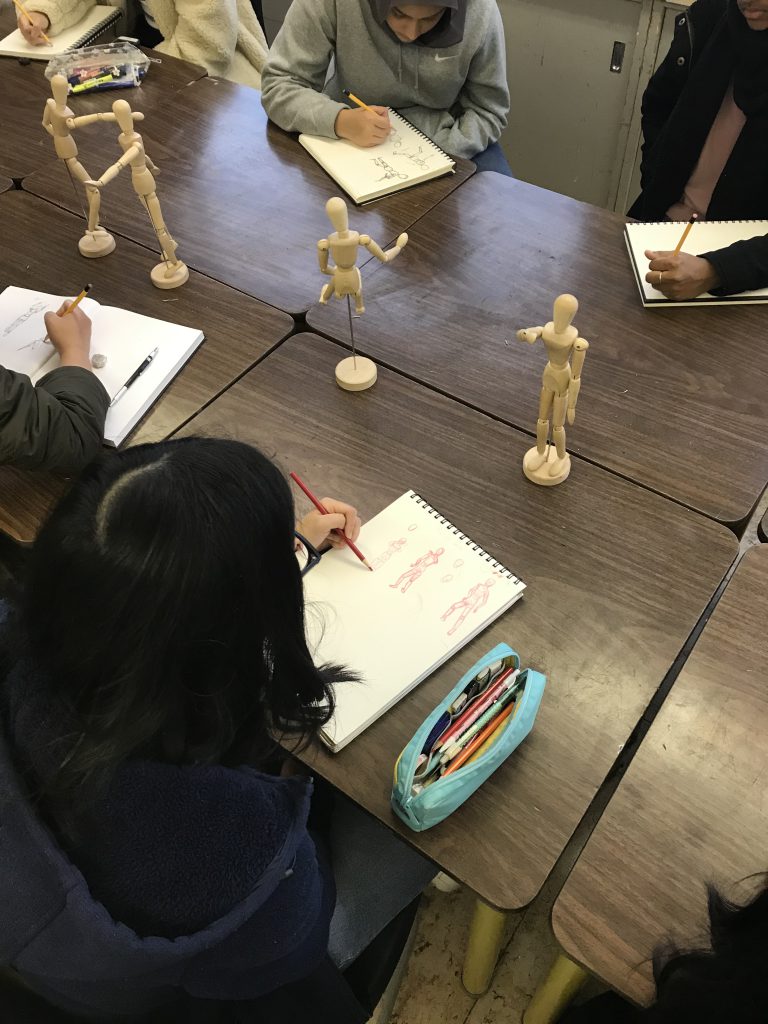
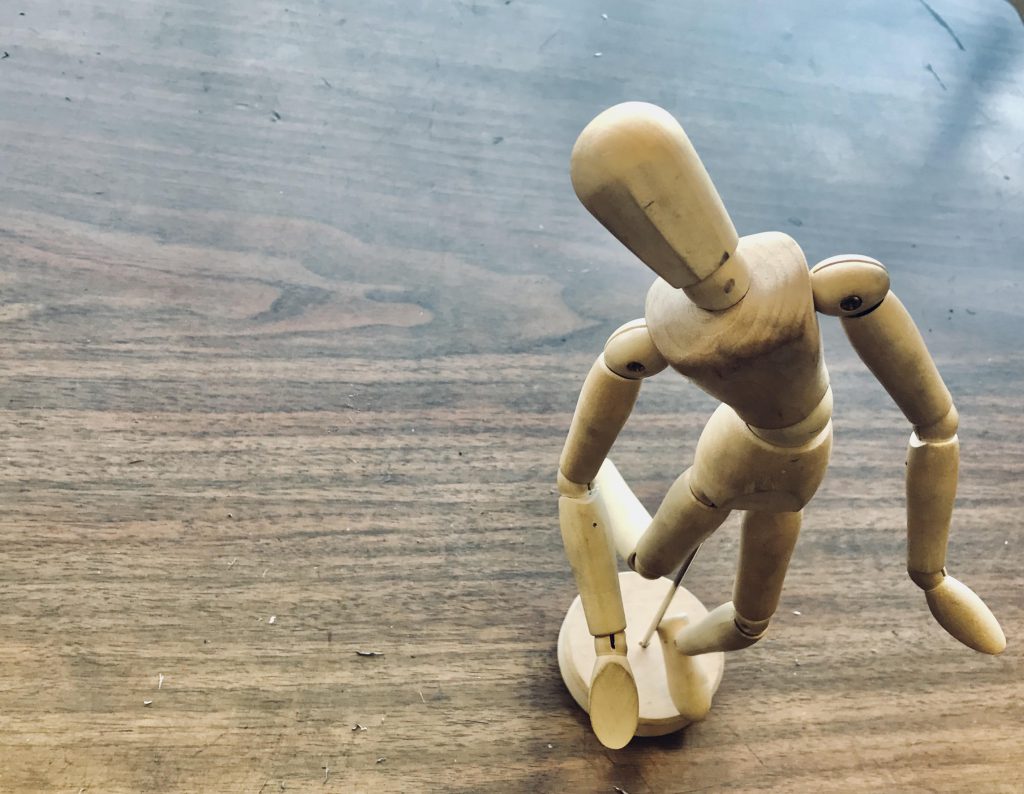
Manikin drawing. Let’s use out manikins to simply start getting used to using, or referencing, the ‘Head unit’ way of Proportion as a way to begin seeing the human form and be able to draw it with confidence!
Day Two:
Live model drawing. Yes, put on your best supa model attitude and strike a pose! We will start with a few quick 2-3 minute poses and work our way up to 10-15 minute ones. We will also talk a bit about Guesture drawing.

Image source CecielCarre.com

Image source CecielCarre.com
Gesture Drawing Tips
-
- Start with the head first.
- Always be thinking about the contour of the body.
- Try to capture the essence of the pose before you try to render form.
- Use simple and meaningful lines.
- Working quickly does not mean working recklessly.
- Don’t just copy.
- Try to capture what you like most about the pose. (drawpaintacademy.com)
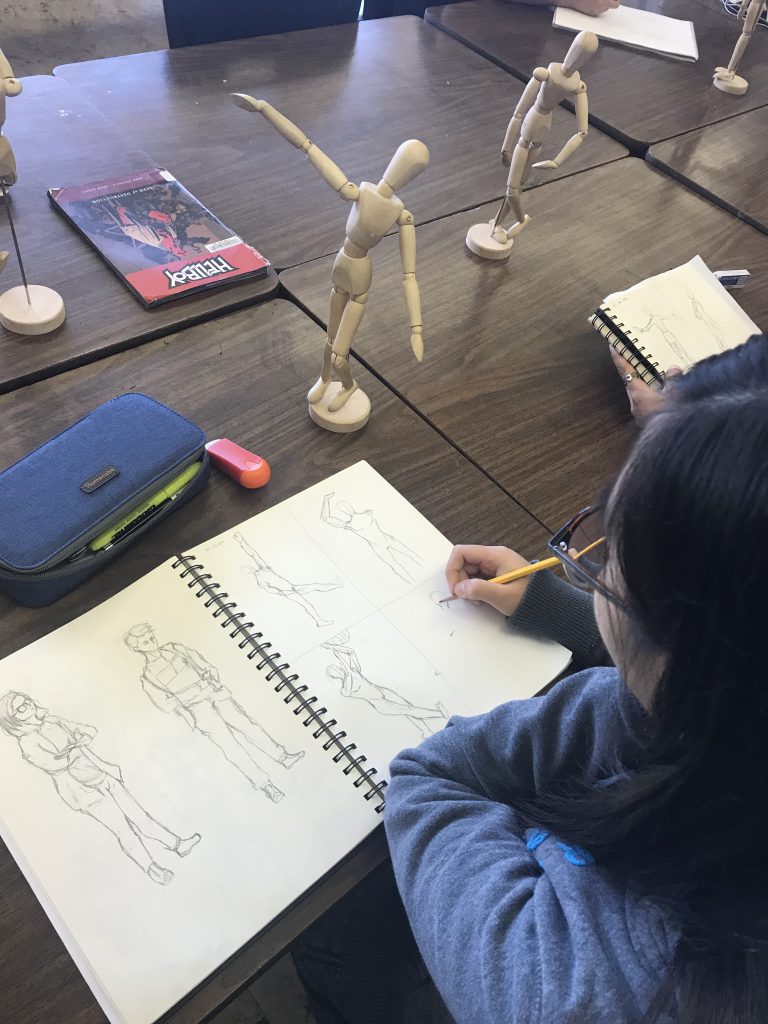
Day Three:
Back to manikins and a couple of pages of different poses and times. Let’s relax and work on line flow, proportion, and 3d. * The goal of todays class is to turn the manikins into PEOPLE!!! Use the manikins as a proportional reference.